
How to replace QuinLED An-Penta-Mini fuses
One of the unique features of the QuinLED An-Penta-Mini is that it has internal fuses on the positive side built-in. This means that if for whatever reason something goes wrong the board will protect your wires and with that your house from burning down!
Next to 2x 5A fuses on the positive side it also uses internal auto-reset fuses to protect the onboard electronics, etc..
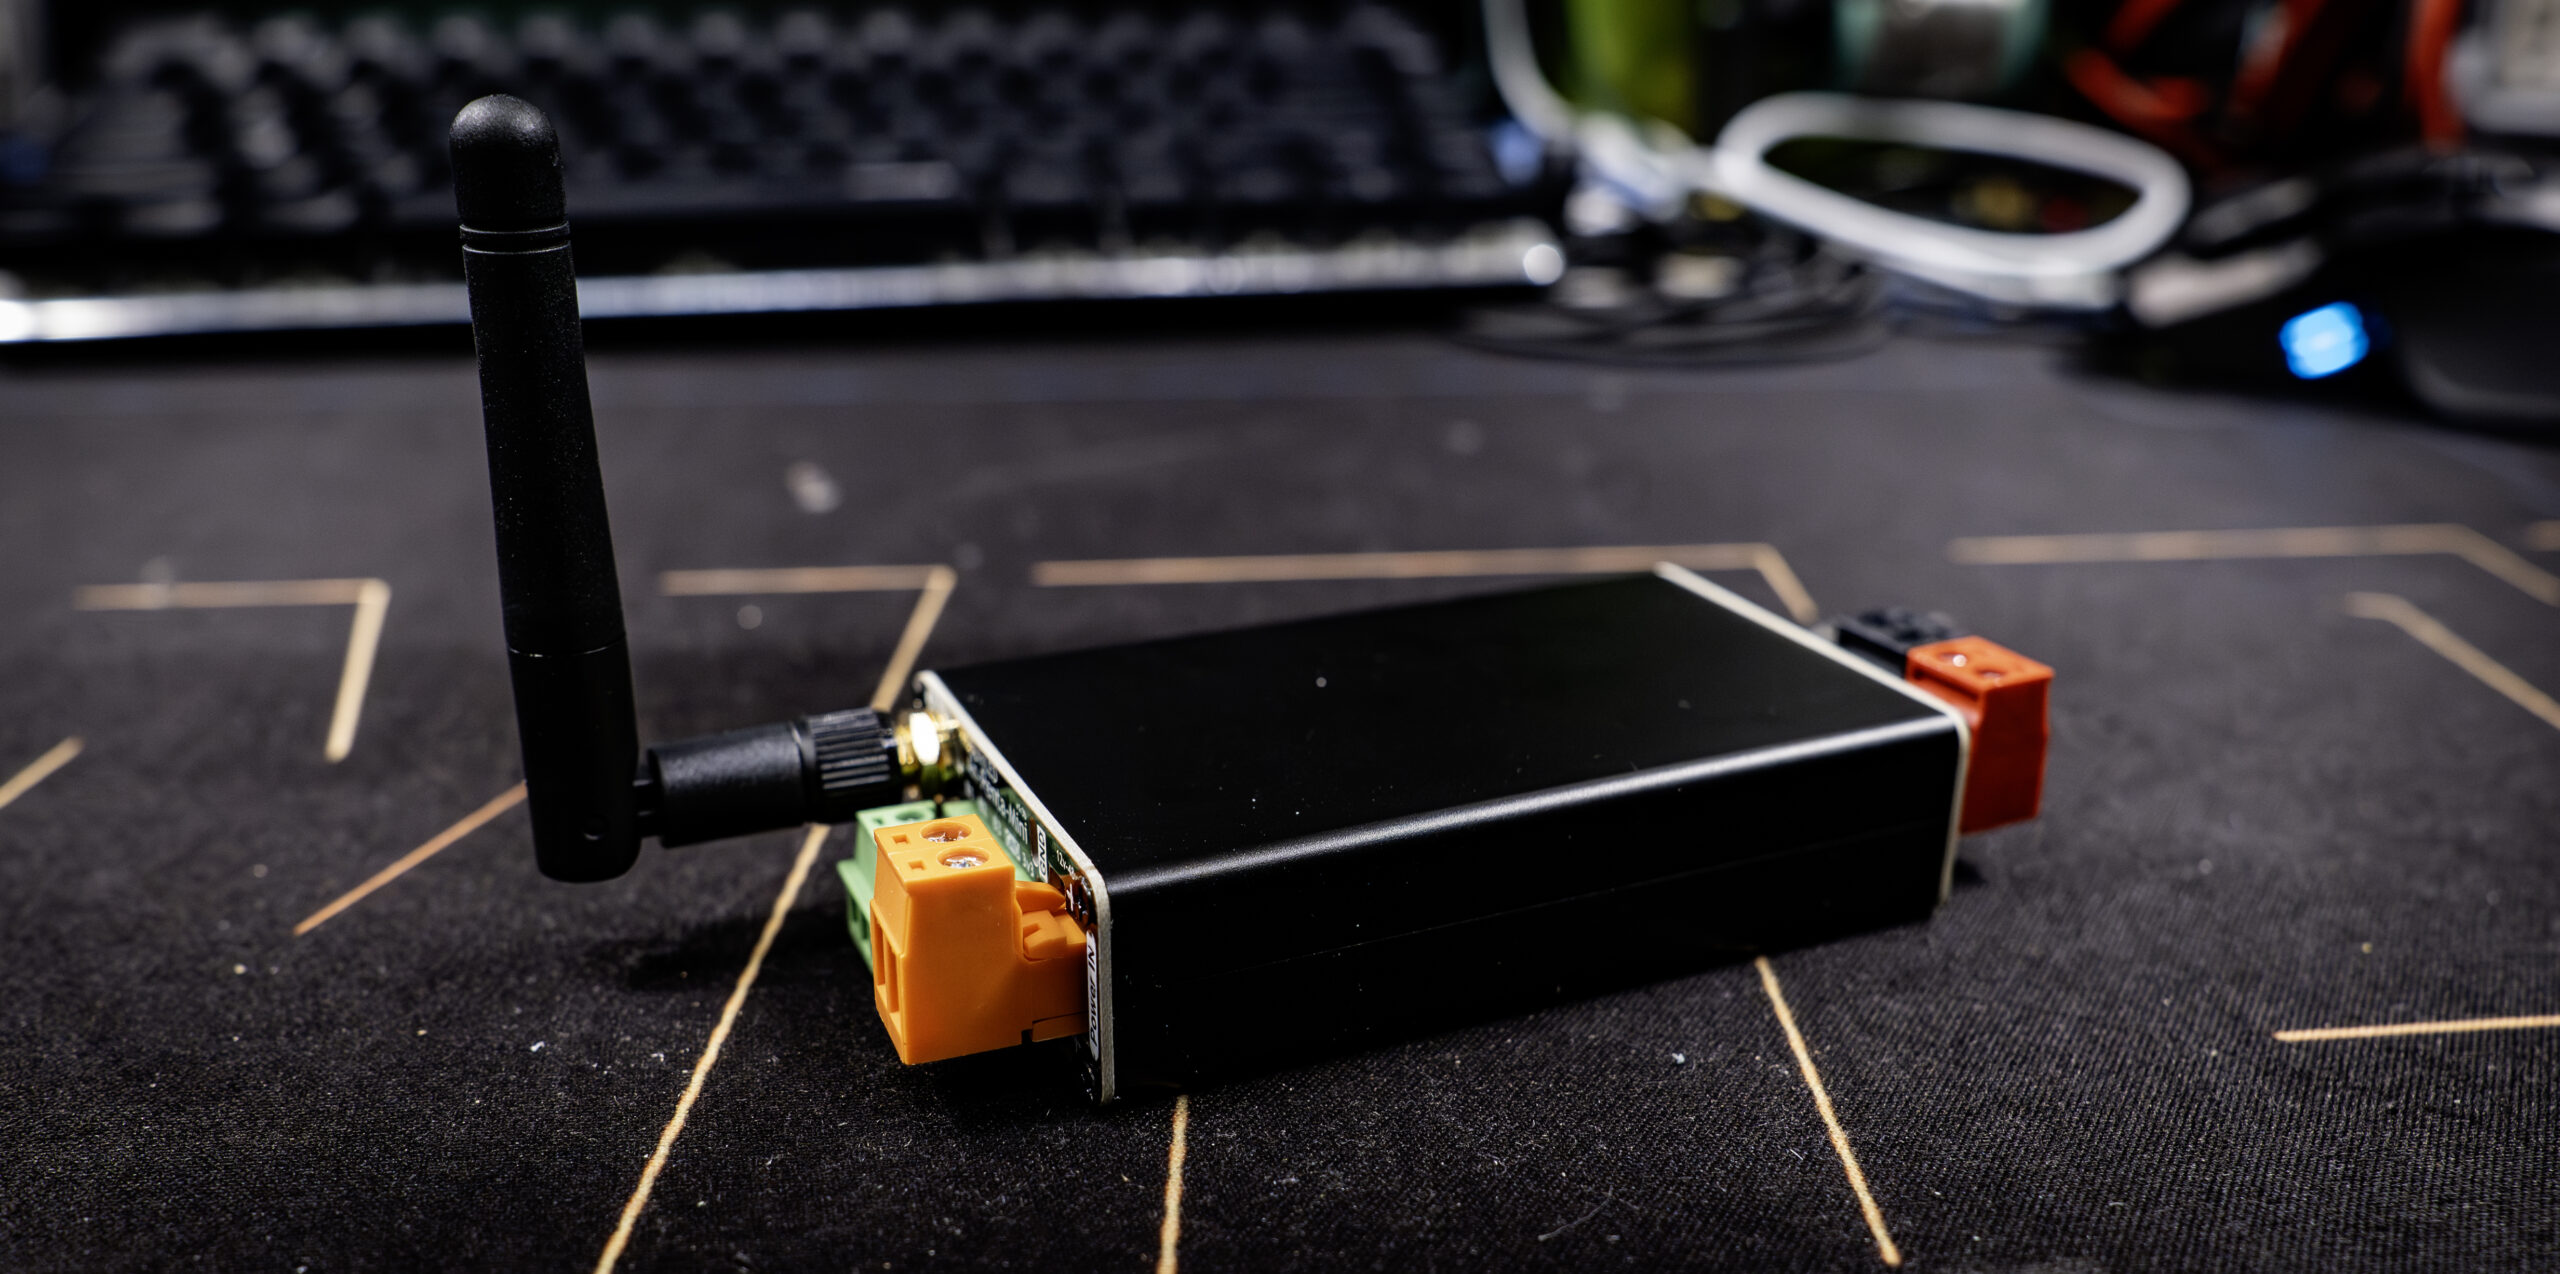
What type of fuse is this?
I can imagine that you have not seen the fuses used before. They are 1808 style SMD fuses which can either be directly soldered to the board or used in a socket. I have more information about these fuses, where to get them, why there is sometimes a socket + a fuse and such things in this article here.
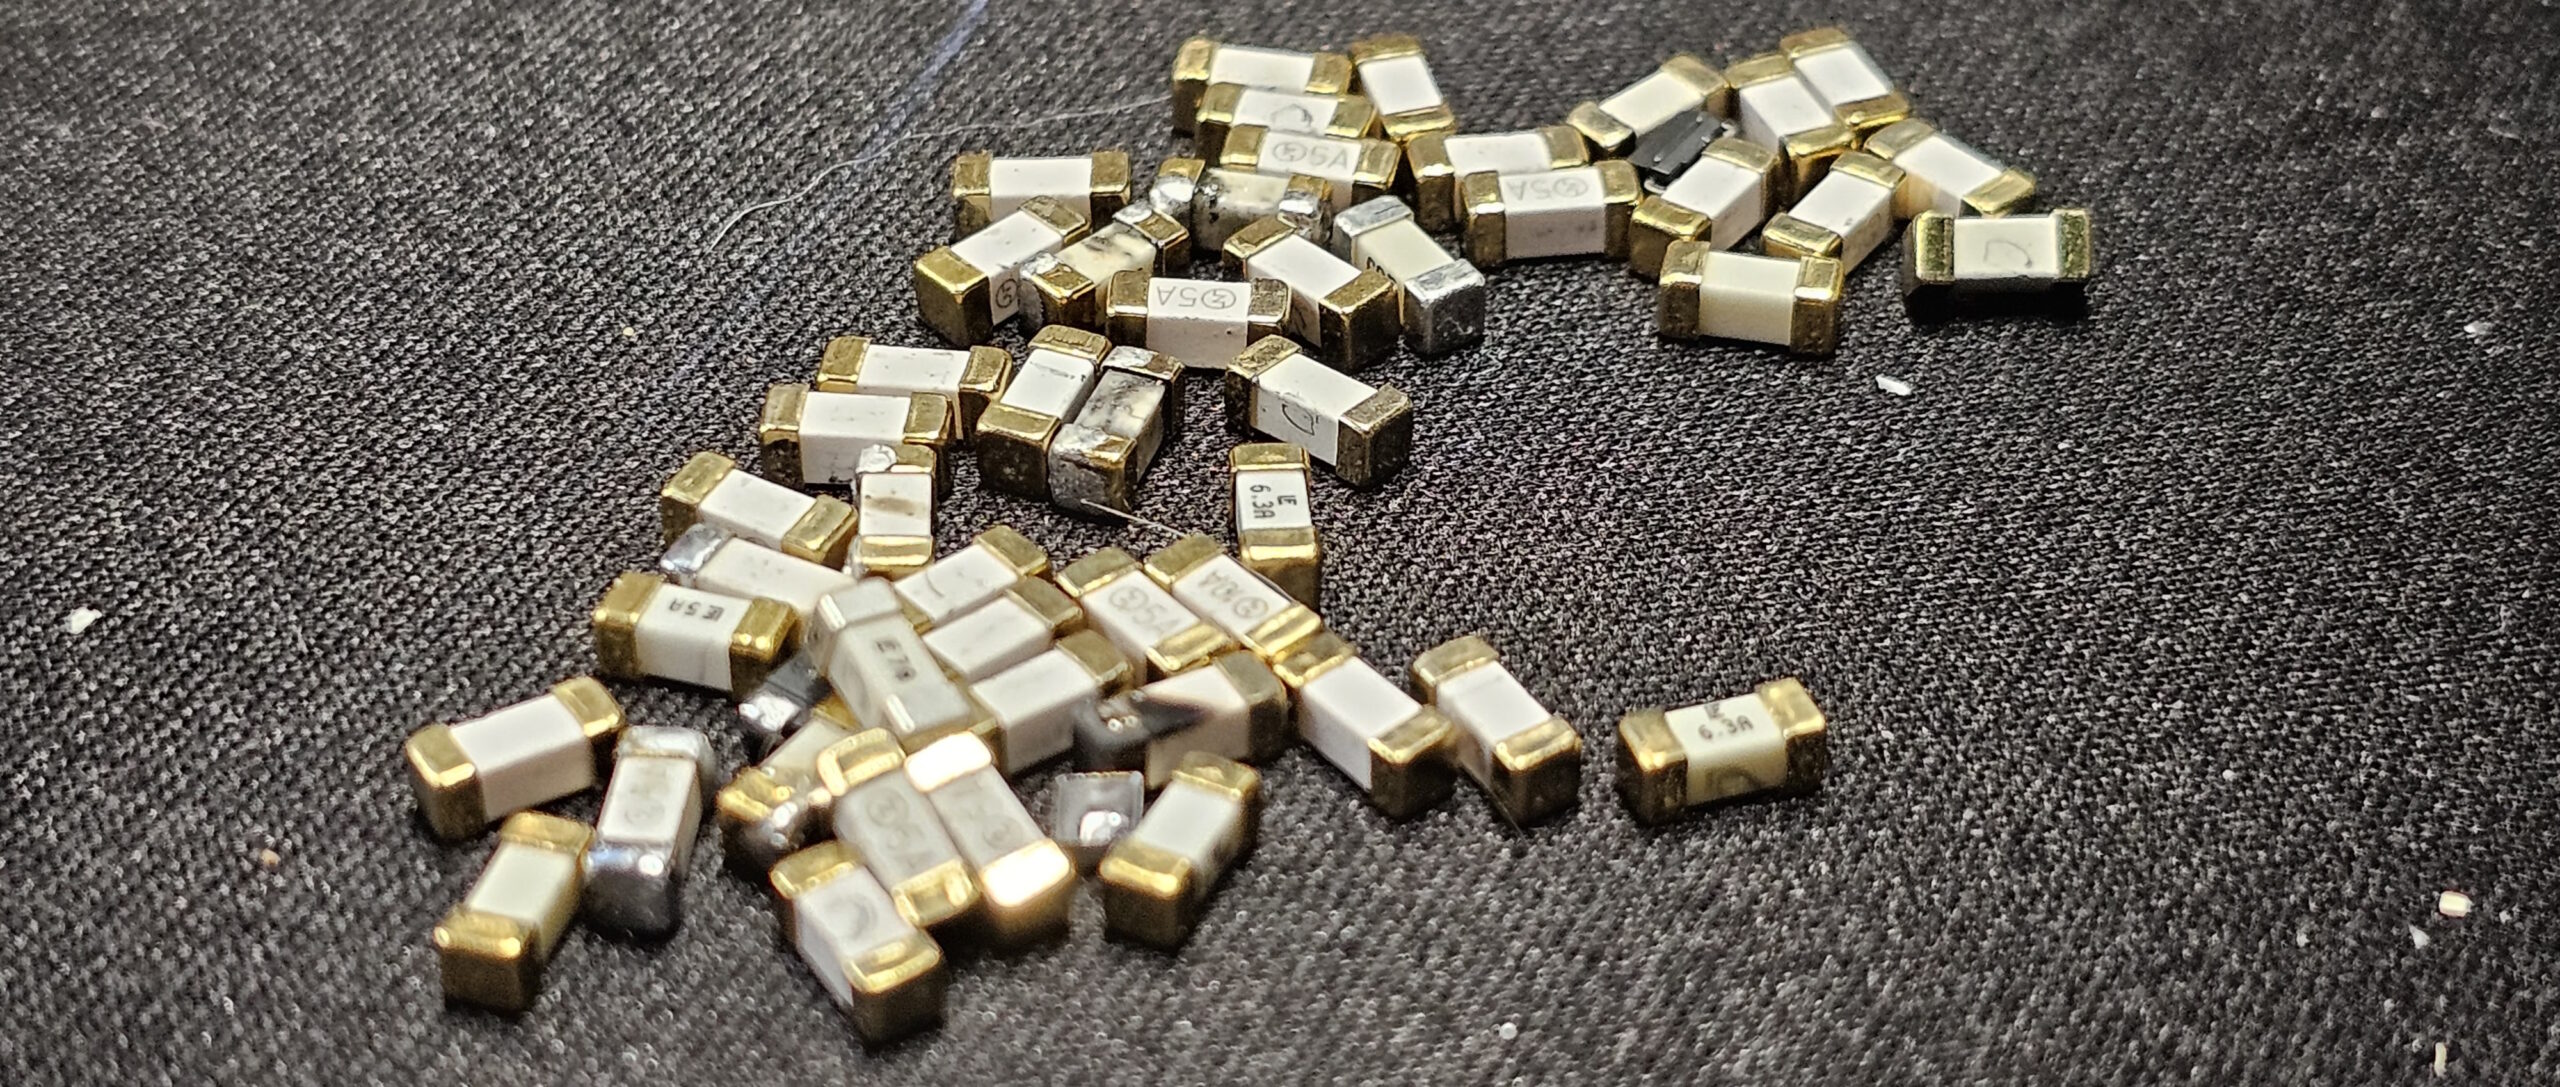 During testing I’ve blown quite a few 😉
I blew a fuse, now what?
Easy, we just replace it. This assumes you already have a new fuse if not, buying links are in this article. Let’s go through the steps to replace the fuse, no soldering required!
Step 1. Unscrew top part of the case
Before starting this step, please make sure power is turned off and all pluggable connector + antenna are removed from the board.
The case is held together by 8 screws, 4 on the front and 4 on the back. We only need to remove 4, the 2 for the top on the front and 2 for the top on the back.
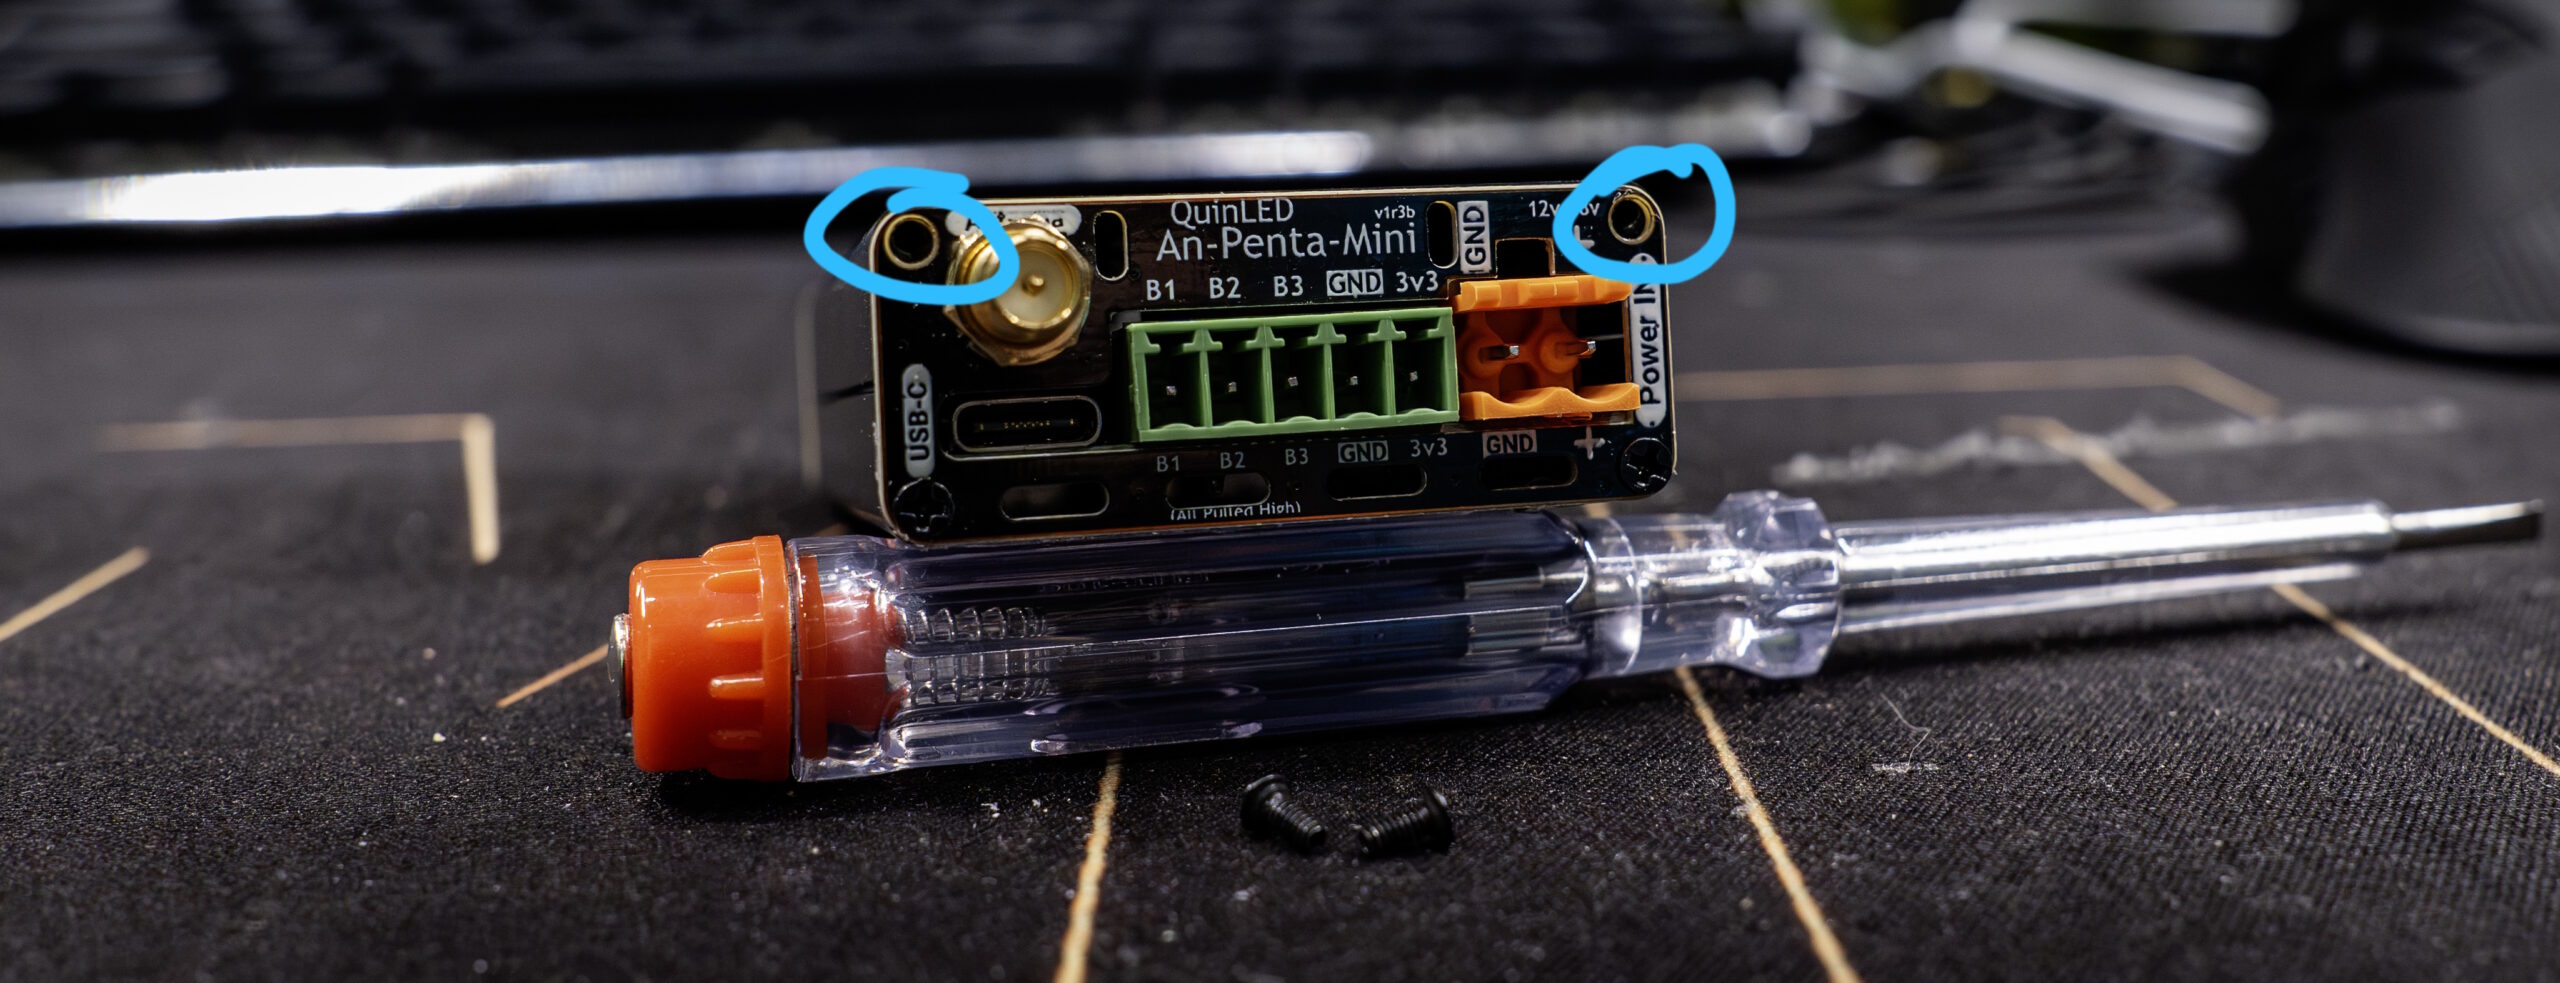
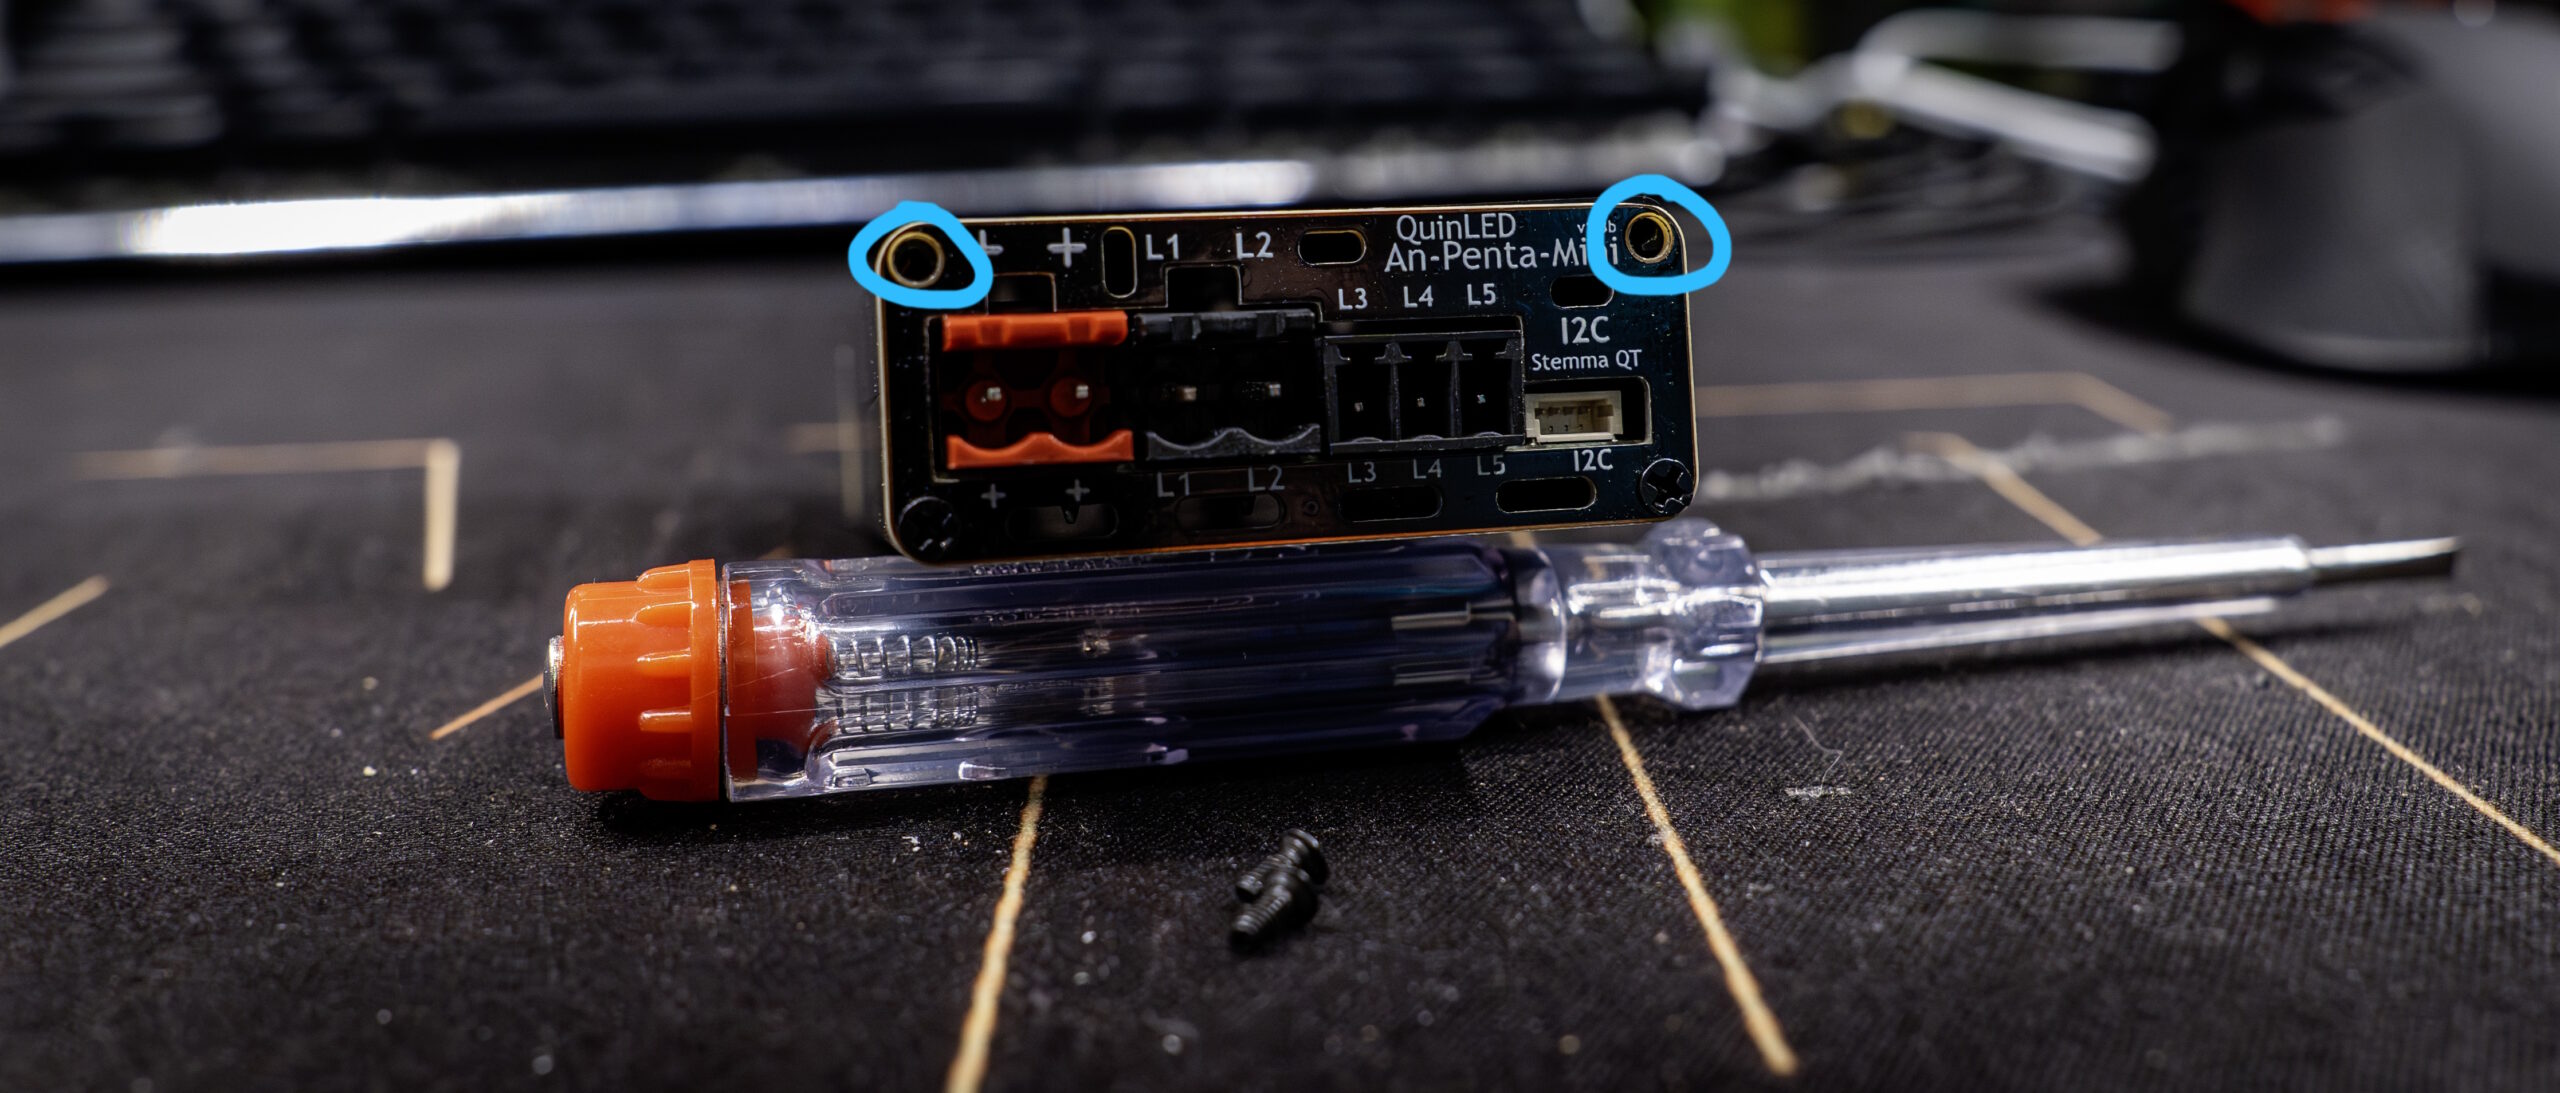
Step 2. Lifting the top cover
Once the screw are removed the aluminium case can separate into 2 halves while everything else stays in place. This gives you perfect access to the internals of the An-Penta-Mini.
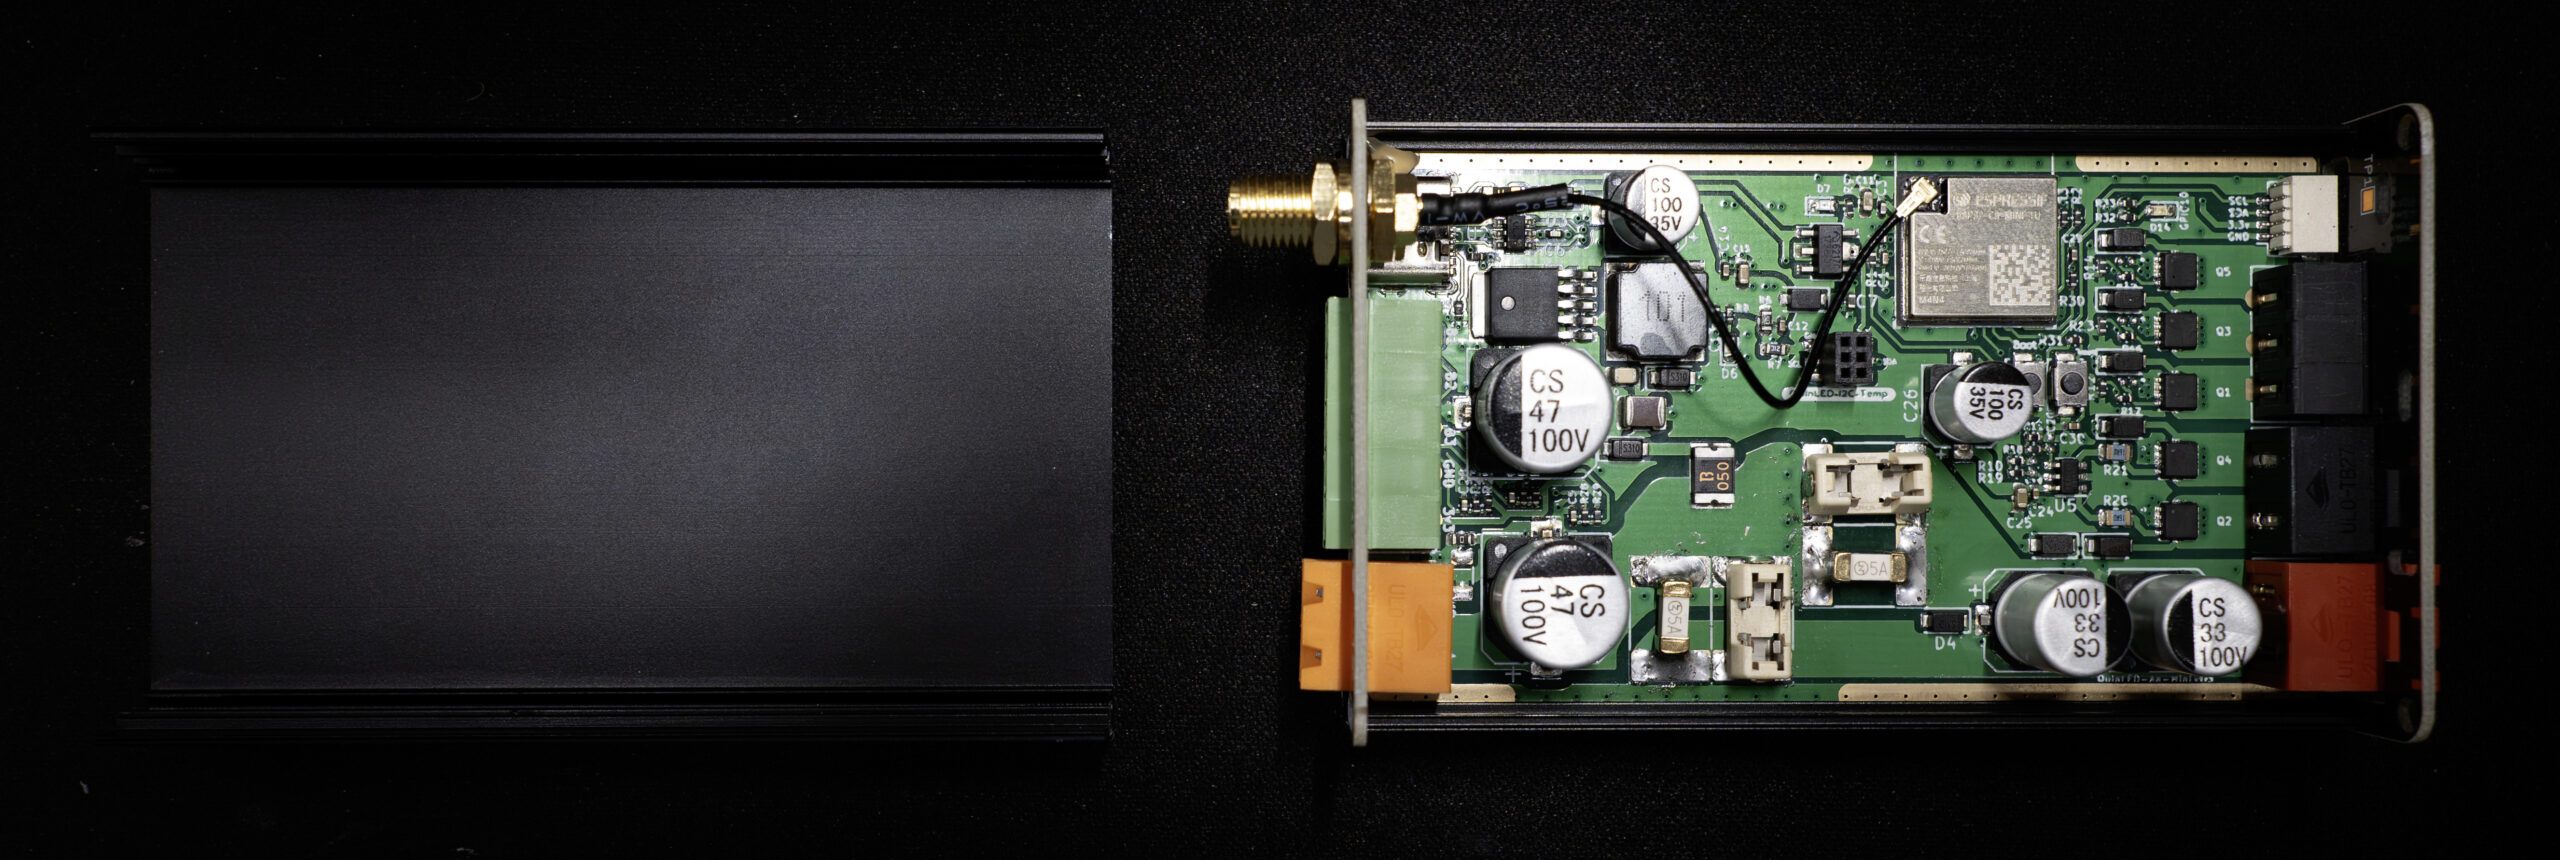 (Shots of first batch board with manual rework)
Step 3. Add new fuse
Since this board has pre-soldered fuses + a socket the socket is empty to start with. Once one of the fuses blows, it can stay in place and you can switch to using the socket.
Which fuse to replace is simple, you have 2 output ports, and looking at it from the angle in the below photo a left and a right one. These Left and Right also correspond to the fuse sockets on the board!
Placing the fuse or taking out the fuse and replacing it sometimes a pointed pliers to pluck it out of the socket or fit it in. Once the fuse is in, make sure to give it a decent push so that it’s seated nicely on all sides.
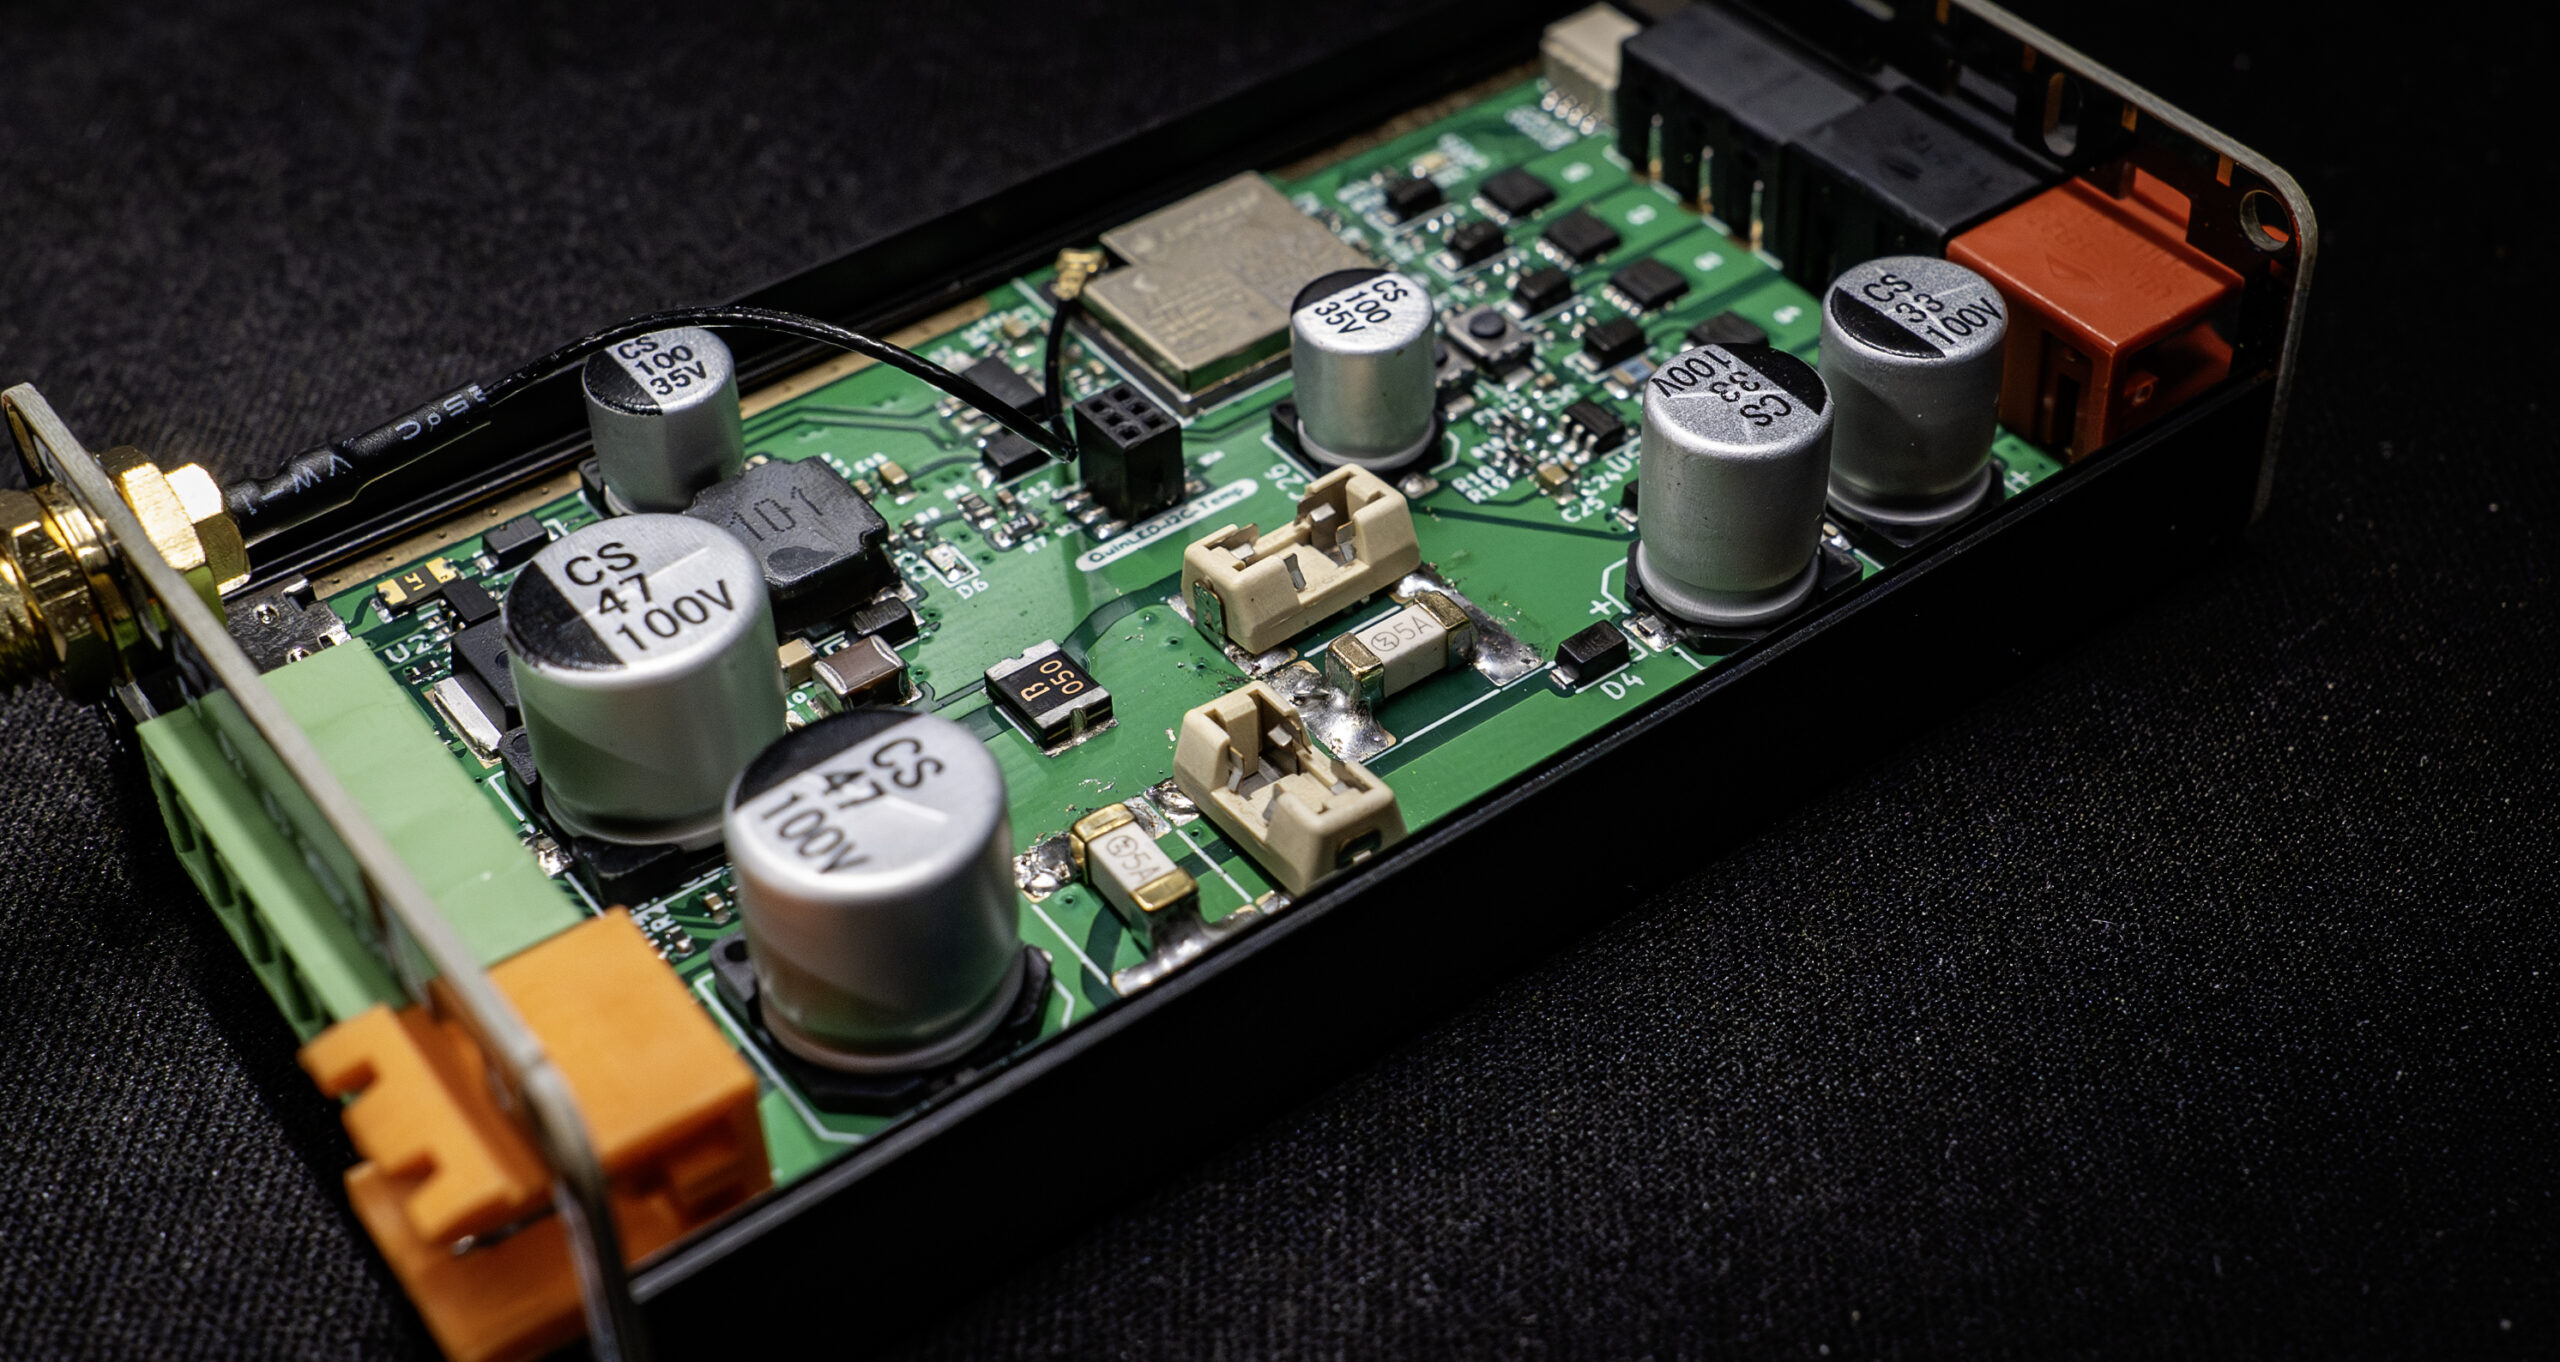 (Shots of first batch board with manual rework)
Step 4. Closing it back up!
Once the fuse is in the socket you can basically reverse the steps and close the case back up and the positive channel that wasn’t working before should not be working again!