
12v ws2811 pixel guide
This article will be an easy sum (and links to) parts you can get to get started with a complete 12v ws2811 pixel setup! Doing the same with 5v pixels is also possible but generally it’s advised to immediately go to 12v unless you are certain your wire runs are going to be short, then 5v can save a few bucks.
The goal of using this cable system is to not have to solder or manually waterproof any part of it!
![]()
For a complete install you roughly need the following components:
- QuinLED controller board
- QuinLED-Dig-Uno
- Suitable for smaller installs up to 300 to 400 pixels
- QuinLED-Dig-Quad
- Suitable for larger installs up to 1000 pixels
- QuinLED-Dig-Octa System
- Suitable for even larger installs and scales easily with extra processing power (brainboards) or power (powerboards)
- QuinLED-Dig-Uno
- 12v Power Supply
- For Dig-Uno and Dig-Quad see here
- Dig-Uno I advise a 150w / 12,5Amps power supply for up to 400 pixels
- This assumes real-world normal colors and effects, not 100% RGB white
- Dig-Quad I advise a 350w / 29Amps power supply for up to 1000 pixels
- This assumes real-world normal colors and effects, not 100% RGB white
- Dig-Uno I advise a 150w / 12,5Amps power supply for up to 400 pixels
- For Dig-Octa System see here
- Dig-Octa I advise a 600w / 50Amp power supply for up to 1500 pixels
- This assumes real-world normal colors and effects, not 100% RGB white
- Dig-Octa I advise a 600w / 50Amp power supply for up to 1500 pixels
- For Dig-Uno and Dig-Quad see here
- 12v ws2811 “regulated” pixels with xConnect
- I like using regulated pixels more then resistor since they don’t show any fade when there is a little bit of voltage drop!
- xConnect pigtails
- xConnect extension cables
- xConnect 3-3-3 T power injection block (3-3-3 Special version!)
- We use the 3-3-3 T split cables so we can use the same extension wires as above! The special version doesn’t have the data pin connected so it doesn’t interfere with long injection wires that have a “stray” data signal coming in.
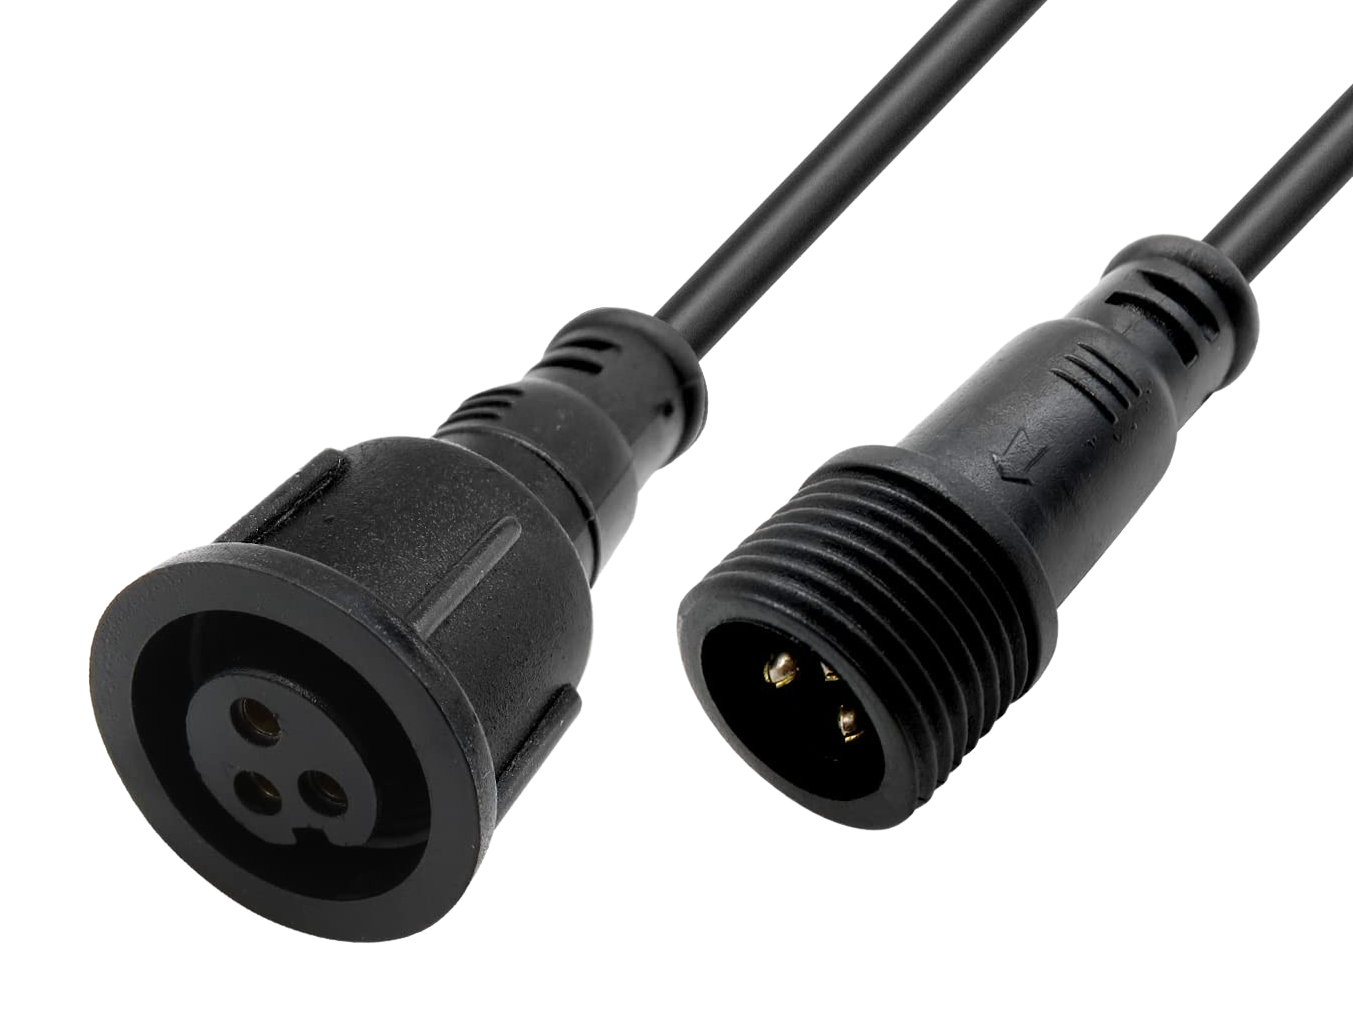
xConnect plug standard
I like to standardize wherever I can, there are a few cable plug standards out there but personally I use xConnect for everything. Everything discussed in this guide can also be purchased with xConnect cables directly attached making waterproofing, including injections, very easy!
How to connect it all
The basic idea is the following:
- Connect 12v supply to your selected controller power input
- Connect pigtail to output
- Generally speaking the color order is: Brown = Positive, Blue = Negative, Yellow/Green = Data
- Be mindful, data flows only in one direction!
- Set data port resistor to “33R” mode for that channel!
- Connect extension wires up until the first pixel string
- String max 200 to 300 pixels together
- 200 if you want to be able to run RGB white
- 300 is ok if you are only using colors and effects
- Add a 3-3-3 T power injection cable
- Use “reverse” pigtail wire and wire up only power wires, no data
- Use extension cables to run up to T power injection cable and attach it to the bottom of the T end so data basically runs through horizontally
- Continue adding pixels from new power injection
- Repeat the above up until a maximum of ~600 Pixels if you need more in that string you’ll need to run a separate cable (pigtail at controller side and extension cables) again from your controller but this time also for data from a new data port!
- You can run about 15m/50ft of pure cable before the voltage drops too low and you are going to need to add extra power injection wires immediately!
High combined shipping costs trick!
The links I posted all have a pretty high shipping cost. To see if you can get better shipping costs when you order a bunch of products add them all to your cart (preferably using my affiliate links) and then place the order but don’t pay for it immediately (as you are guided to do)! Then contact the seller and ask them if they can give you a better shipping price for that order (including order nr) they should be able to adjust the order for you after which you can then pay for it!
Cable photos
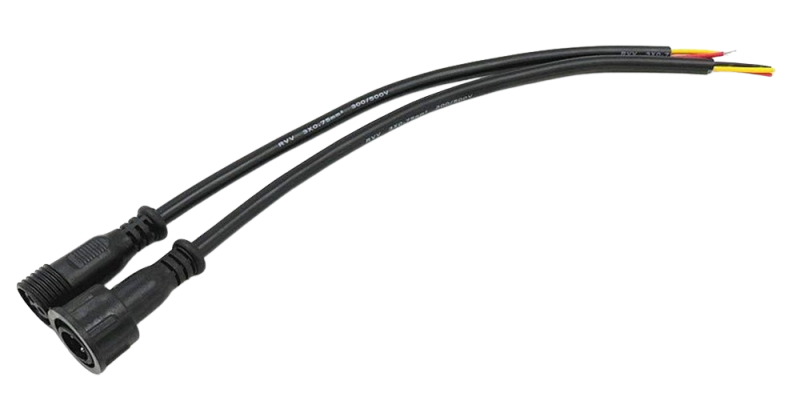
xConnect pigtail wire (needs extra stripping, get a wire stripper!)
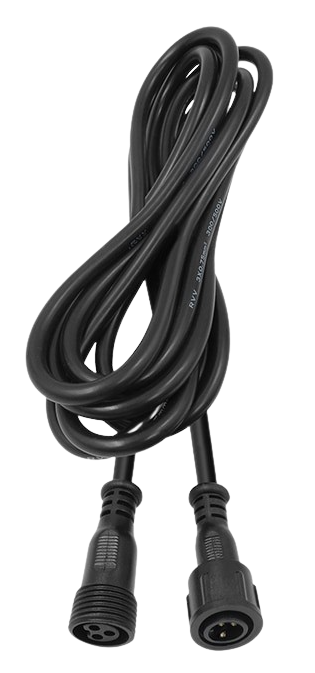
xConnect extension cable
 xConnect 3-3-3 T splitter for power injection (bottom side)
Test before / Pixels not lighting up?
Addressable LED pixels can only receive data in one direction! If your pixels aren’t lighting up you might have hooked everything up in the reverse direction. Try everything in a little test setup before mounting it somewhere, preferably even with all the expected extension cables and T split connectors in place and spread out, that way you are going to encounter the least amount of problems when actually putting it up!
End Conclusion
The above forms the basics of building your own LED setup! Getting most components from Aliexpress means it might take a little while to get there but it will generally be the cheapest way to get them. I have used all of the above linked products myself and they are of good quality!
If you are in the US you might want to consider getting permatrack as a solution for attaching the pixels to your home roofline!