
Dig-Next-2 Fuse
Replacement Guide
The fuses inside the Dig-Next-2 are user replaceable but it does require dissembling the unit to get to the PCB board. The custom plastic case was designed with this in mind!
Make sure the unit is fully unpowered and all cables are disconnected.
You can get new fuses here.
Here are the steps to get into the case:
Step 1 – Opening the case
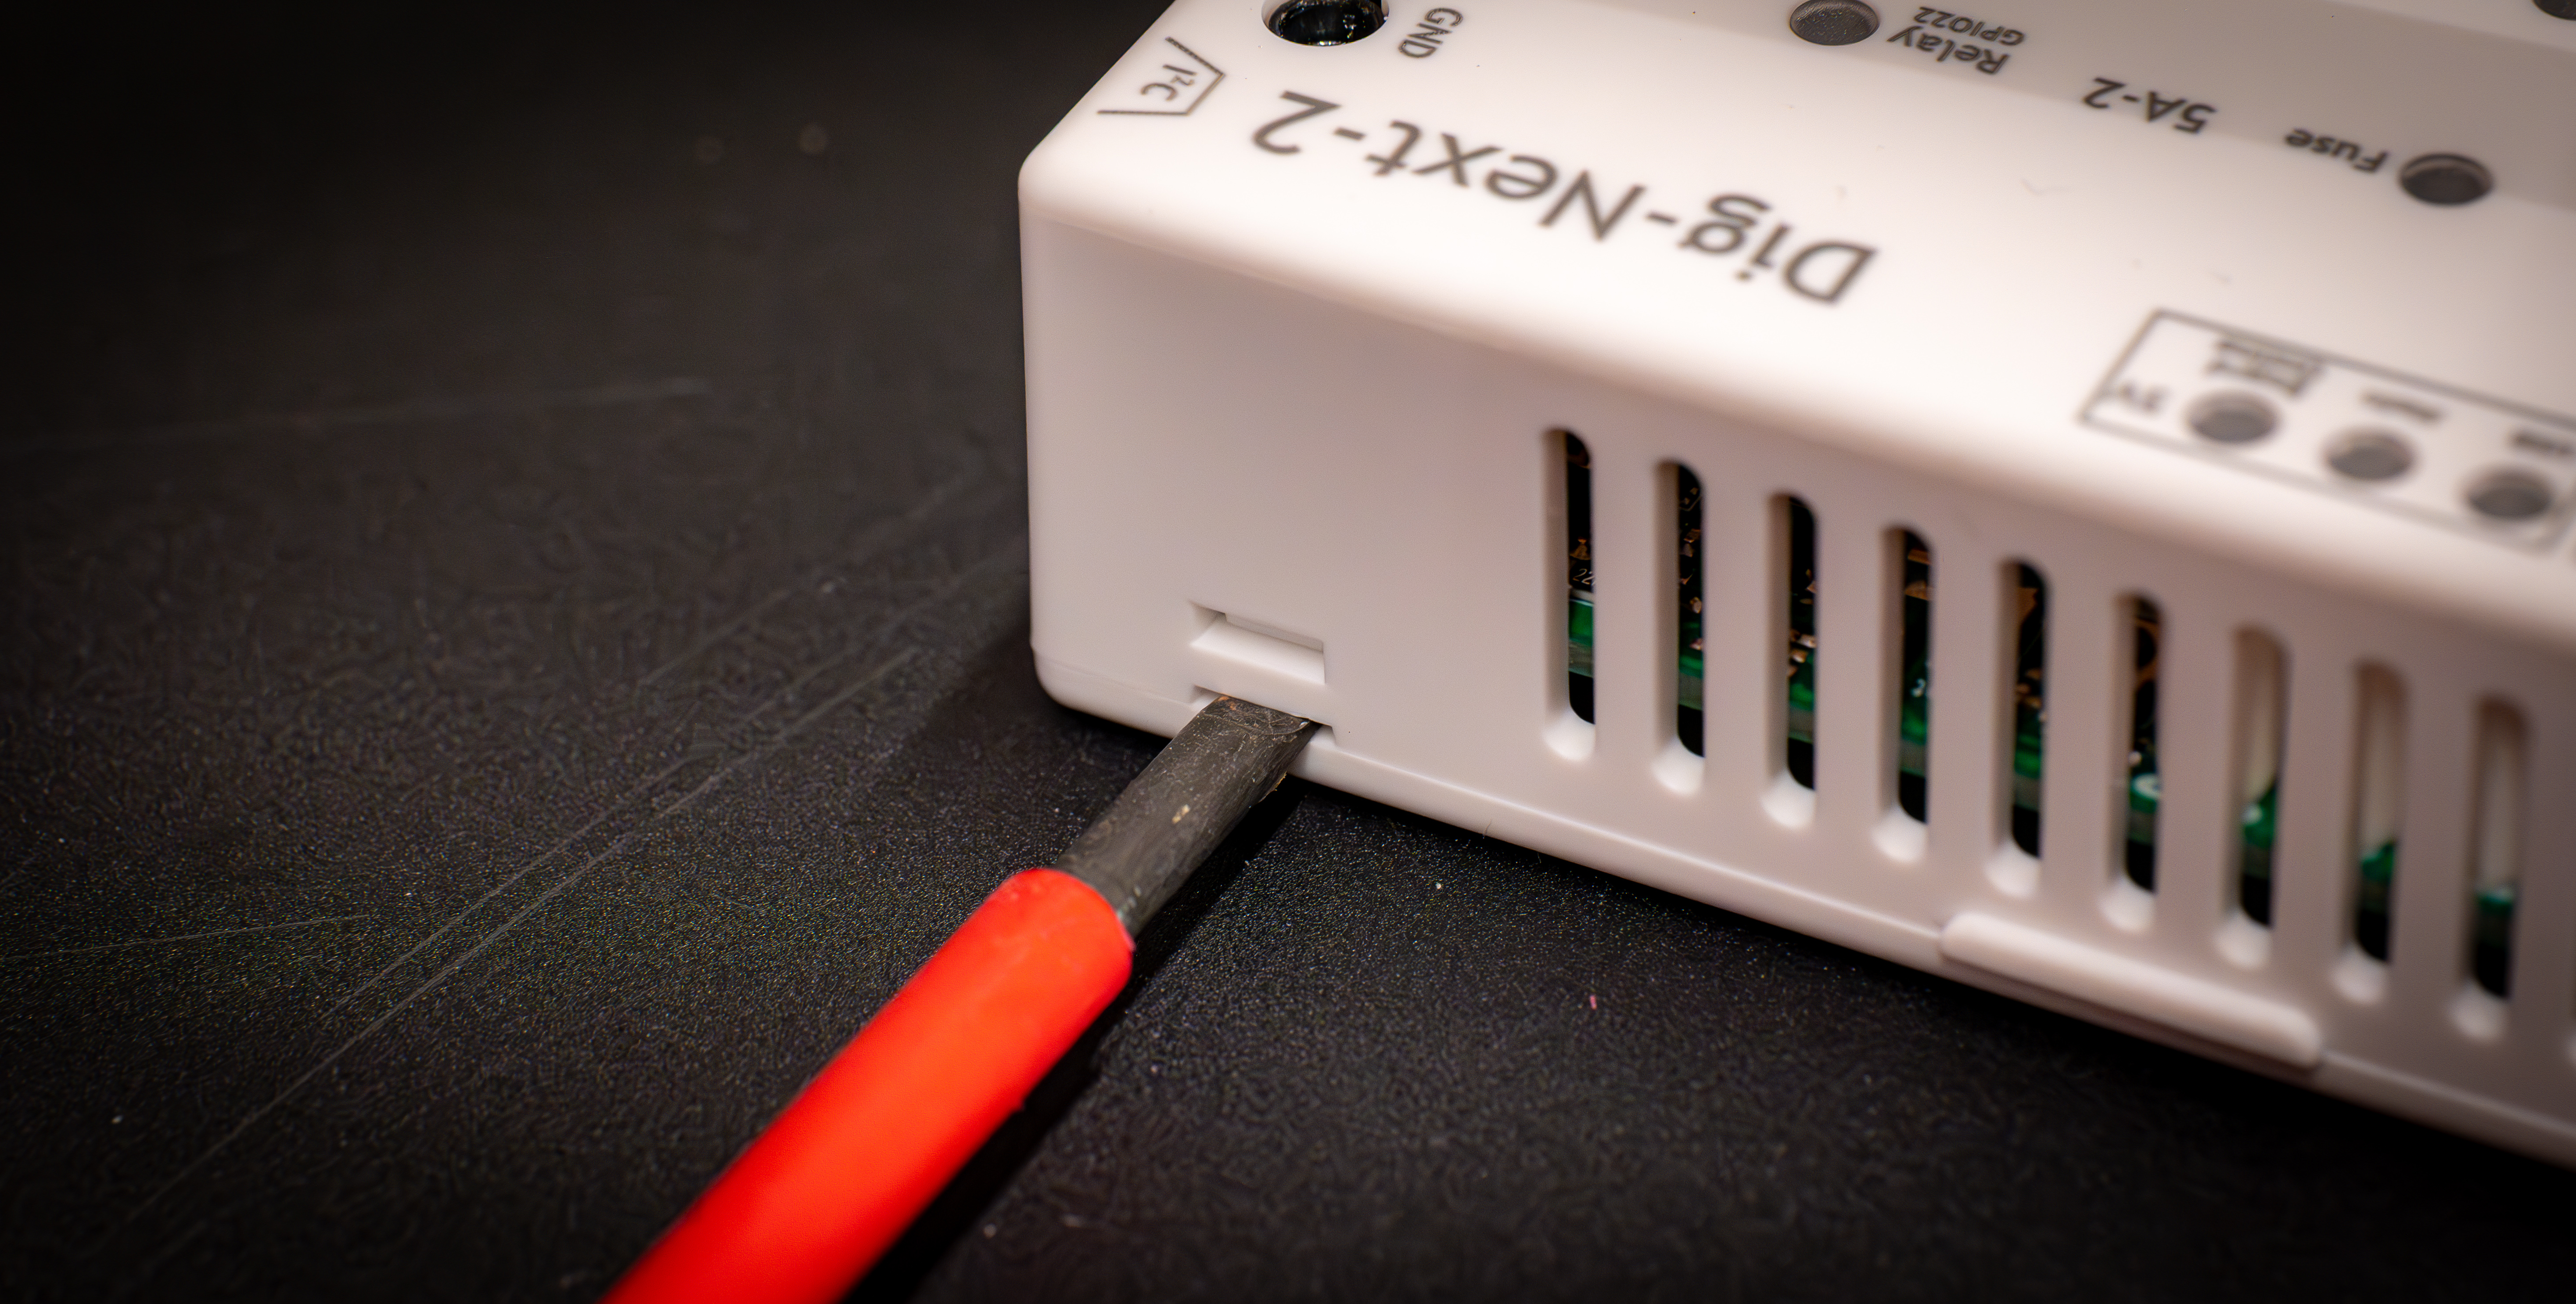 Using a flathead screwdriver, insert it into the slot and then slightly twist the screwdriver, that should pop out the holding pin on that side. Do so on both of one side of the Dig-Next-2.
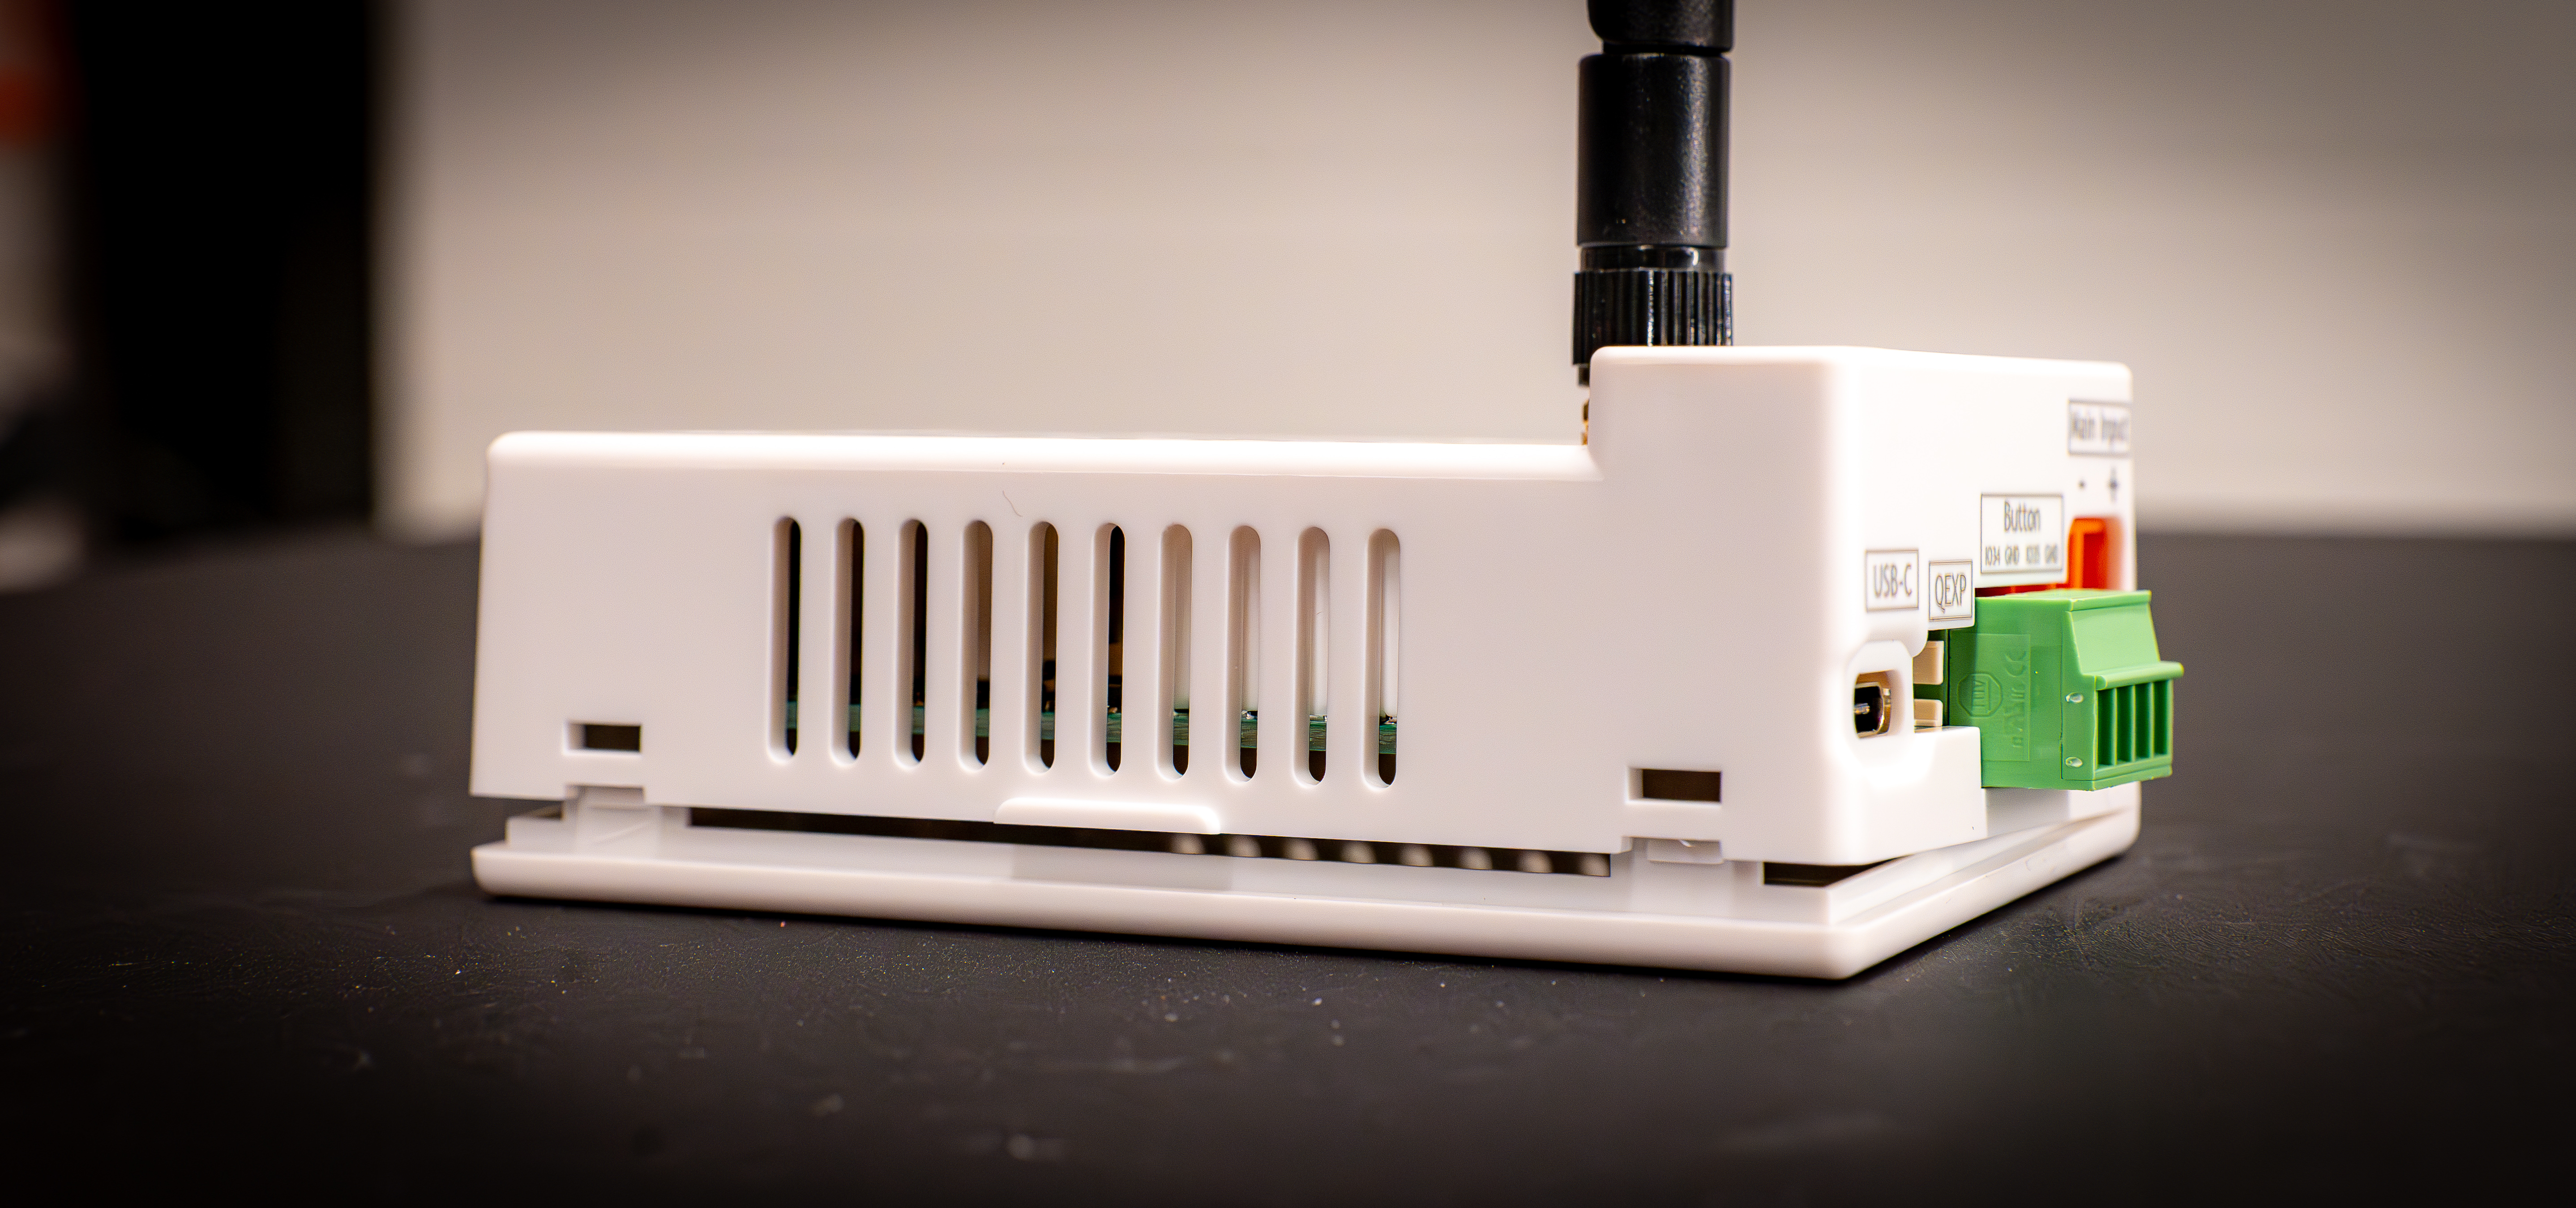 Once it opened like this you can remove the back cover completely
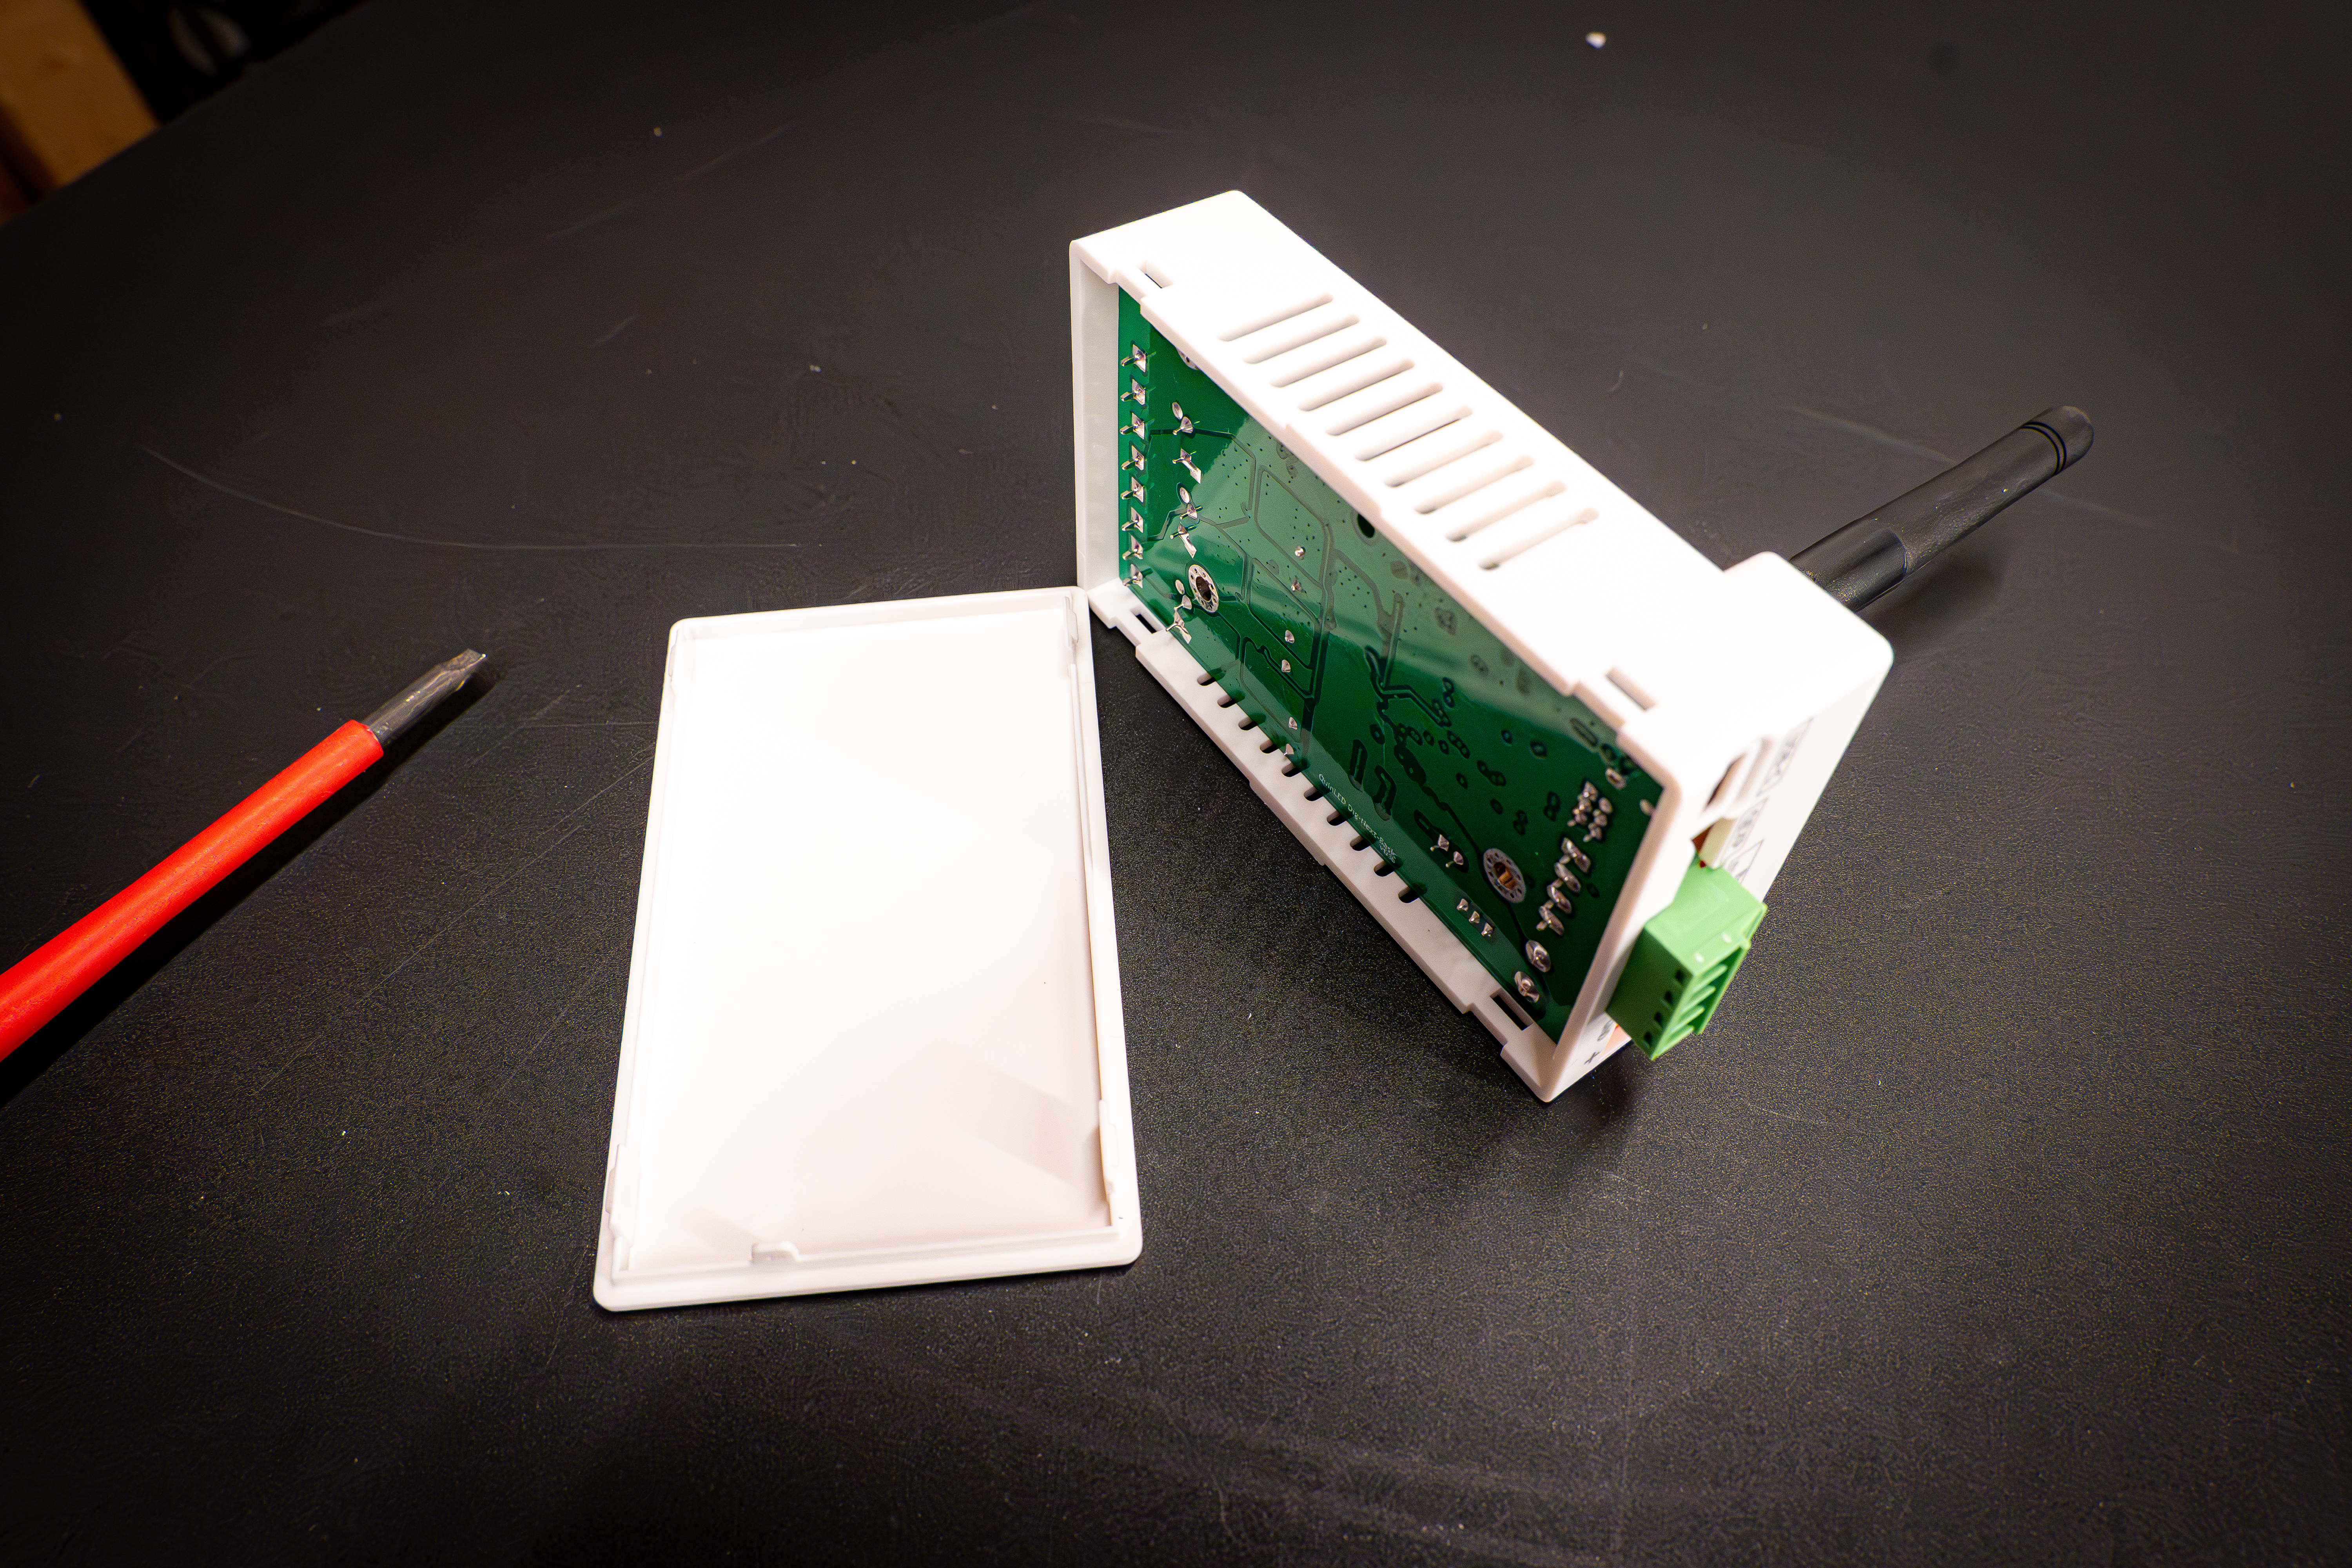 Bottom cover removed!
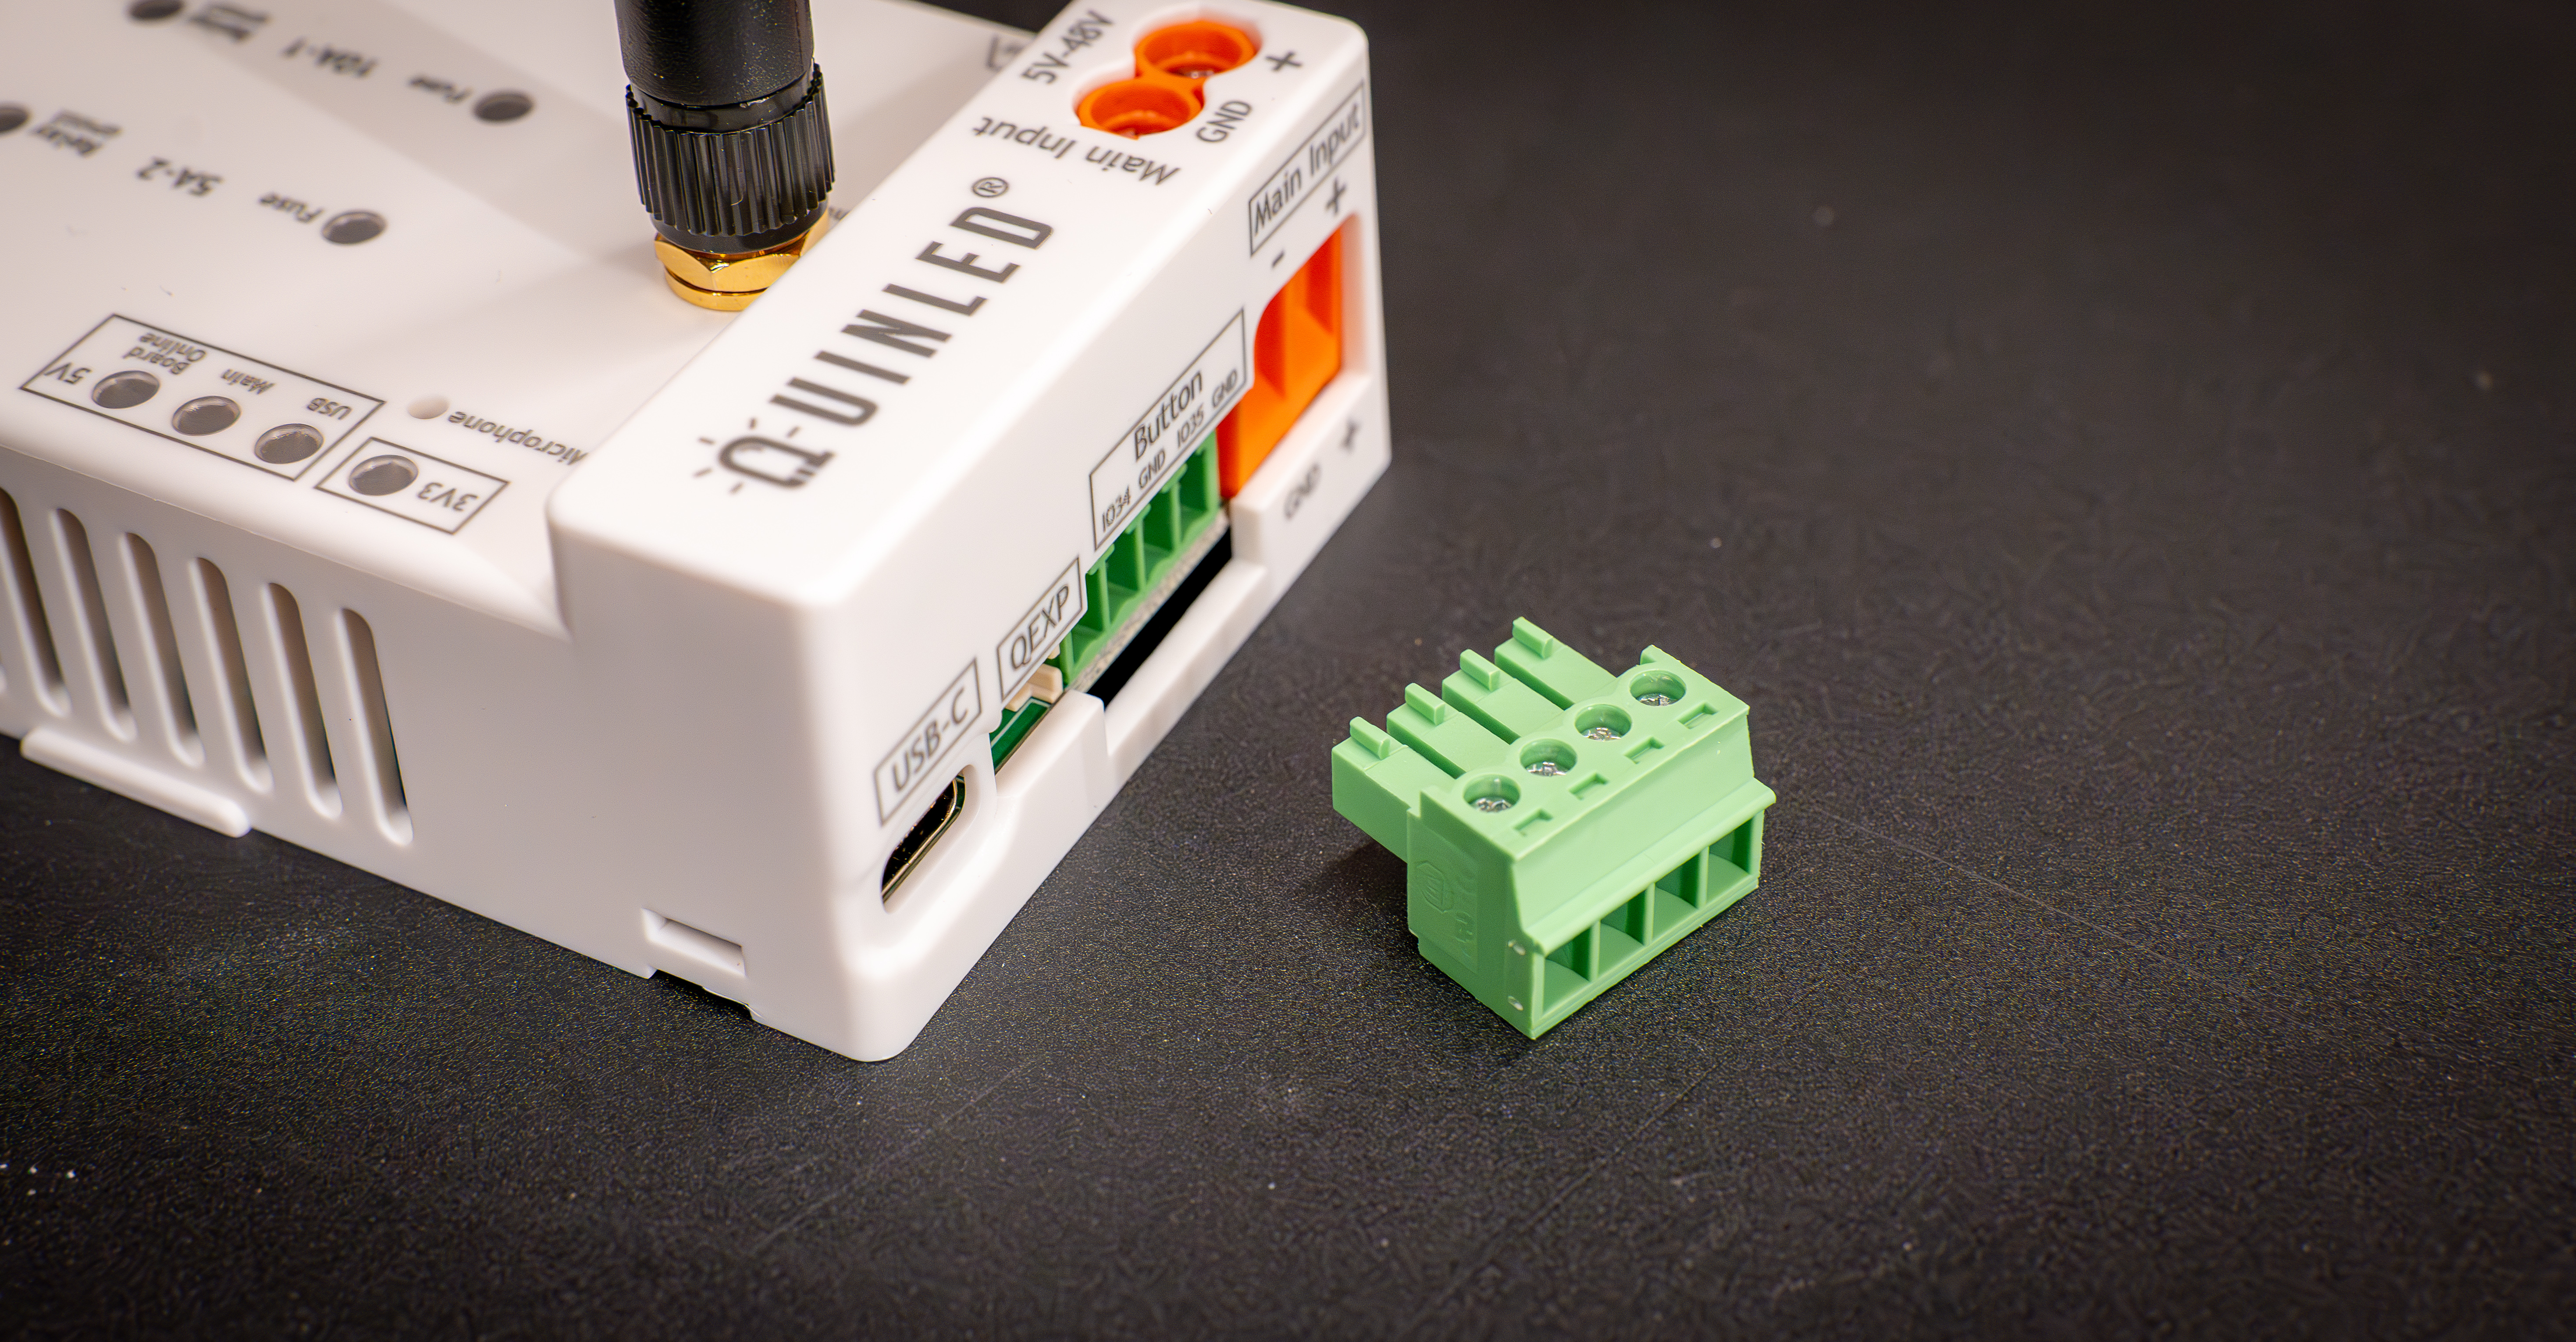 Disconnect anything connected to the controller except for the antenna
Then we can continue to step 2!
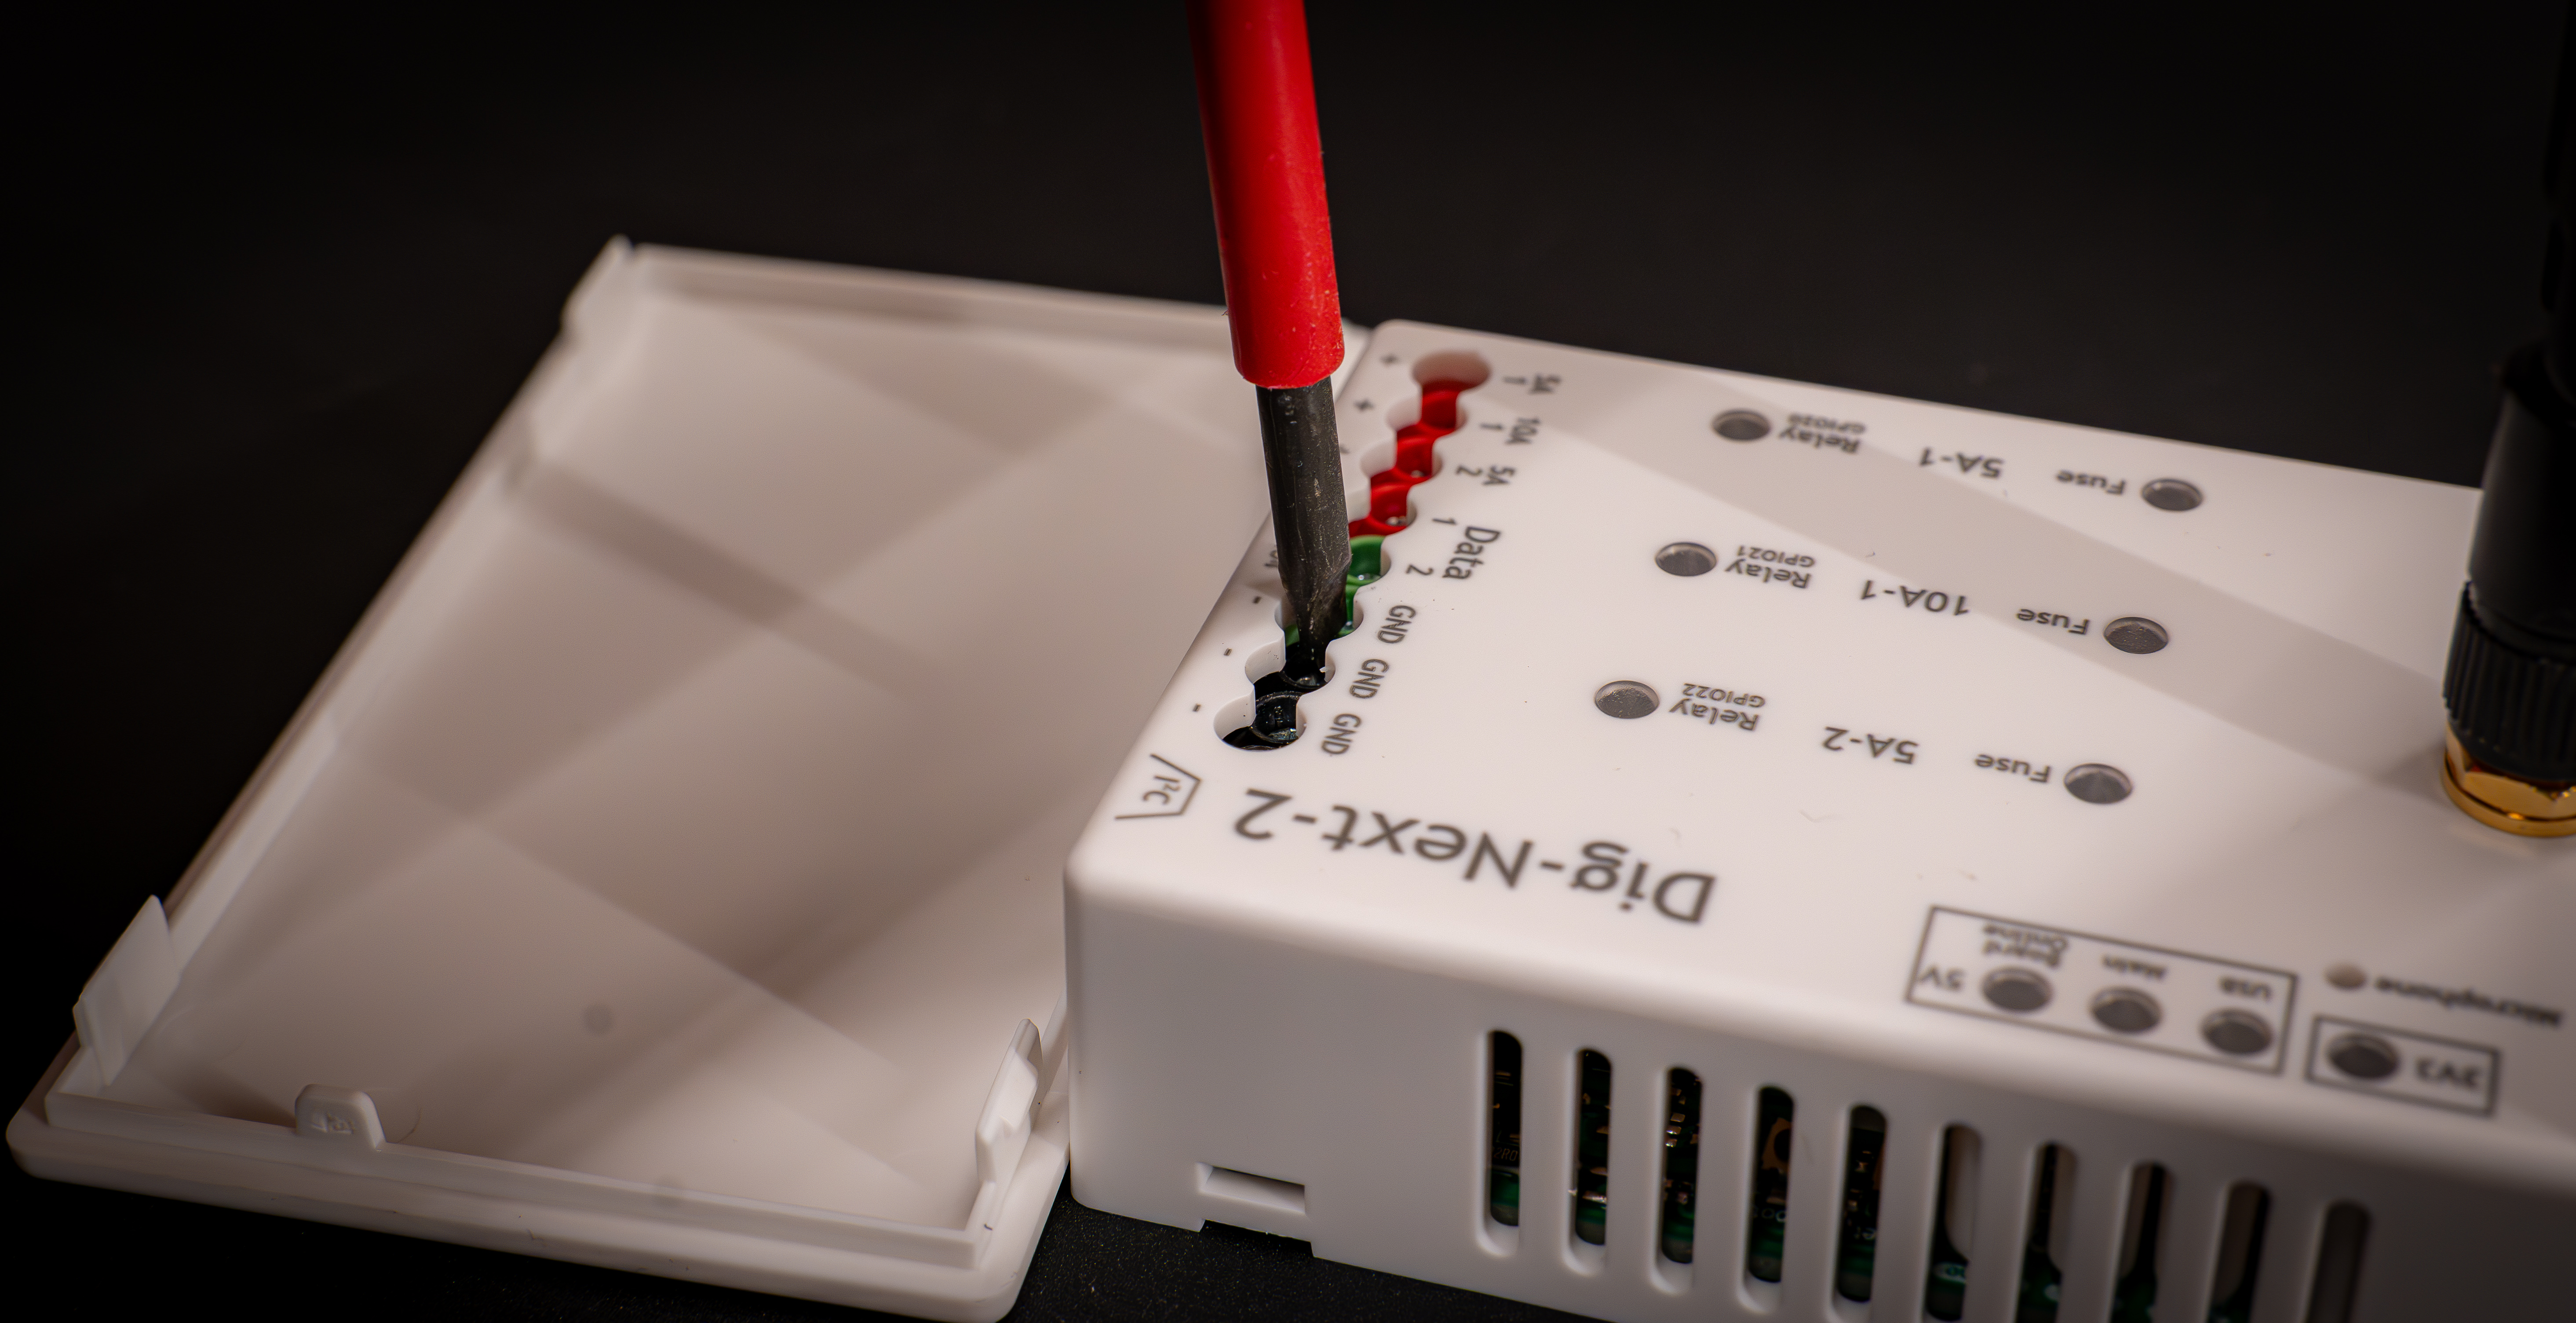
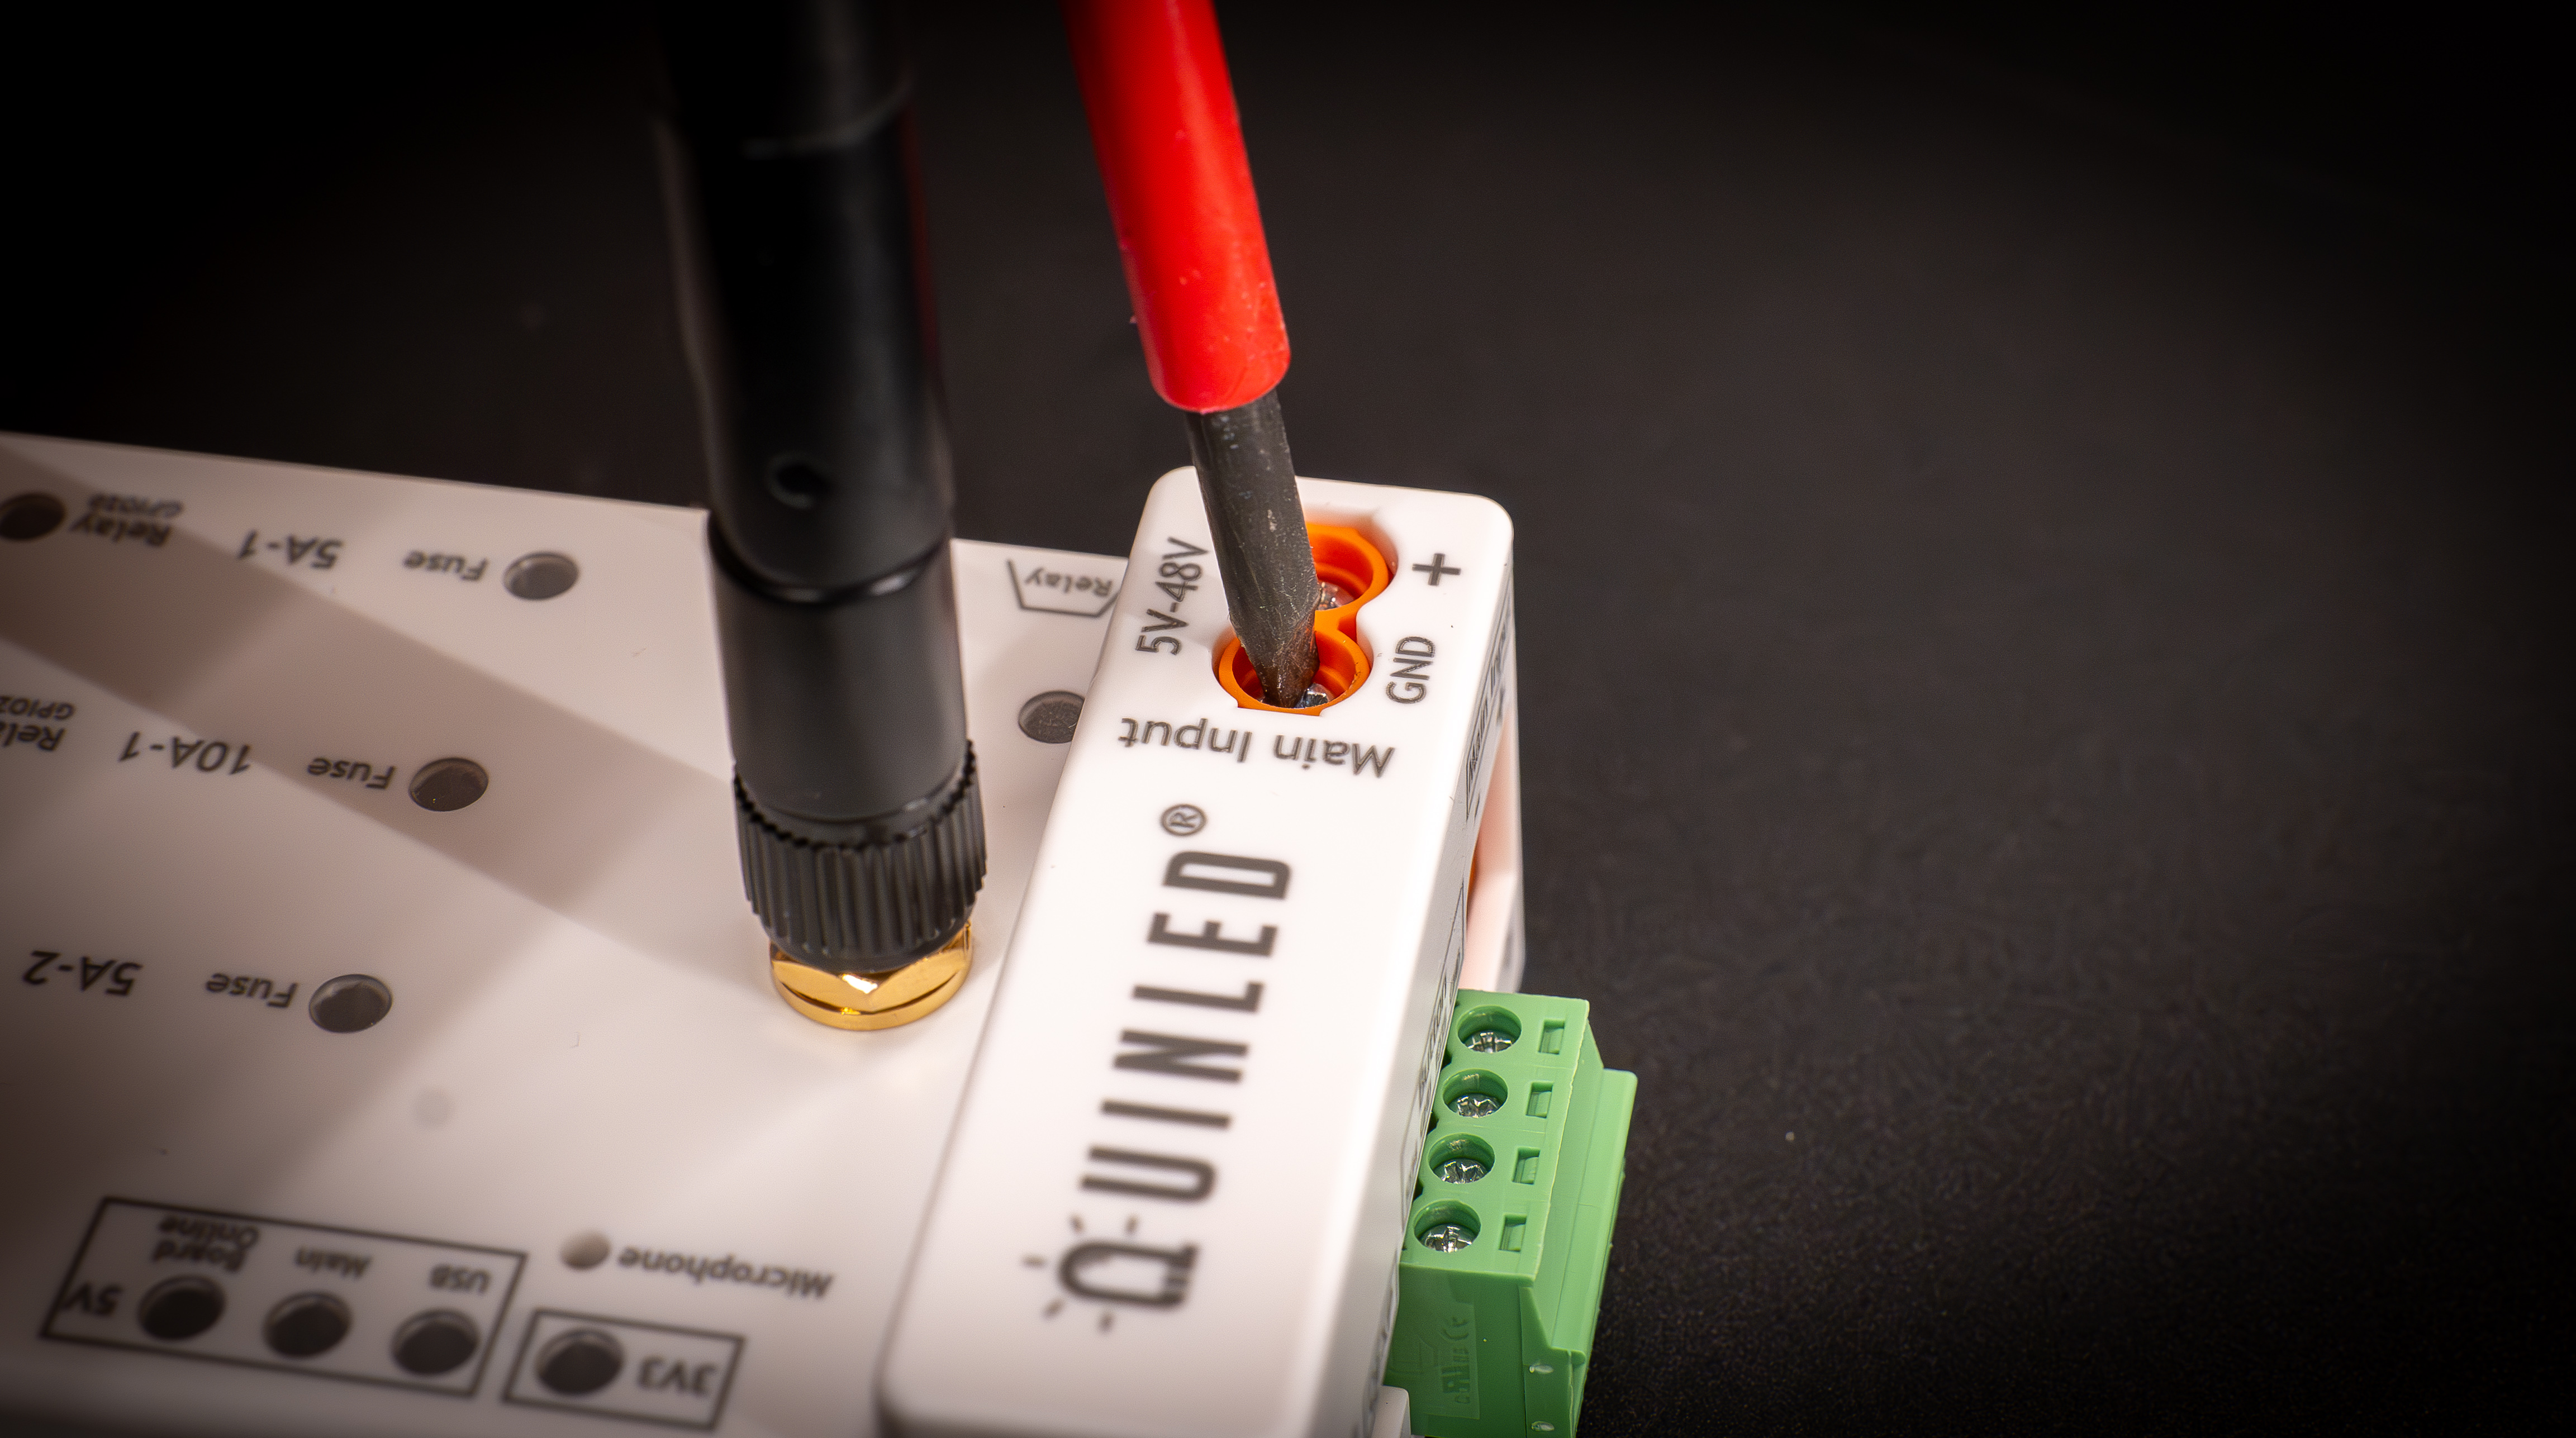
Step 2 – getting the board out of the case
The easiest way to do this is by using the same screwdriver and pushing onto the terminals to get the board to release from the case. You can do so with the board lying flat on the table without the back cover on there so you don’t push it too far, there is still an antenna wire attached!
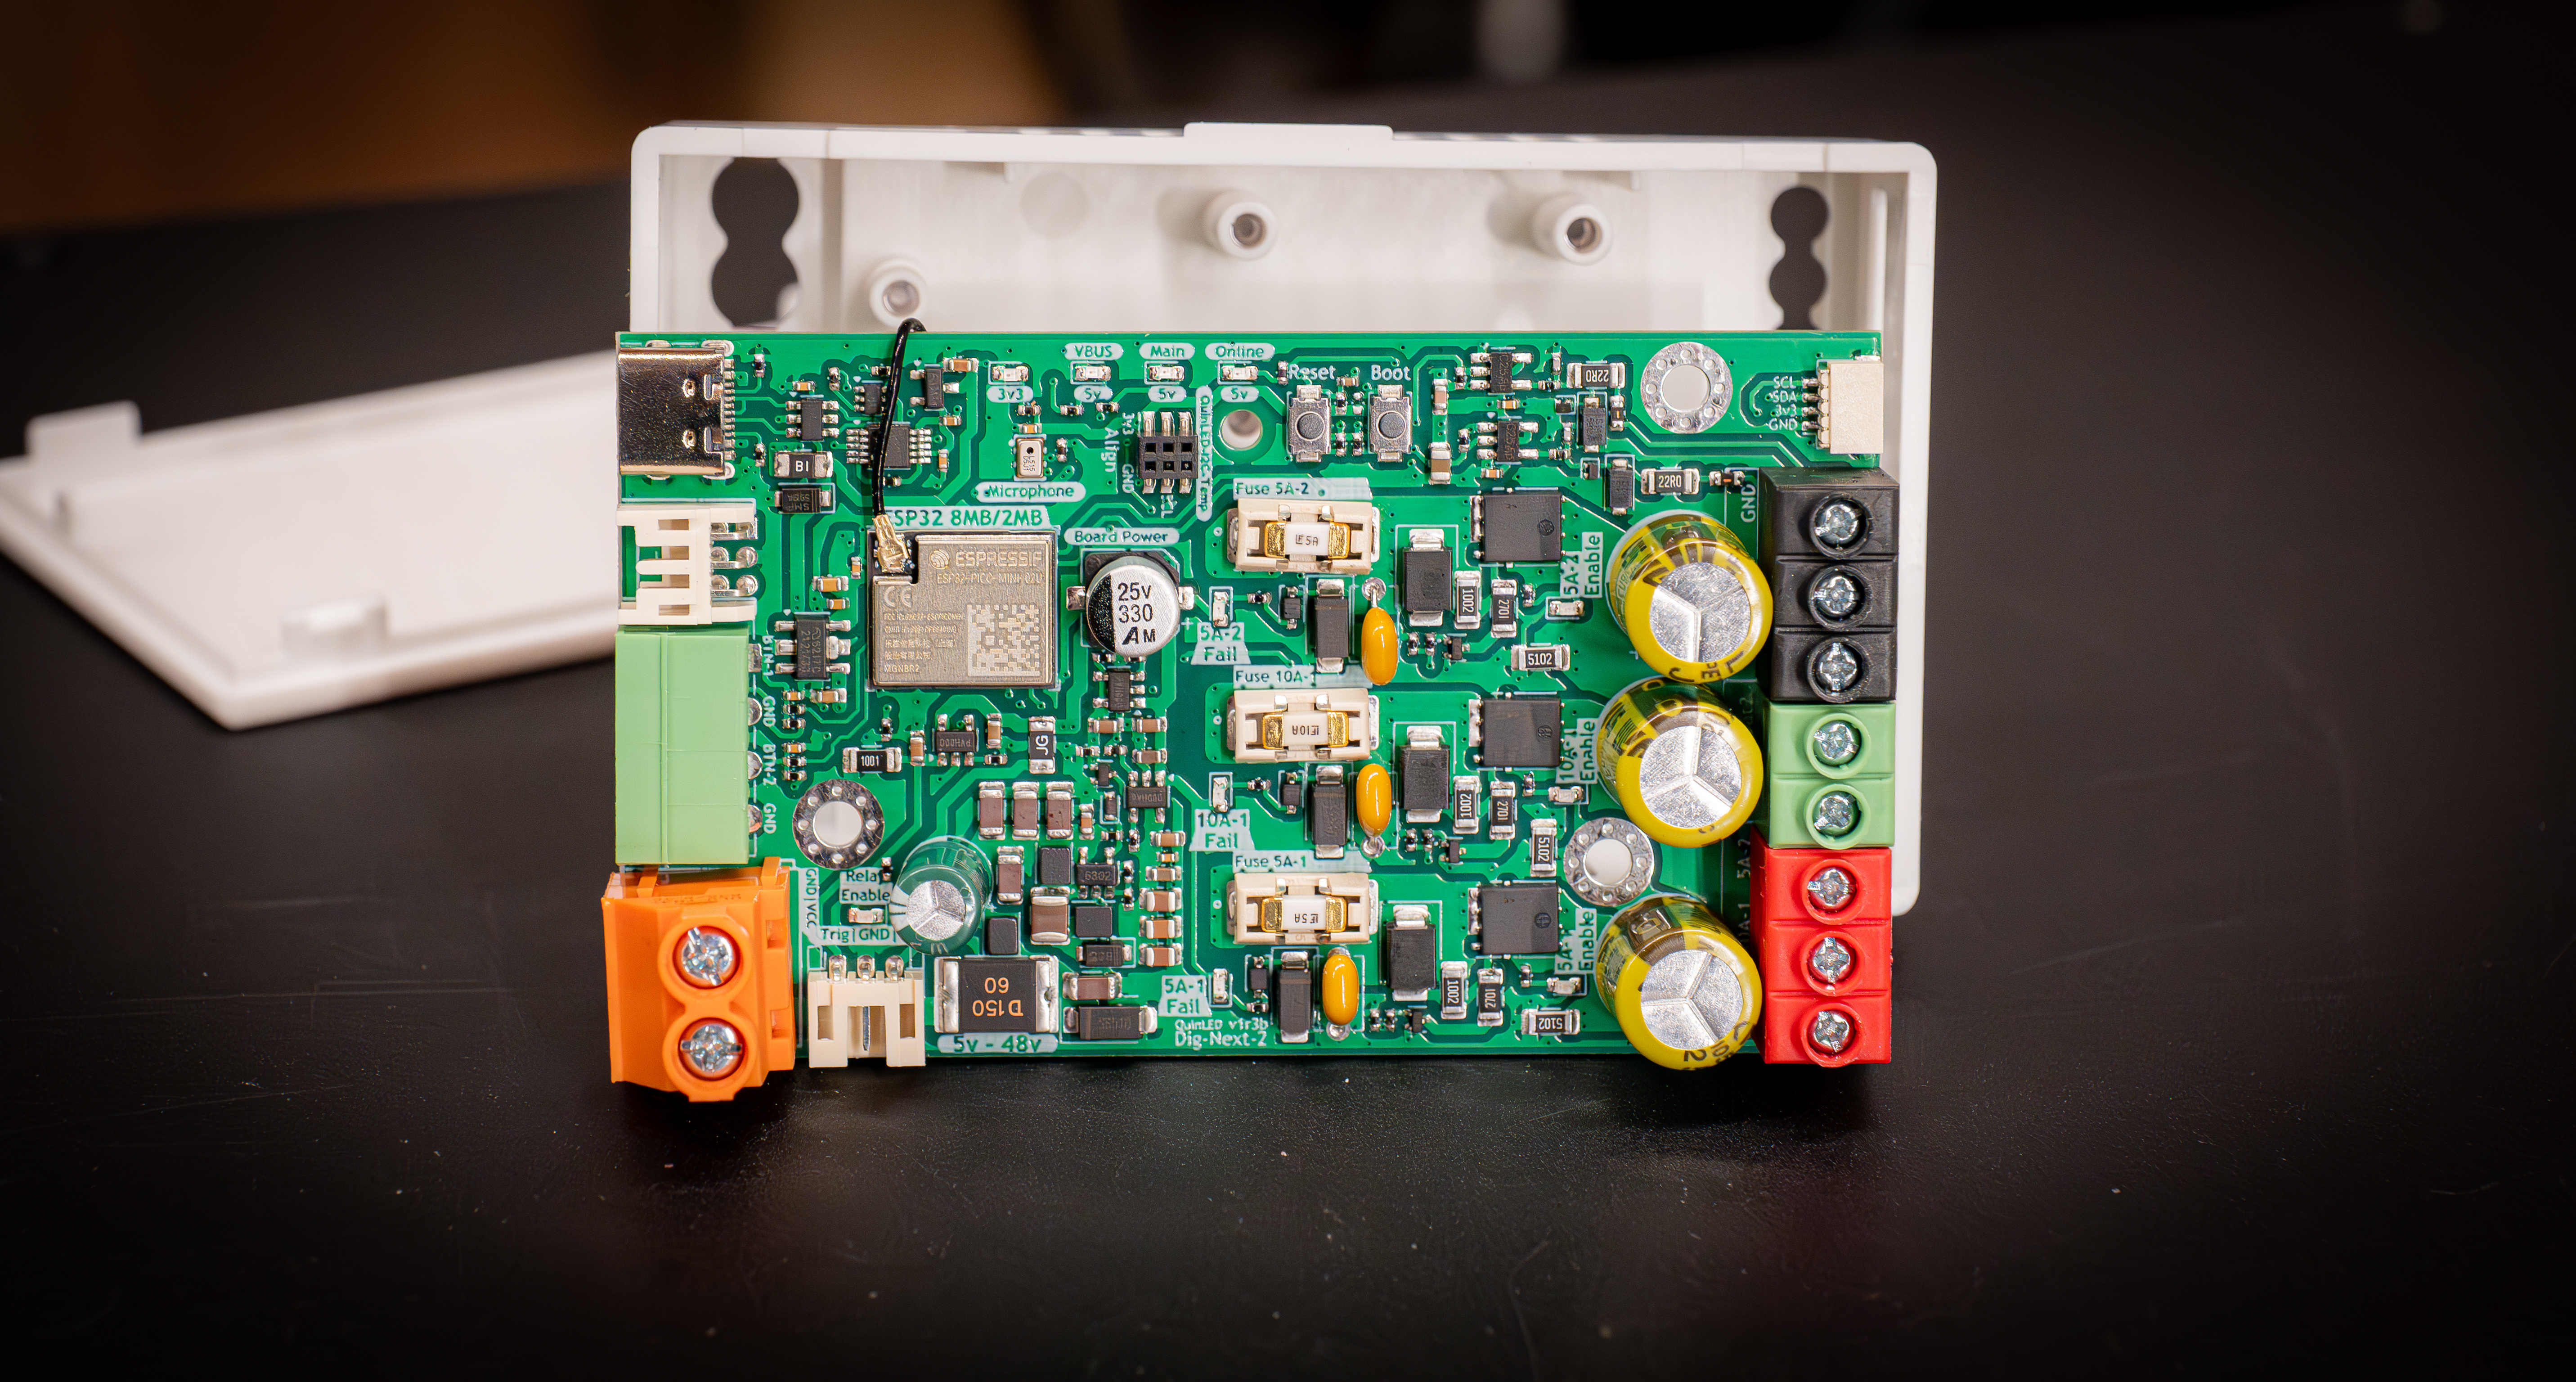
Step 3 – Replacing the fuse
With that the top of the PCB should be reachable and you can replace the broken fuse. You can use a pair of needle nose pliers to get the fuse out if it’s too hard to grab otherwise. Please follow the rules in the power handling guide for fuse selection, there is also an article with links where you can get replacement fuses.

Step 4 – Closing it back up again
To close everything again you just mount the board back the way it came out, make sure not to pinch the antenna cable. Sometimes you have to fiddle a bit to get the board to lock into the case again but it should snap in fairly easily. Once that happens you can place back the bottom cover again and you are done!