QuinLED-Dig-Uno DIY v3
Specifications
This is a DIY project, there is also a pre-assembled version for sale, please go back to the index!
Specifications for v3 of the board, see v2 specifications here
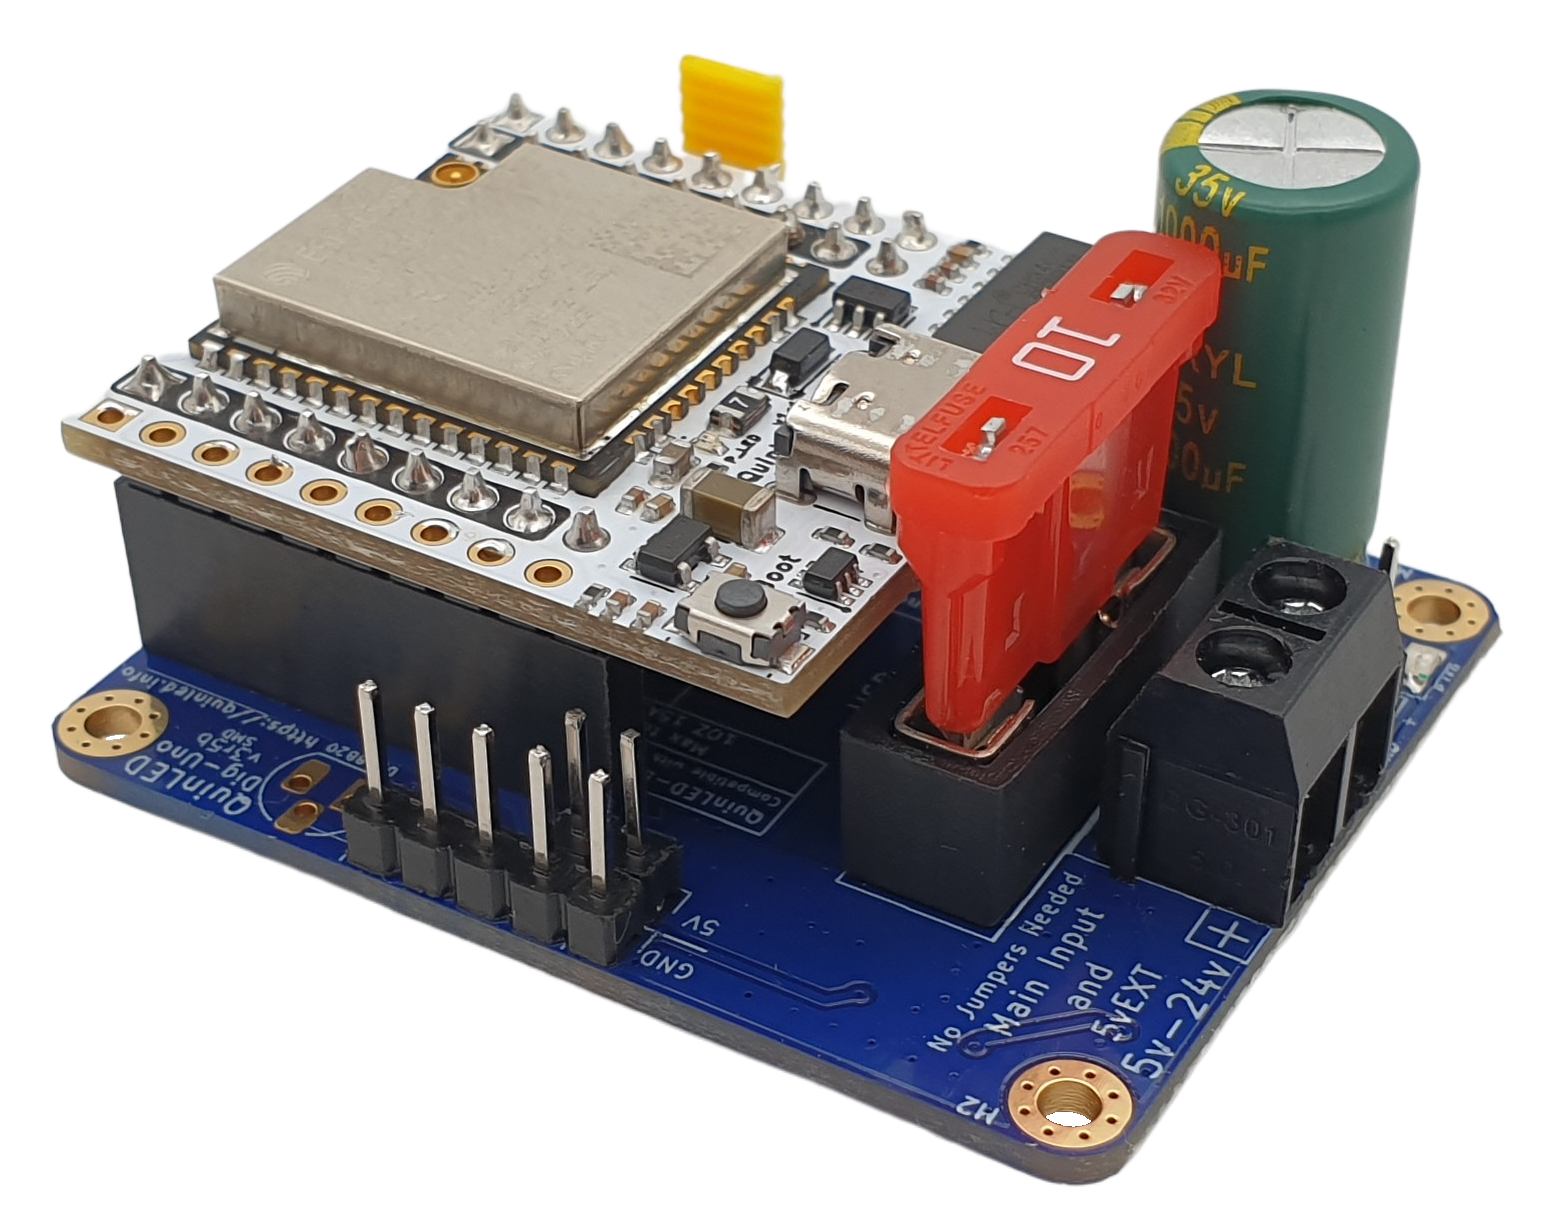
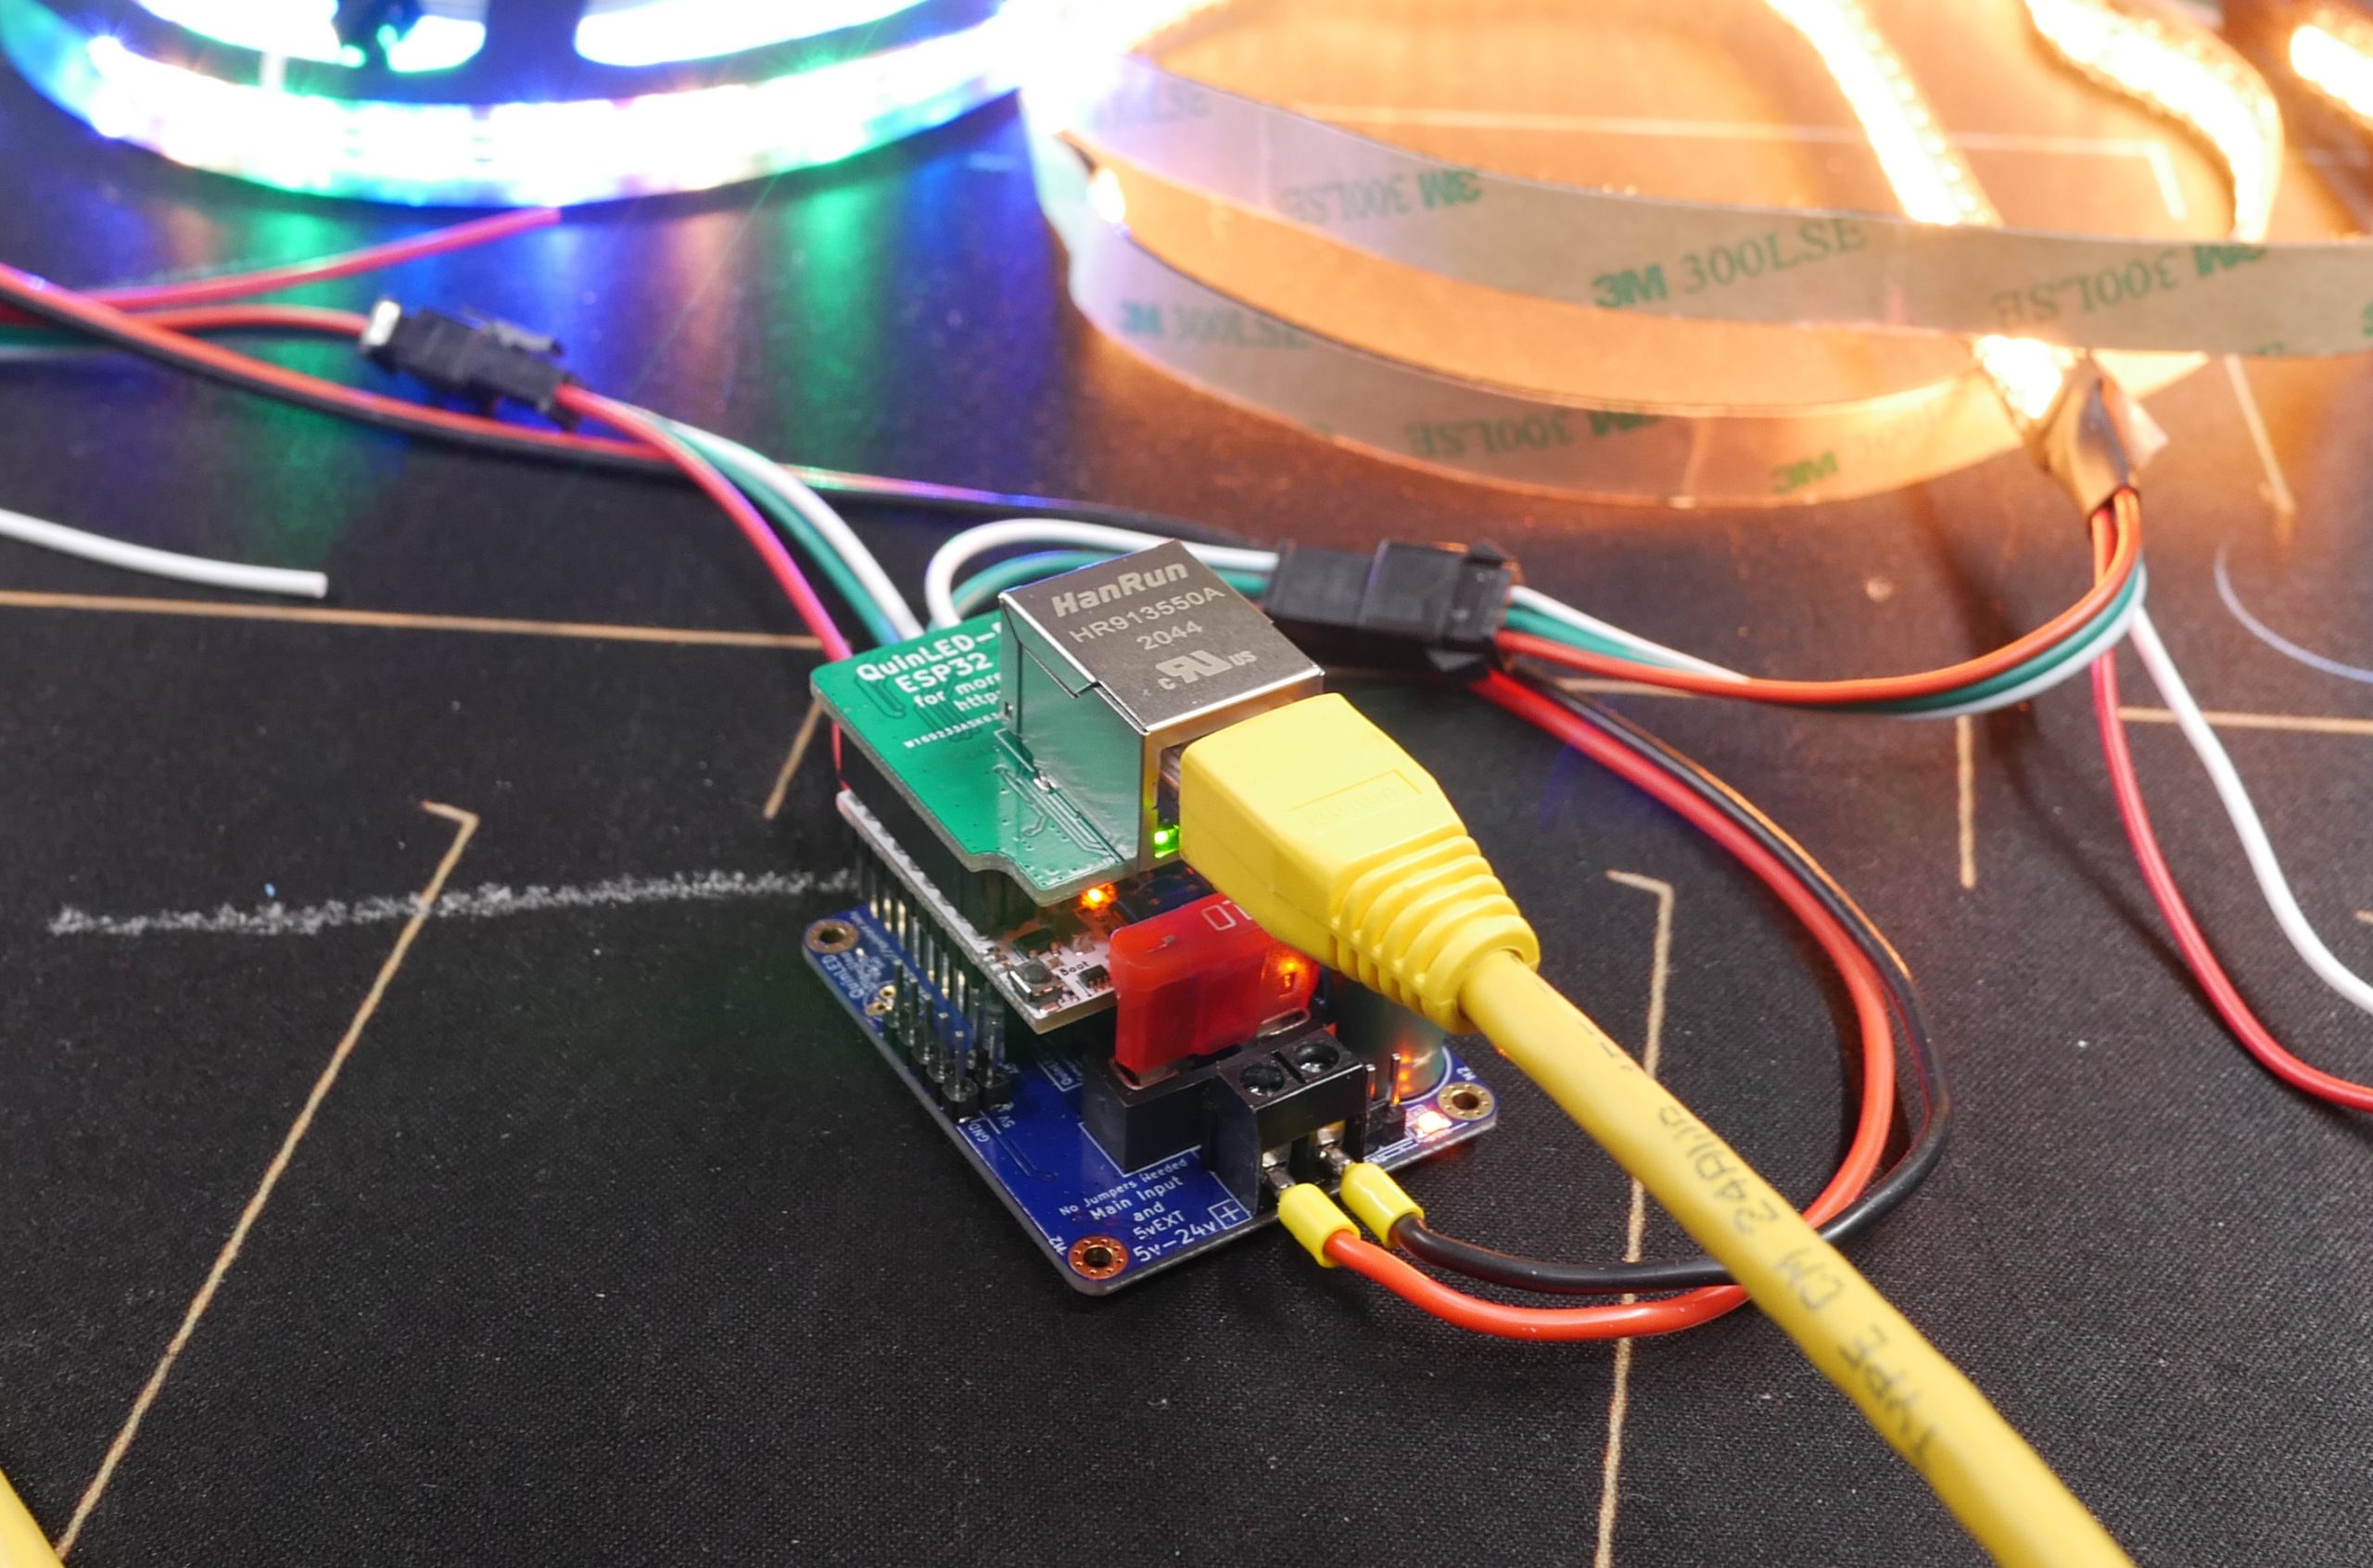
QuinLED-Dig-Uno is part of the digital LED controller family and is an ESP8266/ESP32 powered WiFi connected addressable LED (strip) controller. It’s designed to be compact and an easy and especially safe way to run addressable LEDs. It’s best suited for small size installations, other boards are available for medium to large size installations!
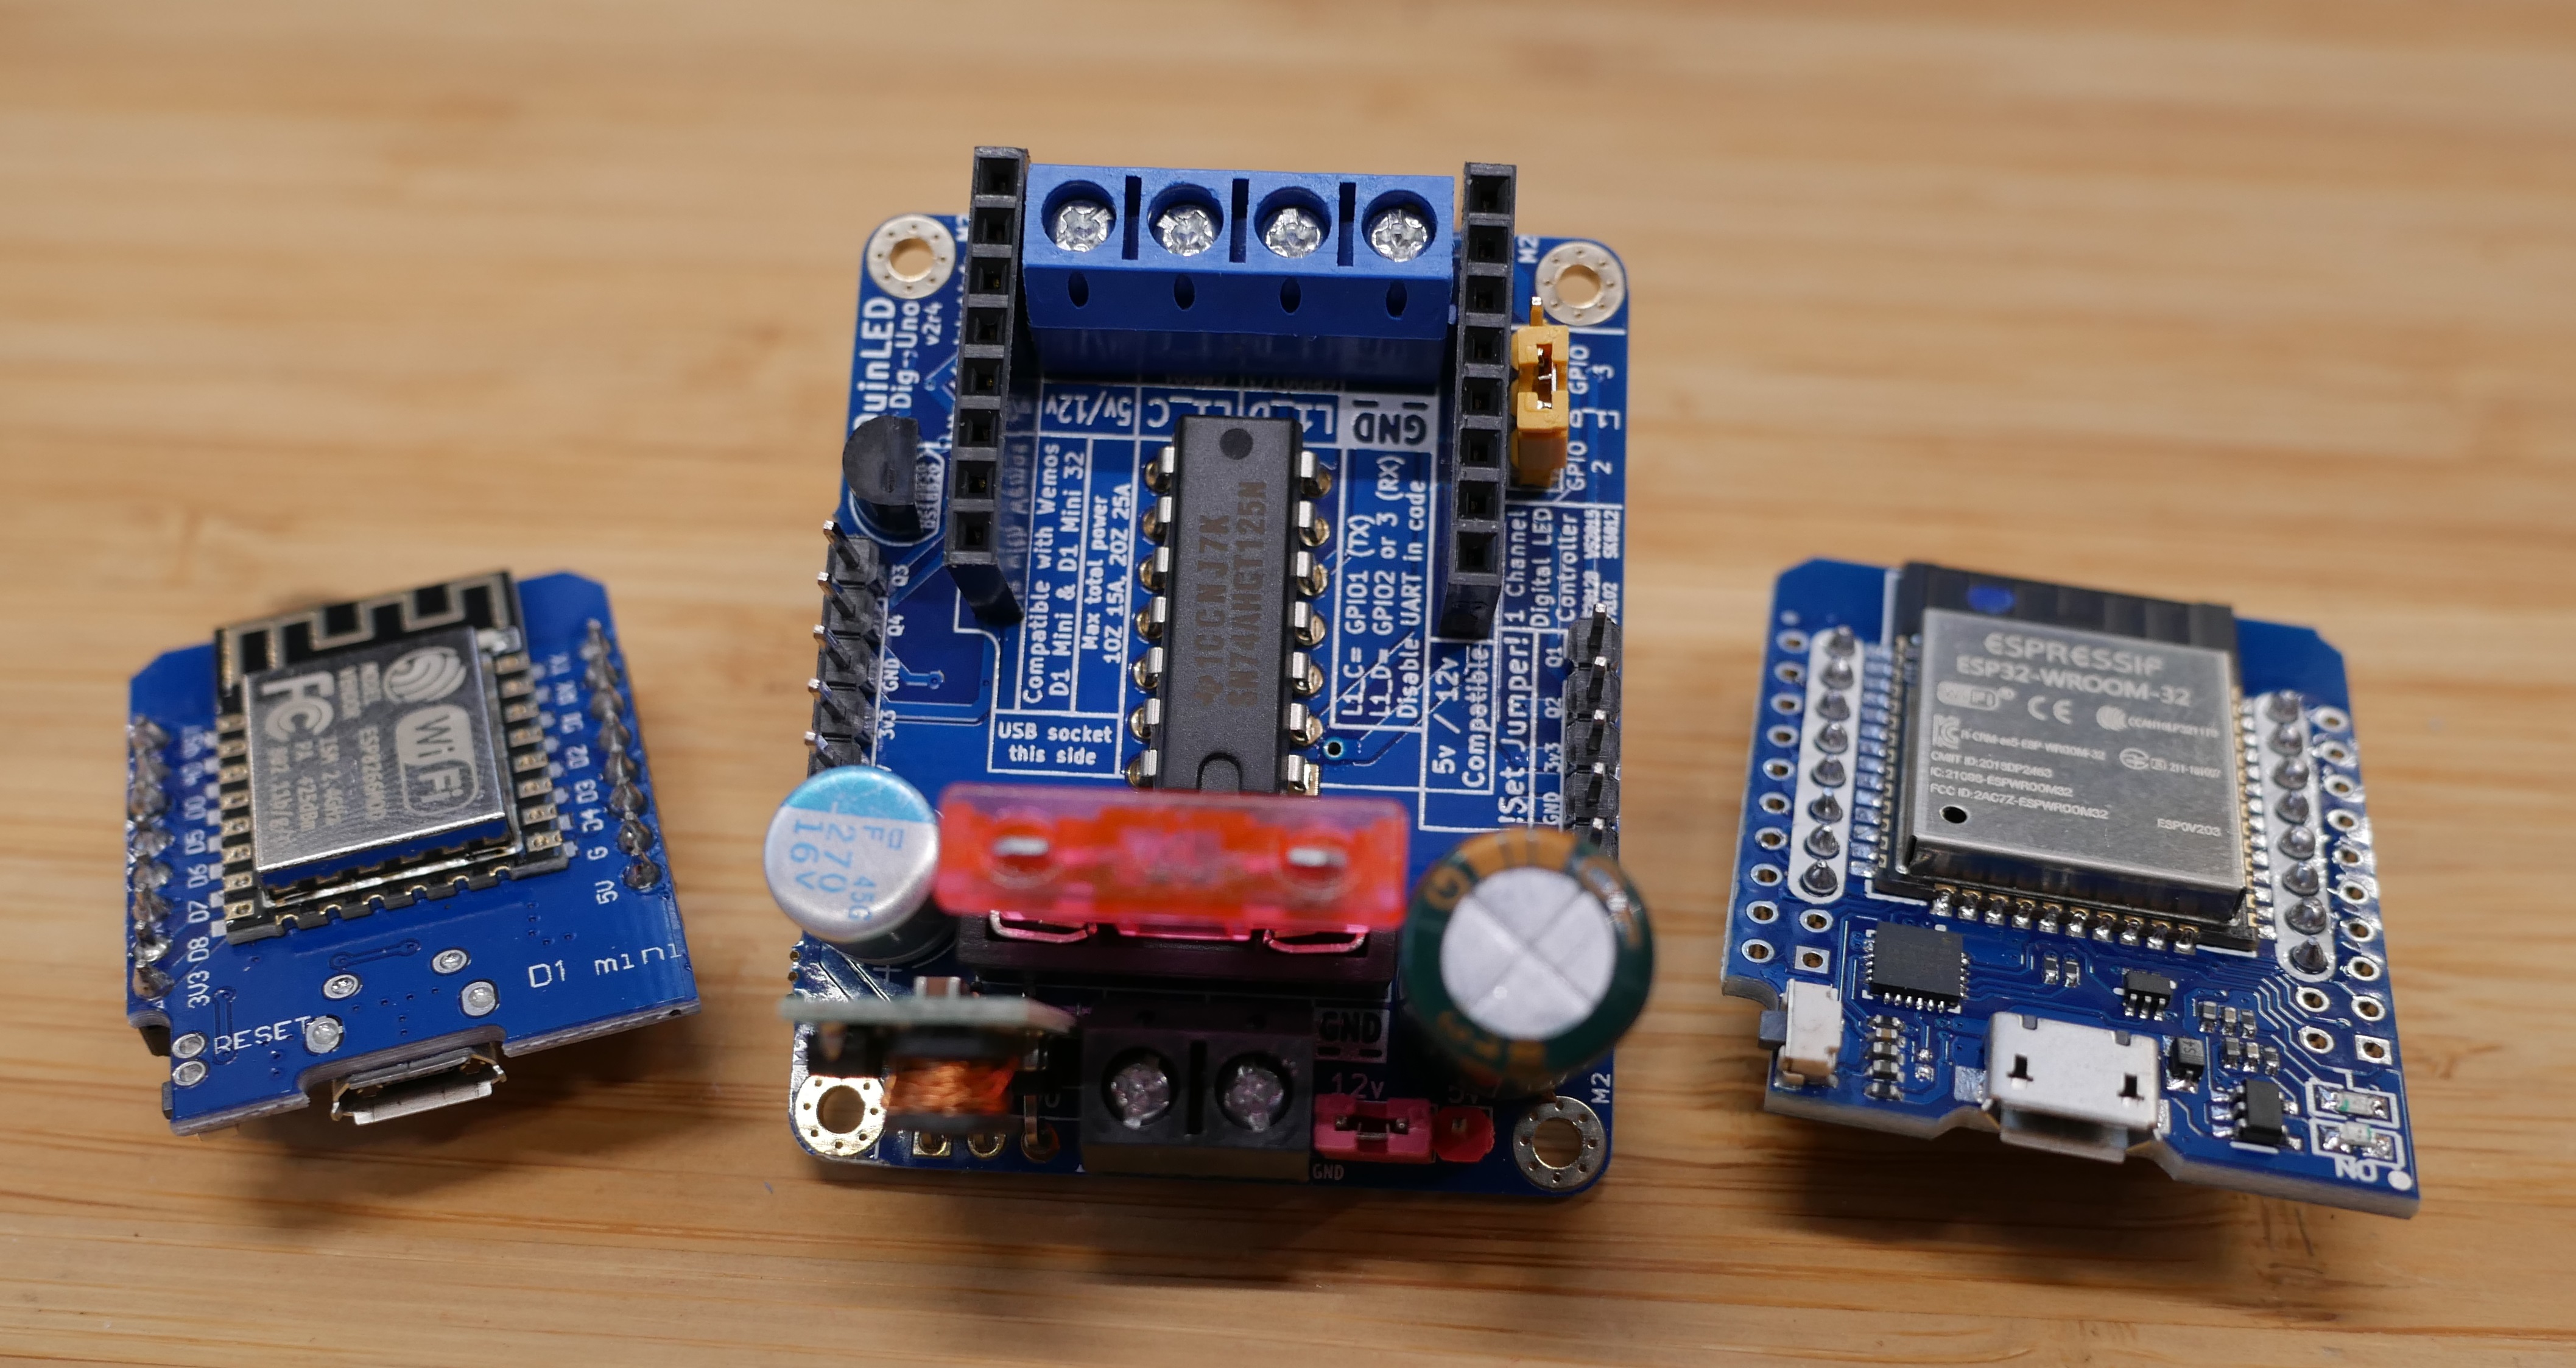
Since v3 the ESP32 is strongly recommended, if you still wish to use an ESP8266 it’s recommended to build the v2 version!
QuinLED-Dig-Uno is suited for Clocked (Data and Clock pin) and Clockless 5v or 12v Digital LED strips with various chips such as the WS2812b (Neopixel), APA102/SK9822 (Dotstar) or SK6822 LED chips. Further more the QuinLED-Dig-Uno has been tested to work with ESPhome (For Home Assistant), ESPpixelstick (E1.31), Adafruit NeoPixelbus, FastLED and the excellent WLED firmware!
Features
- Uses Espressif ESP32 Micro-controller
- Recommended to use QuinLED-ESP32 !
- Compatible with all variants including Ethernet
- Also compatible with generic MH-ET D1 Mini 32 (ESP32)
- Recommended to use QuinLED-ESP32 !
- 74AHCT125N DIP-14 3.3v –> 5v level shifter for driving longer wire and strip lengths without flickering or corruption issues
- 5v-24v voltage input and strip/pixel compatible
- Input terminals for getting maximum input power through the board
- Selectable 5v or 12v/24v design (input voltage = output voltage)
- Jumper to set either 5v or 12v/24v
- If only 5v is desired you can save on component cost and not add the 12v components!
- Jumper to set either 5v or 12v/24v
- vEXT feature
- Allows running the board with 2 power supplies
- Enables running off standby power (5v phone charger for instance) while main high-power LED power supply is switches off with a relay
- Allows running the board with 2 power supplies
- High current input and output terminals
- Barrel connections can very much limit input power, screw terminals allow up to the rated 15Amps
- Reverse polarity protection on input and output
- Onboard ATO style fuse holder
- Protects you against the worst failures!
- In part to work in conjunction with reverse polarity input protection
- Space for onboard capacitors to smooth out the current and prevent power supply inrush to the LEDs
- Optional onboard DS18B20 temperature sensor
- 6 GPIO in/outputs available through pin headers (see pinout article)
- Can be used for buttons, sensors, etc.
- Dedicated button pin broken out with pull-up resistor
- Analog audio input broken out (A0)
- Multiple 3.3v, 5v and GND pins available for buttons and sensors
- I²C Bus pins available
- Optional pull-high and pull-low hardware resistors
- Can be used for buttons, sensors, etc.
- 4x Mounting holes
- 4x M2
- Small size
- Fully assembled the size is about 5cm by 4cm with a height of 2,5cm
Power handling
Power handling depends on the amount of copper that is applied to the PCB. Generally these values are 1OZ by default or 2OZ if you pay extra. Depending on your needs you need to select the right amount of copper you need in your boards.
There are dedicated input terminals on one side of the board and there are dedicated output terminals on the other side of the board to the left and right from the LED1 and LED2 data output terminals.
Input voltage = output voltage to the LEDs. If you build a 5v/12v-24v switchable board, make sure to set the jumper into the correct position before you apply the new voltage.
Putting 12v on the board with the jumper in the 5v position will fry the onboard components!
Addressable LED strip often comes with separate Red (Positive) and White (Negative) wires to feed in more power into the strip directly and/or on both sides. I’ve designed the QuinLED-Dig series to handle as much amperage as possible through the board but there are limits. If more power is needed, please feed the strip directly next to doing so through the board, make sure to do so from the same power supply and properly individually fused!
Maximum input/output power
Maximum input and output power through board
Recommended sustained/continuous power ratings:
1OZ – 10Amps
2OZ – 15Amps
Max “burst” power ratings:
1OZ – 15Amps
2OZ – 25Amps
How to build?
Please see the index for all articles how to build the board yourself!


