I²C expansion
Back to QuinLED An-Penta Index
(This article contains Aliexpress affiliate links)
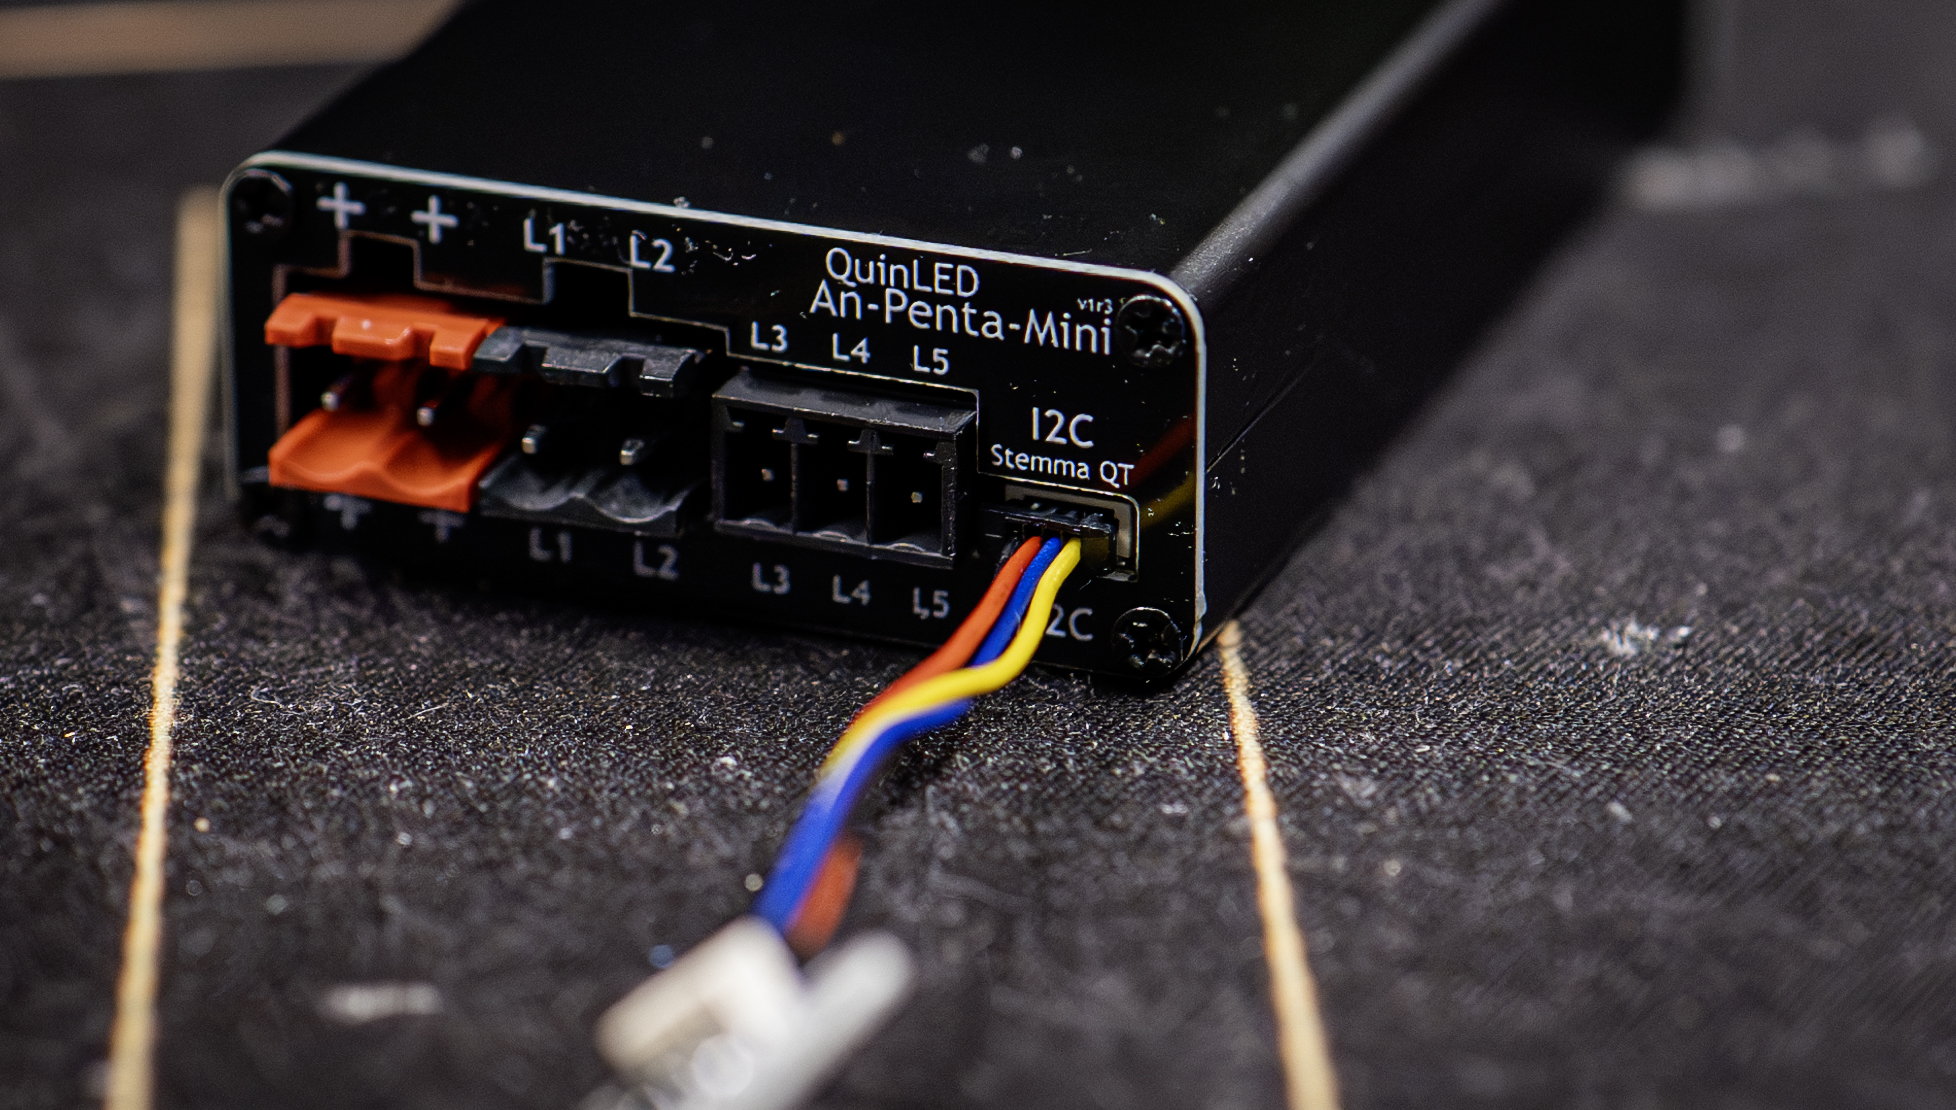
The new boards being released, like the QuinLED An-Penta lineup of Analog PWM dimmer boards all feature a Stemma QT/QWIIC I²C expansion port, what are these for and what can you do with them?
(This board mainly uses the An-Penta-Mini as an example but the same is possible on all boards in the An-Penta line-up and/or equipped with I²C terminals)

What is I²C?
I²C is a standard for a communication bus, it was developed in 1979 (my birth year!) by Philips in the Netherlands. In short it’s a 2-wire communication bus standard to which various boards can be connected to perform functions and have a bidirectional data connection to a host. The bus is intended for short distances but does allow you to connect multiple devices at the same time.
This makes the bus ideal to add various add-ons such as screens, sensors (temperature, humidity, light, etc.), extra input/output ports (buttons and such) and so on.
The connector
Adafruit started an initiative to make connecting small expansion boards easier in combination with often used ESP and Arduino based boards. Because of this they created the “Stemma QT” standard which uses a standardized JST SH – 1.0mm connector which is easy and small to integrate onto boards!
To connect Stemma QT boards together using their link-through feature you will need some of these linking cables (get the 4p “reverse” version).
Also for generic expansion
Below will be a list of Stemma QT compatible boards but something to keep in mind is that this connector basically just exposes the following:
- Power
- 3v3
- GND
- GPIO
- GPIO lines directly linked to the micro-controller used
- See pinout article in the article index per board to see which GPIO pins are connected
- GPIO lines directly linked to the micro-controller used
Thus if you just need some GPIO pins and don’t want to use I2C at all, these outputs can also be used for that purpose!
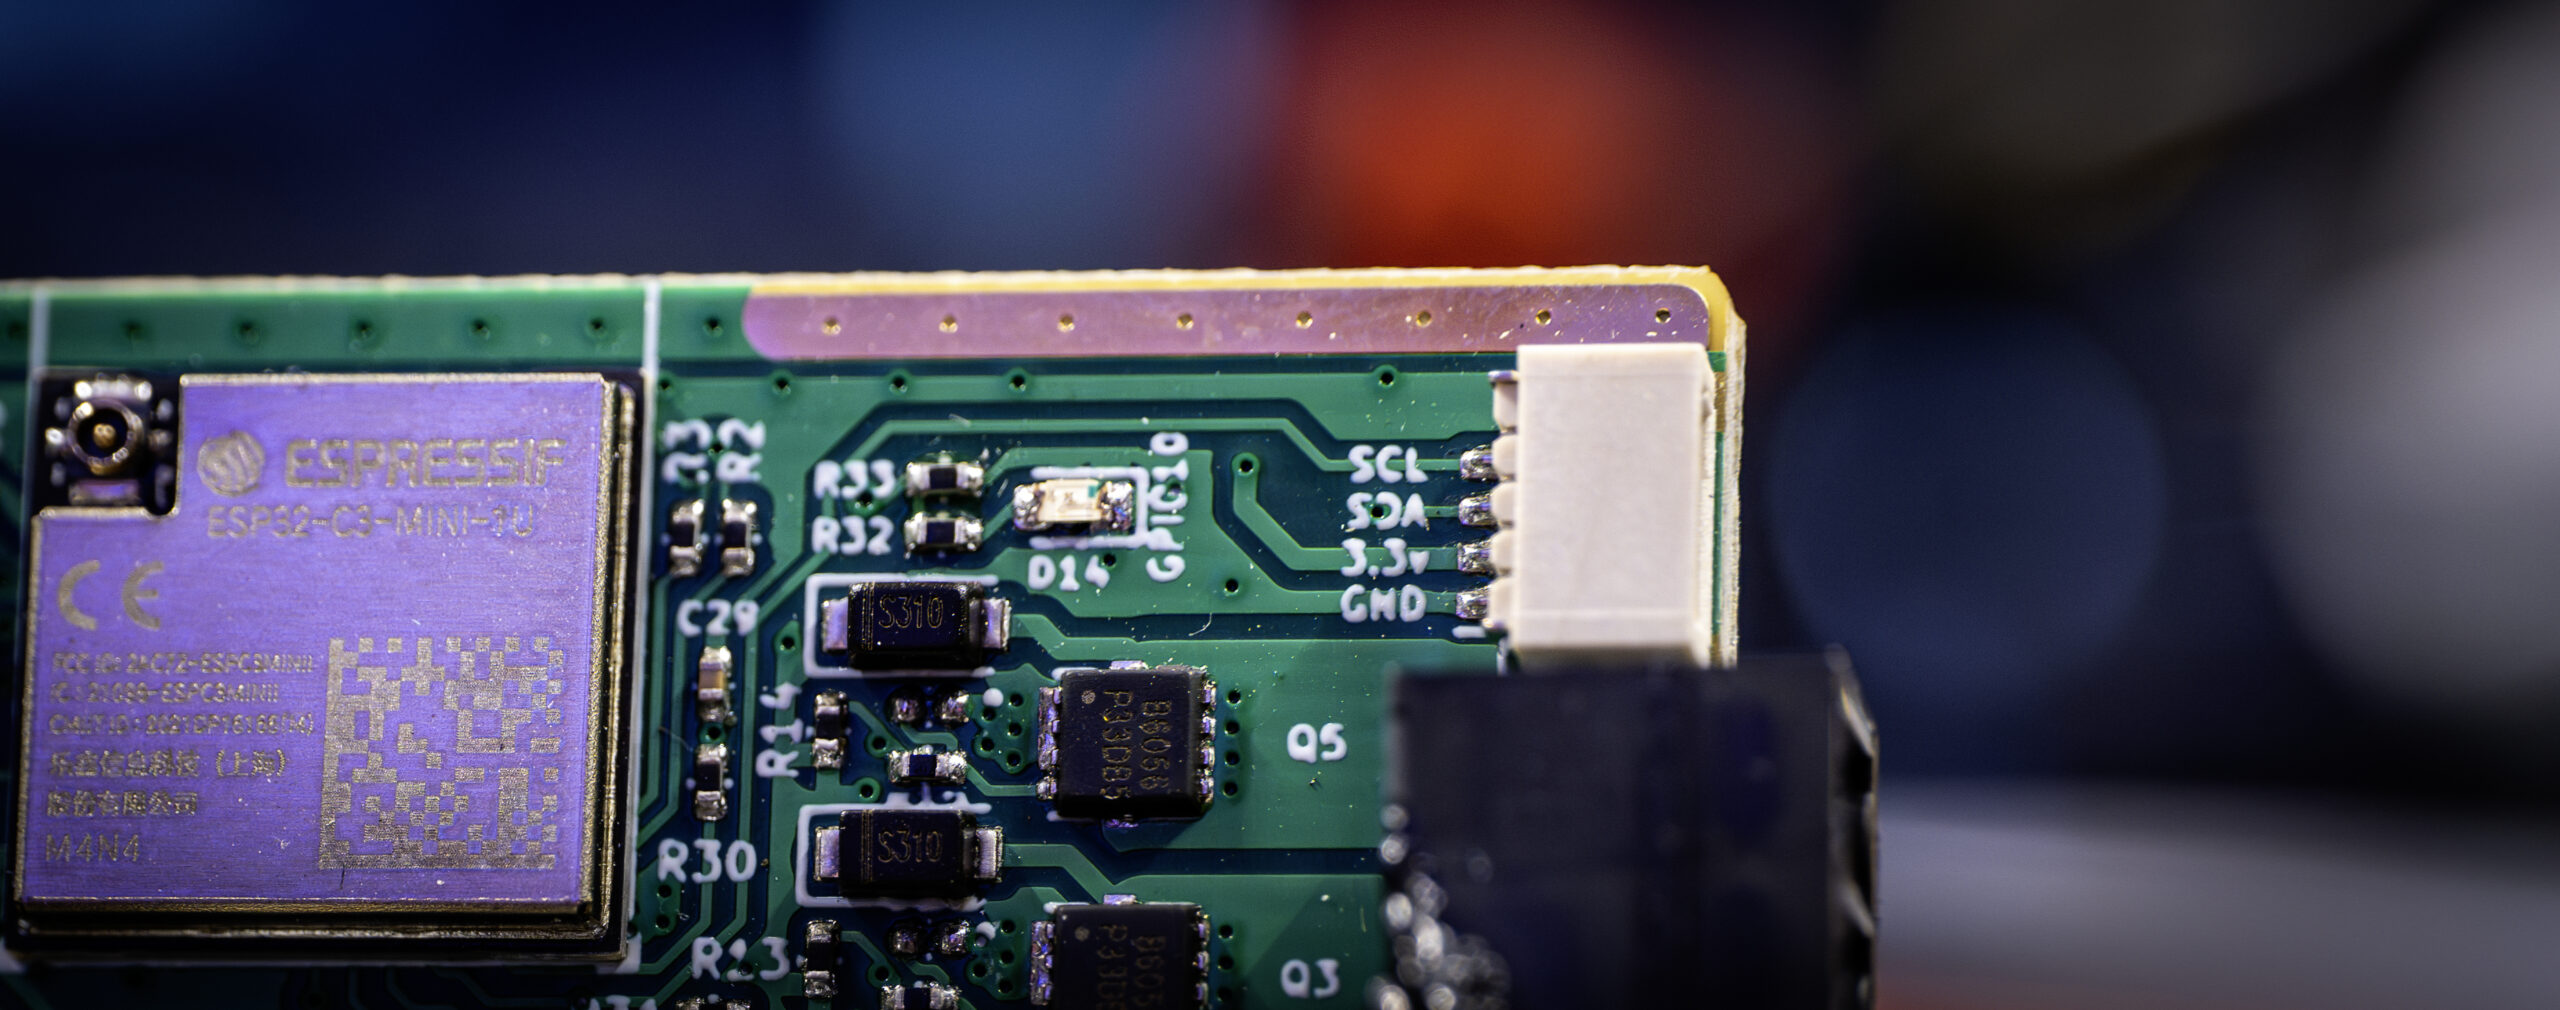 Photo to show how the lines are connected on the socket
Cables
To make easy use of the Stemma QT connector on the boards you’ll want two types of cables.
For both variants get the 4p version!
- A Stemma QT to Dupont breakout cable (get the SH 1.0mm 4p version)
- Breaks out to 4x 2.54mm dupont connectors so you can connect boards with pin headers easily!
- A Stemma QT to Stemma QT connection cable (get the 4p “reverse” version)
- Used to connect from the controller to a add-on board that also has a Stemma QT connector. The colors of the cables aren’t correct but they are connected correctly to work.
 Stemma QT to 4x dupont socket breakout cable
Voltages?
Although I²C can run with 5v and 3.3v all the QuinLED boards use the 3.3v standard since all boards are based around ESP32 micro-controllers which are natively 3.3v.
What can it be used for?
As described above you can use the connector as a generic expansion ports but you can also use the I²C eco-system to easily add expansion boards to your controller! Below add-on boards will be a mix of normal I²C boards and boards that have a Stemma QT connector attached. Both are in essence the same, the Stemma QT connector just makes it easier to link multi boards and not have to solder.
Although you can connect these, please make sure that the software you are running (like WLED or ESPhome) has support for the module/chip used!
Here are a few examples:
I²C 0.96″ screen
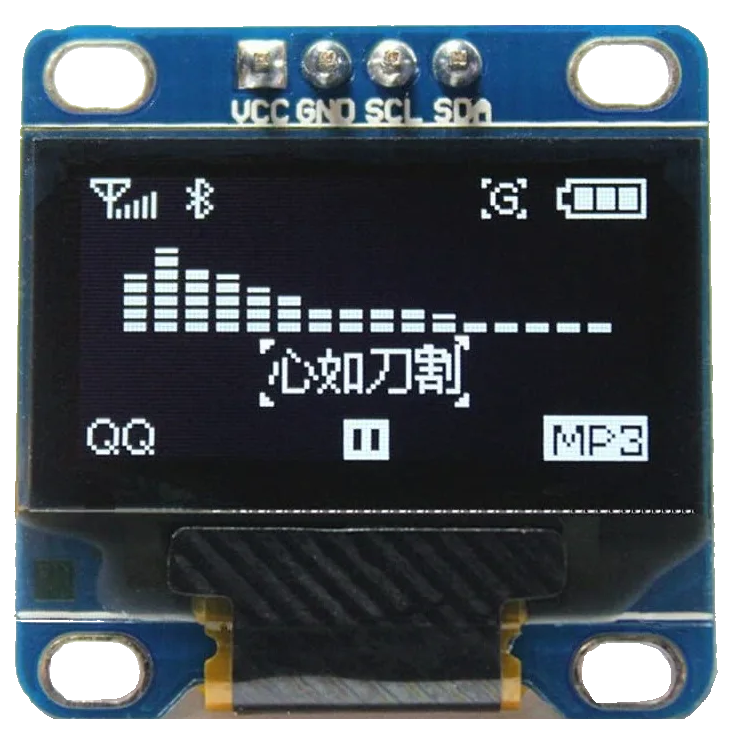 A little screen you can add to your controller to display information!
![]() Small I²C screen! (Needs breakout cables)
Small I²C screen! (Needs breakout cables)
–note you will require the Stemma QT to dupont breakout cables to connect these.
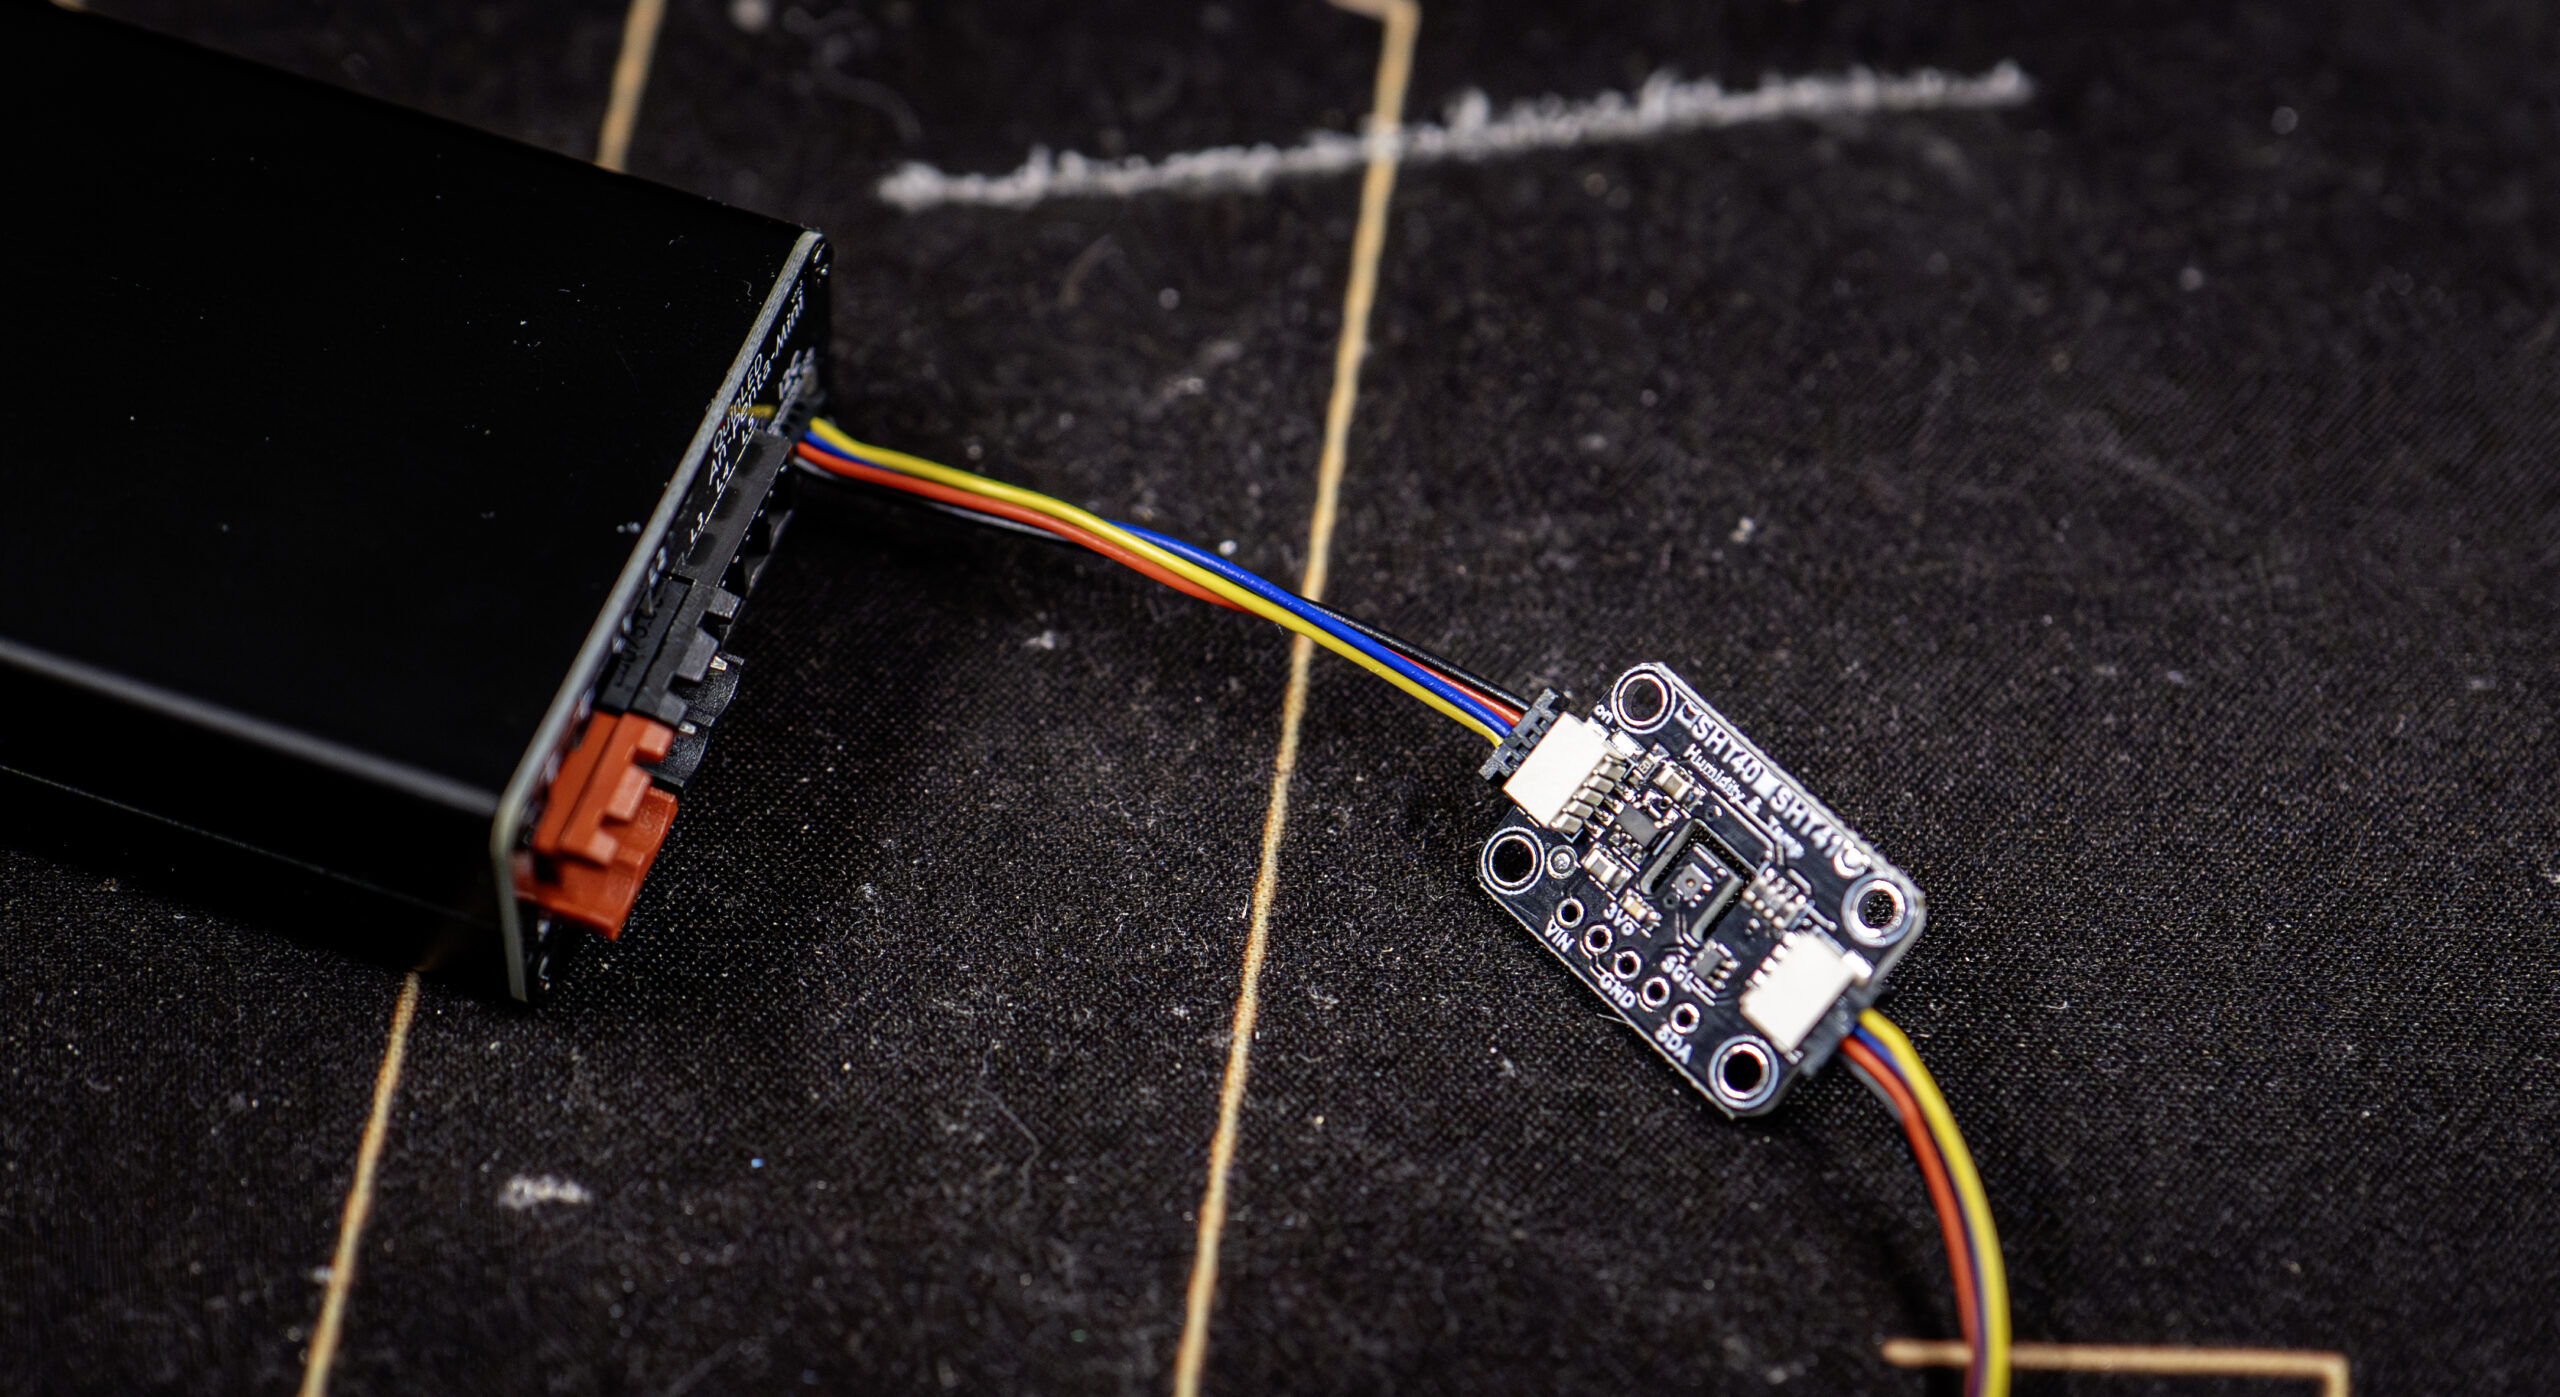
I²C Temperature and humidity sensor
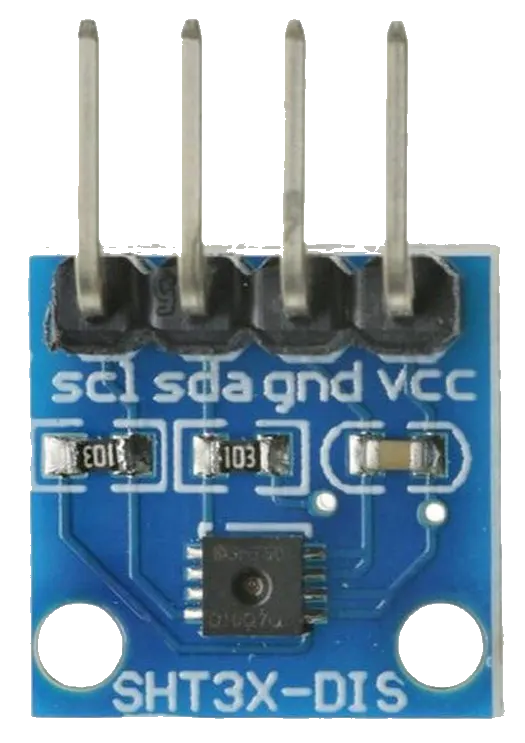 If you’d like to know the temperature and humidity of the box the room or box the controller might be located in you can add a little sensor to do the measurements!
![]()
SHT30 Temperature and humidity sensor (Needs breakout cables)
![]()
SHT40 Temperature and humidity sensor with Stemma QT connection (Don’t forget connection cable)
Port expansion board
 If you need (a lot) more button or switch inputs you can use a I²C port expander, this model is compatible with ESPhome and WLED (using the multi-relay mod) and adds 8 pins per board!
![]()
PCF8574 I2C expander with 8 pins (Needs breakout cables)
ADC Analog sensor board
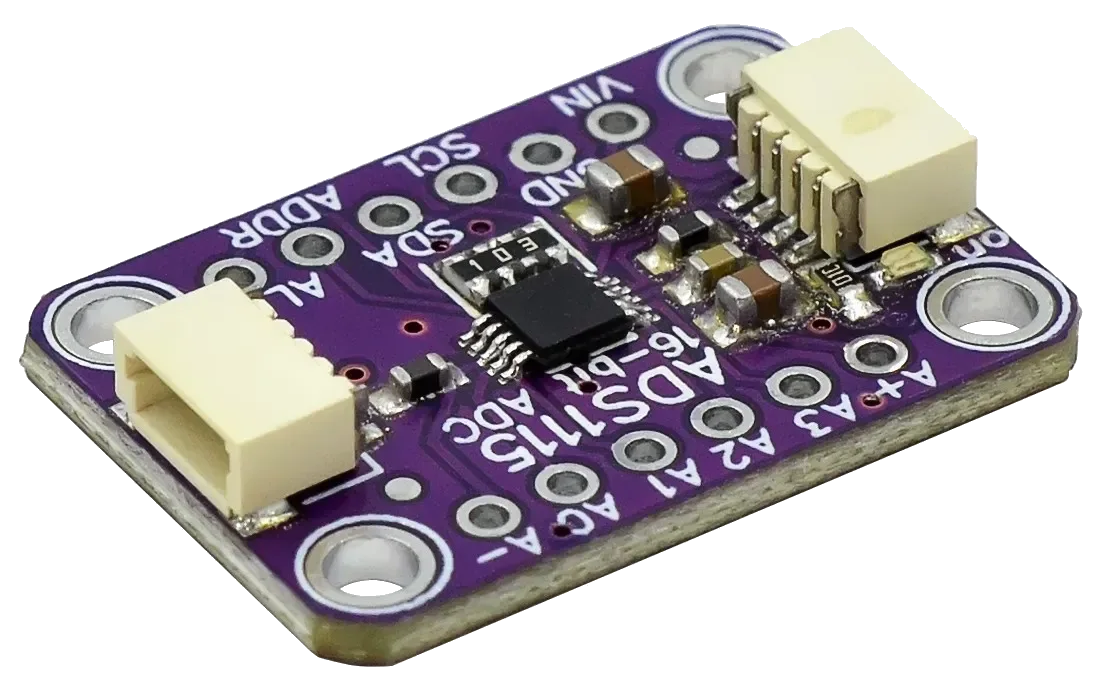 If you want to connect a potentiometer (adjustable knob) you need an analog input channel which can read voltages, adding a I²C ADC board can easily enable this functionality and add it to the controller!
![]()
ADS1115 board (Needs breakout cables)
![]()
ADS1115 board with Stemma QT connectors (Don’t forget connection cable)
Ambient light sensor board
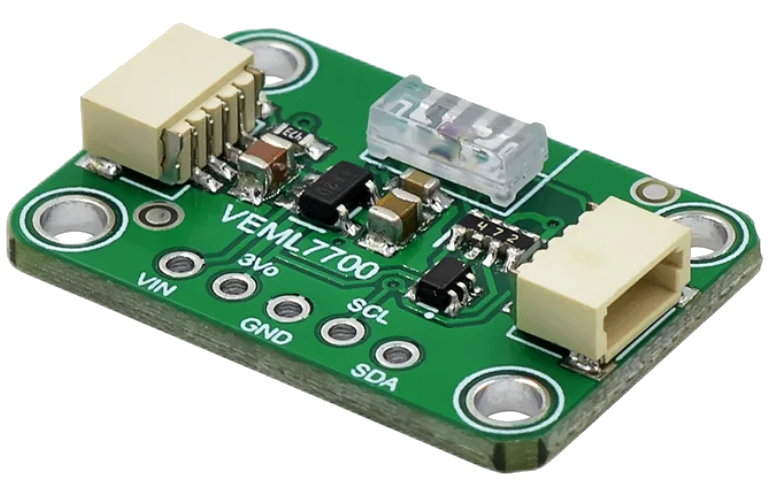 If you’d like to have triggers based on changes in the amount of light adding an ambient light sensor can help you automate your lighting!
![]()
VEML7700 Ambient light sensor board (both with and without Stemma QT) (don’t forget the correct cable!)
UV and Light sensor board
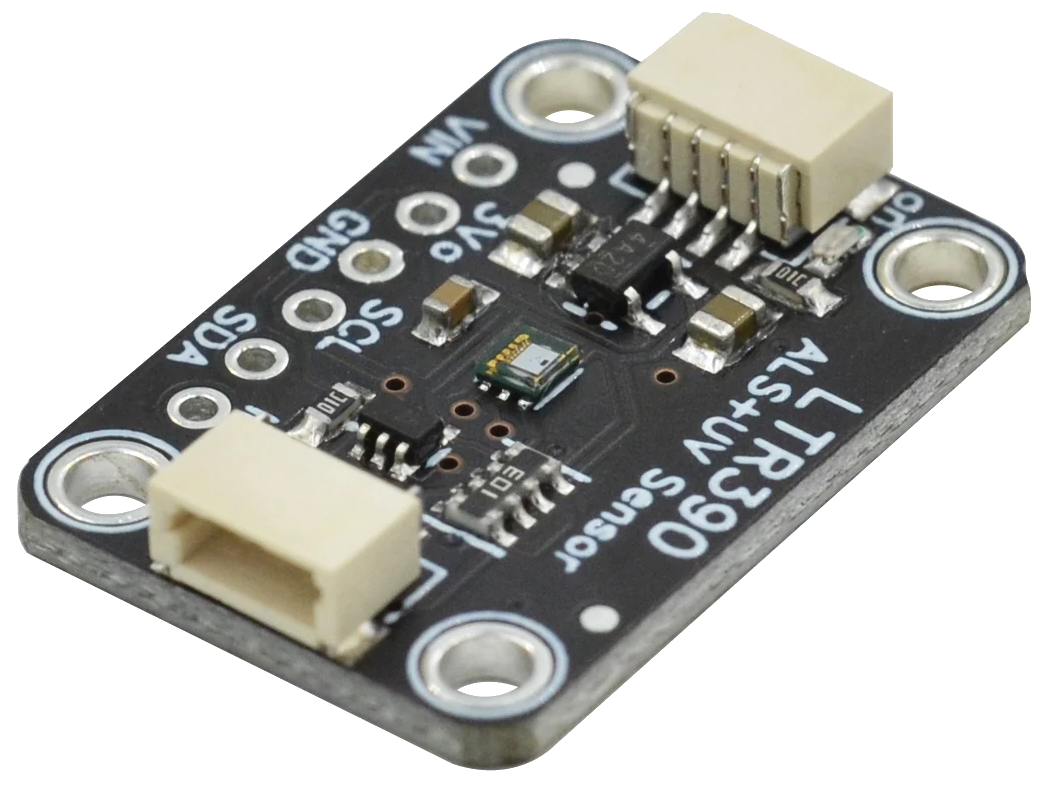 Maybe you want to measure UV rays and how much light there currently is?
![]() Gravity LTR390 UV and Light sensor (Don’t forget connection cable)
Gravity LTR390 UV and Light sensor (Don’t forget connection cable)
Conclusion
The above selection are just some example boards which you use to easily add functionality to the QuinLED controllers! Especially if you can find a supported chip on a board that already has the Stemma QT connectors, it’s just plug-and-play on the hardware side, configure the software to use the newly added board, and you are done!
If you find more useful boards, let me know on the Discord server and I’ll add them to the list!