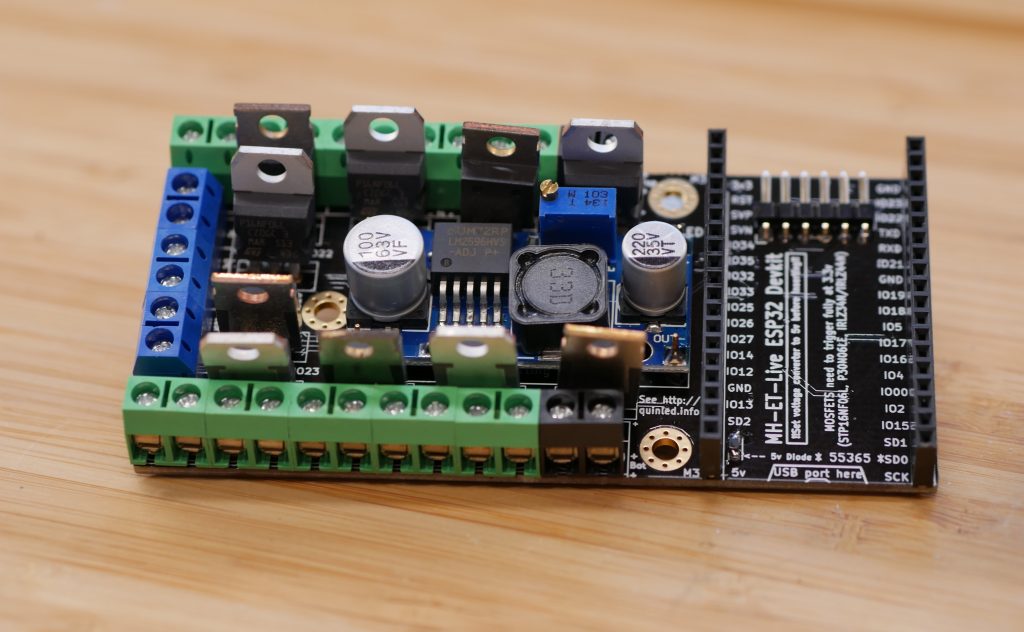
QuinLED-Deca
Hardware guide
To build the QuinLED-Deca you are going to need several components which are listed below. As a little disclaimer, please take a look at this article about my shopping links. After reading that, make sure to also take a look at the additional hardware and tools you might need to be able to complete this project. And last but not least, check out my article about 12v or 24v LED strips and what to watch out for while buying (The color white) and what my favorite strips are!
Those articles are a lot of information but will teach you everything you need to know! If you have any questions about the components, let me know in the comments!
Total costs for a single board
A single fully built QuinLED-Deca board will cost you about 16$ in components. This value is a bit skewed because it’s calculated using bulk bought components. The ESP32 development board is the majority of the cost. Buying minimum quantities of all the components will make it a bit more expensive per board.
Board Summary
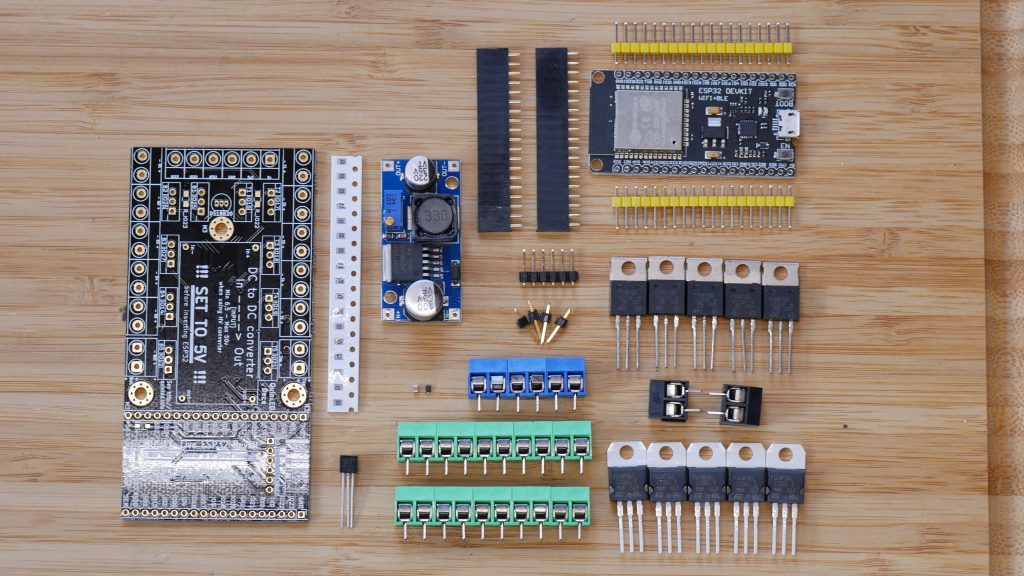
You need the following components and quantities:
Components needed
Most components come in multiples of 5 or 10. Especially for the smaller boards I will try to link to several batch sizes available so you don’t immediately have to buy the amount for 10 or more boards. Of course, if you do, the per board the price becomes (much) cheaper! Also when buying larger amounts of components you slowly but surely amass common components used in hardware tinkering and they are convenient to have lying around!
All components are selected so that they can be soldered by hand, no hot air/SMD soldering equipment is necessary. If you do have this equipment available it is recommended to use though!
All amounts of the components will be listed in green text. The amount listed there is for building a single board!
![]()
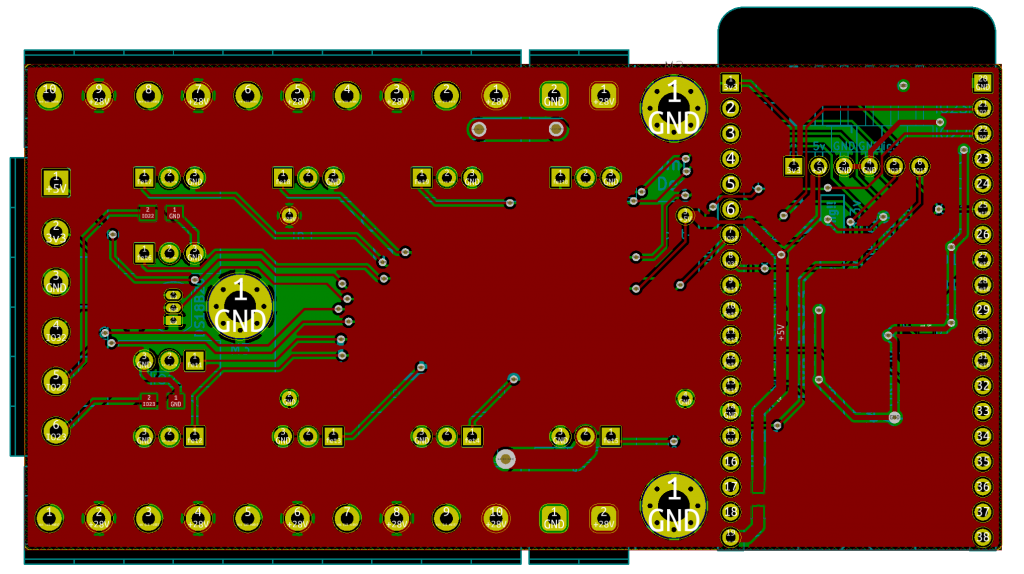
QuinLED-Deca PCB boards
- 1x QuinLED-Deca PCB
I always order my boards from dirtypcbs.com and they haven’t failed me yet. If you order a protopack you get anywhere from 10 to 12 boards in total. If you include shipping, their prices are very competitive! You can find the current version 1 revision 5 board here:
While ordering, choose 10x10cm boards, this will yield you 20 to 24 functional boards. Yes that’s a lot but that way you can screw some up while learning to solder. 😉
Merged boards are now also available, if you want to order multiple designs on a single PCB, click here to see which versions are available.
— update 2019-02-13 – v1r6 changes
I’ve made a small change to the design adding a 4.7kΩ 0805 resistor to the data pin of the DS18B20 as a pull-up. Although there are articles on the internet suggesting a resistor is not necessary I’ve noticed spotty behaviour of the temperature sensor which the resistor could fix. The above link is fixed and I’m in talks with DirtyPCB to change all boards currently in the order process to the new board. I’ve also added the needed resistor in the hardware guide below.
Gerber files?
I currently do not have the gerber files available. I might release these in the future so you can use your own favorite board house but in the past I’ve had issues where people would keep using old versions because that’s what they downloaded at some point in time. That complicates things such as optimizing and improving the design over time. Also, I know dirtyPCB’s can make my design correctly and they also give me a little kickback if someone places an order there, which helps me again to make and test new revisions, etc.
![]()
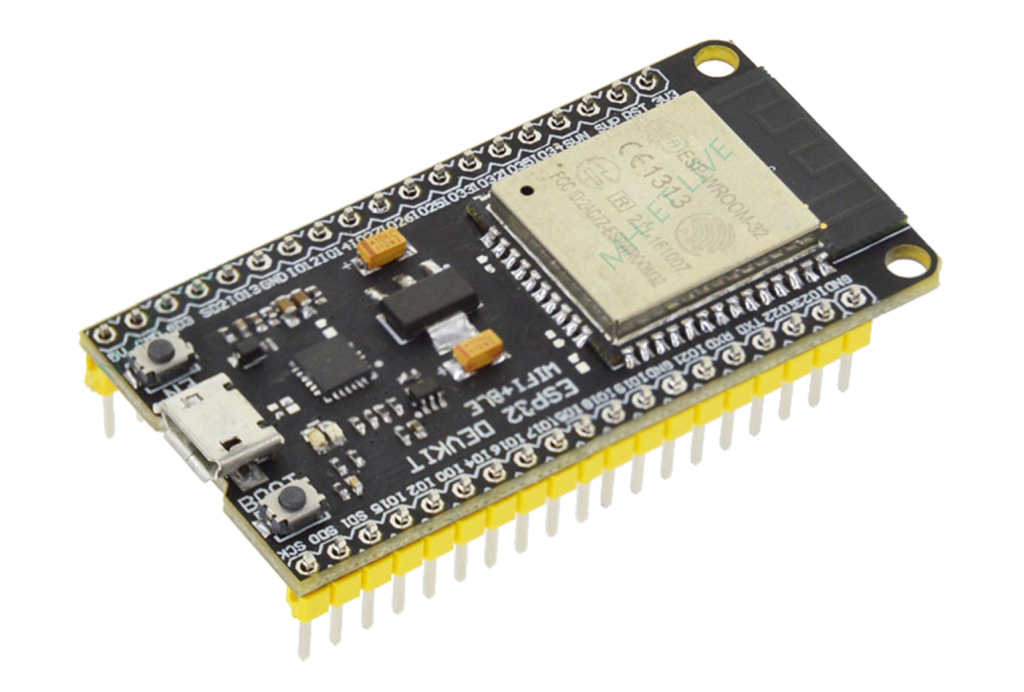
MH-ET-Live ESP32 development board
The main brains of the dimmer is the ESP32. Instead of using the raw modules I opted to use a ready-made development board so that it’s much easier to solder and comes with everything you need such as the USB port and a voltage converter.
*Although different brands/boards can be used, some ESP32 development boards have different pin-outs which will not work!
- 1x MH-ET-Live ESP32 Development board
![]() 1x MH-ET-Live ESP32 development board
1x MH-ET-Live ESP32 development board
![]() 10x MH-ET-Live ESP32 development boards (If you plan on doing multiple boards or other projects, get the 10 pack, they become much cheaper in bulk!)
10x MH-ET-Live ESP32 development boards (If you plan on doing multiple boards or other projects, get the 10 pack, they become much cheaper in bulk!)
![]()
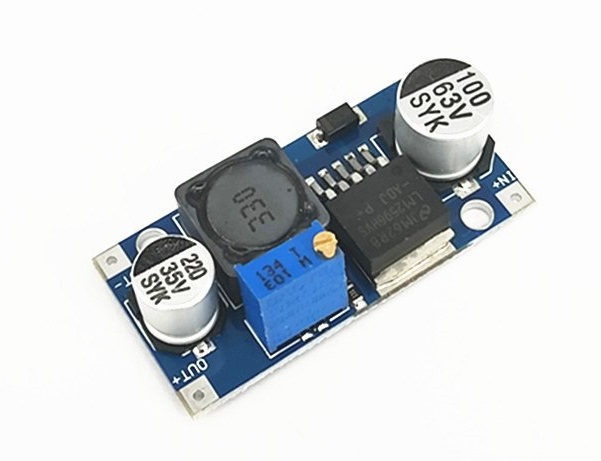
HV DC-DC Voltage converter
For the QuinLED-Deca I wanted to enable a high upper voltage limit. By using specific MOSFETs and a High-Voltage (HVDS) voltage converter the board can handle anything between 6,5v up to 50v! This should make it suitable for a wide range of applications.
- 1x Medium HV (50v) DC-DC converter to 5v
- If you are certain you are not going to use above (or near) 40v, you can use the cheaper non-HVS model
High Voltage (up to 50v) model
![]() 5x LM2596HVS 50v DC-DC converter
5x LM2596HVS 50v DC-DC converter
Medium Voltage (up to 40v) model
![]() 5x LM2596 max 40v DC-DC converter
5x LM2596 max 40v DC-DC converter
![]()
Female headers
Because we want to use all the available space as efficiently as possible we’re using some female headers to raise up the ESP32 Development board. That also means that if you make a new revision board in the future you can just move the ESP32 module!
- 2x 19 pins 2.54mm female header
- If you can’t source 19 pins headers a 20 pin header can also work
![]() 19 pins 2.54mm Female Header “socket”
19 pins 2.54mm Female Header “socket”
![]()
20 pins 2.54mm Female Header “socket”

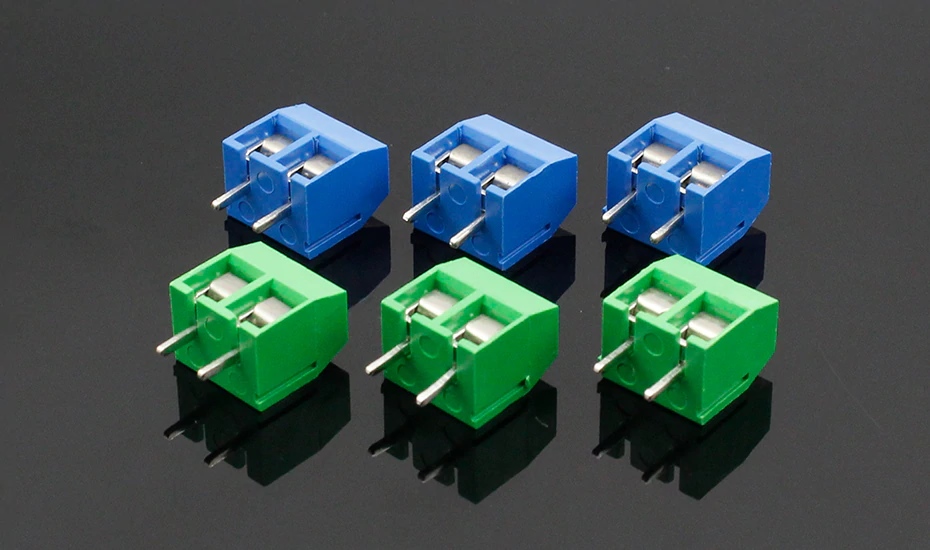
Screw terminals
To secure all the wires to the board you are going to need screw terminals. I personally use different colors for input, output and GPIO but buying multiple colors does make it more expensive (buying multiple colors gets you more per color then you need for 1 board).
- Per QuinLED-Deca you need
- 2x Board power input terminal
- 10x Dimming channel output terminals
- 3x GPIO terminals
So that makes 15x terminal input blocks in total (each block has 2 inputs)
Board power input
For voltage input I like to use 2 Pin Black terminals
![]() 20 Pcs 2 pin BLACK 5.0mm Screw Terminal
20 Pcs 2 pin BLACK 5.0mm Screw Terminal
![]() 100 Pcs 2 pin BLACK 5.0mm Screw Terminal
100 Pcs 2 pin BLACK 5.0mm Screw Terminal
Dimming channel output
For the Dimming channel outputs I like to use green terminals
![]() 20 Pcs 2 pin GREEN 5.0mm Screw Terminal
20 Pcs 2 pin GREEN 5.0mm Screw Terminal
![]() 100 Pcs 2 pin GREEN 5.0mm Screw Terminal
100 Pcs 2 pin GREEN 5.0mm Screw Terminal
GPIO output channels
For the GPIO output I like to use blue terminals
![]() 20 Pcs 2 pin BLUE 5.0mm Screw Terminal
20 Pcs 2 pin BLUE 5.0mm Screw Terminal
![]() 100 Pcs 2 pin BLUE 5.0mm Screw Terminal
100 Pcs 2 pin BLUE 5.0mm Screw Terminal
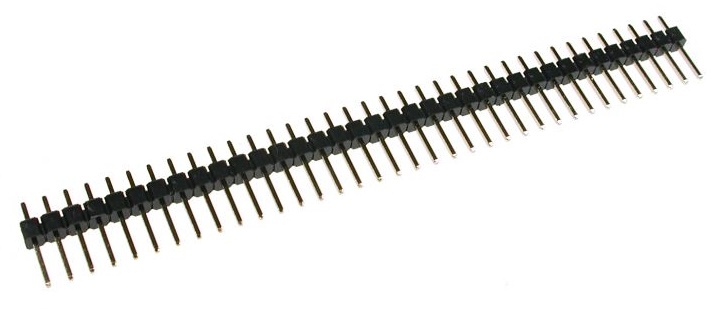
2.54 Male Pin headers
To mount the DC-DC converter we need some pins to neatly mount everything. The easiest way to do this is to use simple 2.54 male pin headers.
- 4x 2.54 Male Pin Headers
![]() 20 pcs 40 pin 2.54mm pin header strip (Silver)
20 pcs 40 pin 2.54mm pin header strip (Silver)
![]() 20 pcs 40 pin 2.54mm pin header strip (Gold)
20 pcs 40 pin 2.54mm pin header strip (Gold)
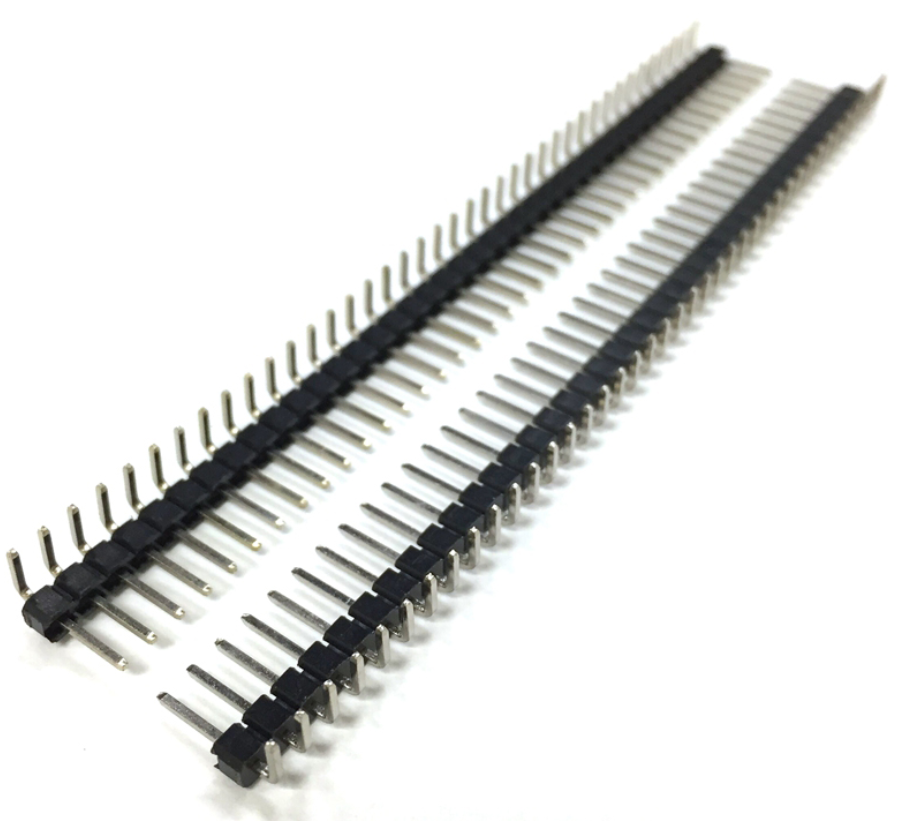
Angled 2.54mm male pin headers
For the GPIO pins you need to get some through hole angled male 2.54mm pin headers. The pins come on a strip.
- 6x 2.54mm angled male pin headers
![]()
10 Pcs strip of 40 angled 2.54mm male pin headers
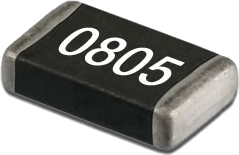
0805 resistors
Not 100% required because the ESP32 has internal pull-up/down’s but putting an extra external resistor helps the ESP32 out and makes sure everything works correctly.
- 12x 0805 10k Ohm resistor
- 1x 0805 4.7k Ohm resistor
*You will need a tweezer to put these into place, make sure to check out the tools section!
![]() 100 Pcs 0805 resistor (Has both 4.7k and 10k available)
100 Pcs 0805 resistor (Has both 4.7k and 10k available)
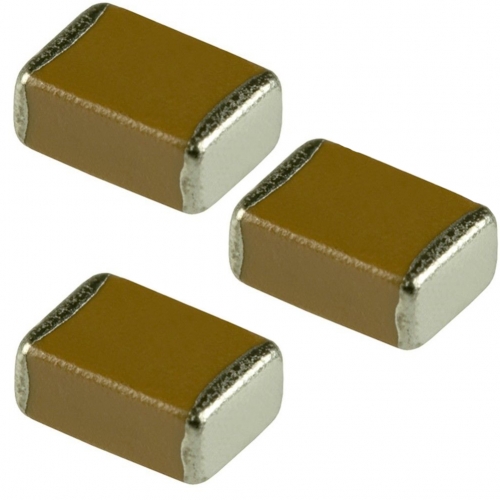
0805 0.1 uF Capacitor
To stabilize power delivery to all components a few capacitors are needed. For space saving and ease of soldering we’re using 0805 size capacitors.
- 1x 0805 0.1 uF Capacitor
*You will need a tweezer to put these into place, make sure to check out the tools section!
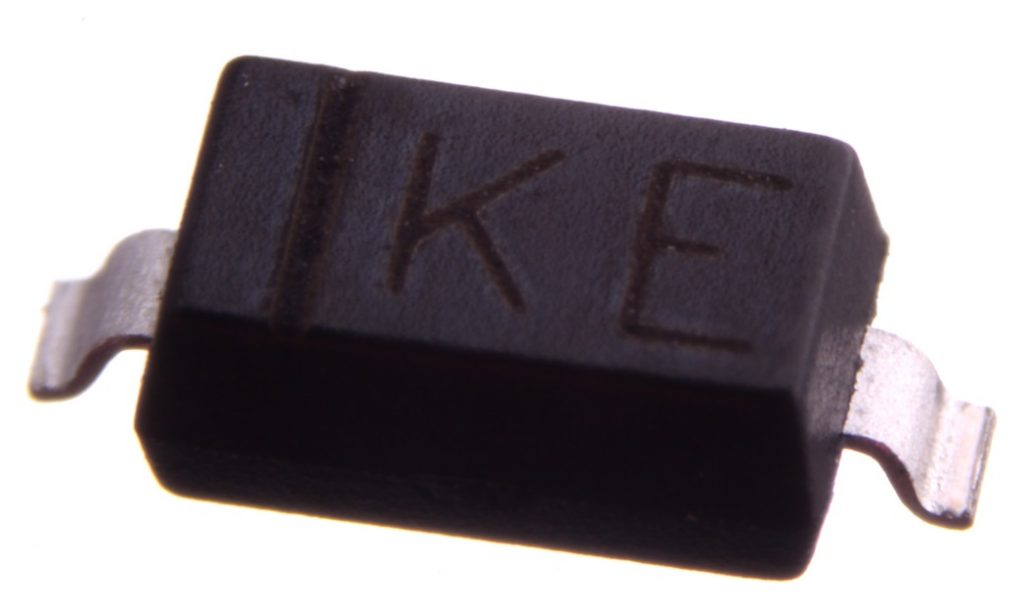
SMD Diode
A diode is in place to protect the ESP32 module from reverse feeding the other components on the board. This also means that when you power the ESP32 module using USB to program it, other components on the board will not be supplied with power.
Make sure not to NOT connect both a power supply AND USB at the same time!
- 1x SOD-123 1N5819 Diode
*You will need a tweezer to put these into place, make sure to check out the tools section!
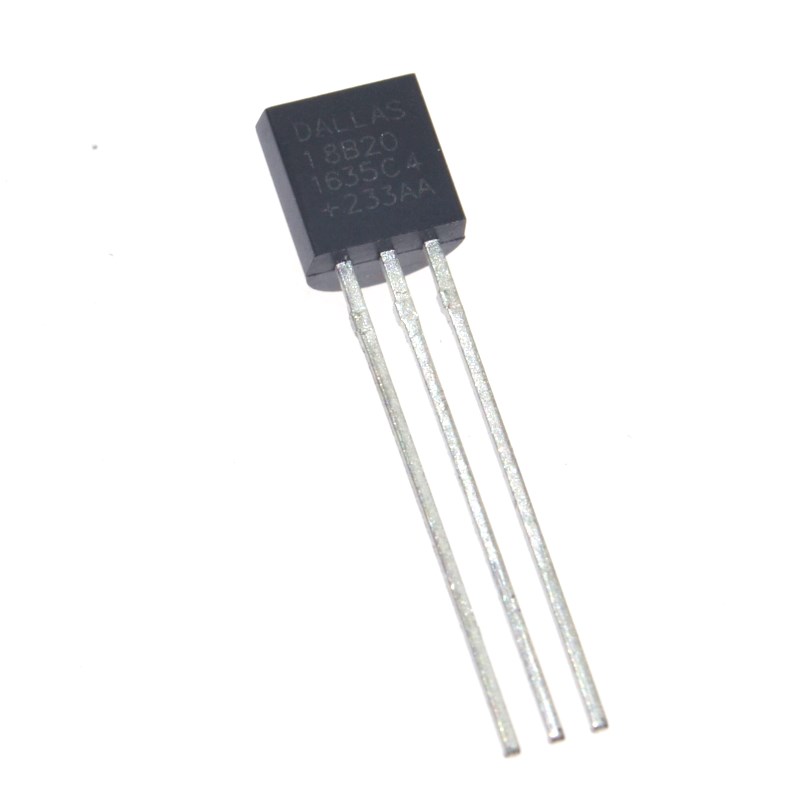
Dallas DS18B20 TO-92 Temperature sensor
All the boards, including the QuinLED-Deca have a spot for a Dallas DS18B20 TO-92 temperature sensor. It’s a cheap way to add a little sensor to the board!
- 1x Dallas DS18B20 TO-92 temperature sensor
LED dimming MOSFETs
To switch the high current LEDs with the low power of the ESP32 we need some MOSFETs. On the QuinLED-Deca we use TO-220 size MOFSETs. Most important is that these MOSFETs trigger fully open at or below 3.3v!
Medium power handling
I have tested several variants of these, most common are the IRLZ44N, STP16NF06L. These all work fine with the board but I wouldn’t go above max 4A per channel. The resistance in the MOSFET becomes too great above 4A which causes them to heat up above 100c which I don’t feel comfortable with over longer periods of time.
High power handling
If you wish to run them up to 8A (That’s 192w at 24v!) you need to get better MOSFETs which have a lower resistance. Suitable types for this are the IRLB3036PBF or the FDP5800. These are however (a lot) more expensive than the above listed types.
So, depending on your needs, get either type or both (You can mix and match on a single board!). If you want to connect 10x 2m or 3m strip, the IRLZ44N is a good choice. But if you want to connect really high power LED strip in 5m lengths (more then 96w) you are better off with the IRLB3036PBF for instance.
If you ever receive a bad MOSFET (doesn’t trigger correctly, stays dim at fully open, flickers) let me know and I can change the seller links!
- 10x TO-220 MOSFET
Up to 4A max
IRLZ44N
![]()
STP16NF06L
*I have received reports where the STP16NF06L’s would get delivered as STP165NF06 (No L) which will not fully trigger at 3.3v, I will try to find a new seller
![]()
5 Pcs STP16NF06L TO-220 MOSFET (Get at least 2 sets!!) (Good seller)
![]() 10 Pcs STP16NF06L TO-220 MOSFET (Good seller)
10 Pcs STP16NF06L TO-220 MOSFET (Good seller)
![]()
50 Pcs STP16NF06L TO-220 MOSFET
Up to 8A max
*I have received reports where the IRLB3036 would not trigger fully 3.3v, I am currently investigating this, order at your own risk!
![]()
5 Pcs IRLB3036PBF TO-220 MOSFET (5 Pcs only, order 2x or with other MOSFETs)
or

Additional hardware components, tools and equipment
Above is all the components you need to assemble a complete QuinLED-Deca board! Often it’s best to order components for at least 5 boards, soldering doesn’t always go perfect and once you have one self-built Domotica device, it rarely stays at that number. If you do truly only need 1 or 2 boards, make sure to check out my component kits or even pre-made boards in this article!
Also, don’t forget, this article only lists all the components you need, not the tools and other accessories you might also require. Make sure to take a scroll through this article to see what you might also need so you don’t get frustrated if you don’t have it while building! If you still need LED strip check out this article for high quality (warm) white strips, here for RGB(W) strip. And to power it all, check out this article about power supplies!
p.s. If anything listed on here turns out to be wrong or the link has stopped working, please drop me a line using the contact form so I can correct it!